Old-School Porsche Knowledge, Modern Workshop Standards: Inside Goss Hall Werks
Every Porsche specialist has its own character. Some are built around race cars. Some focus heavily on restoration. Others are

Every Porsche specialist has its own character. Some are built around race cars. Some focus heavily on restoration. Others are
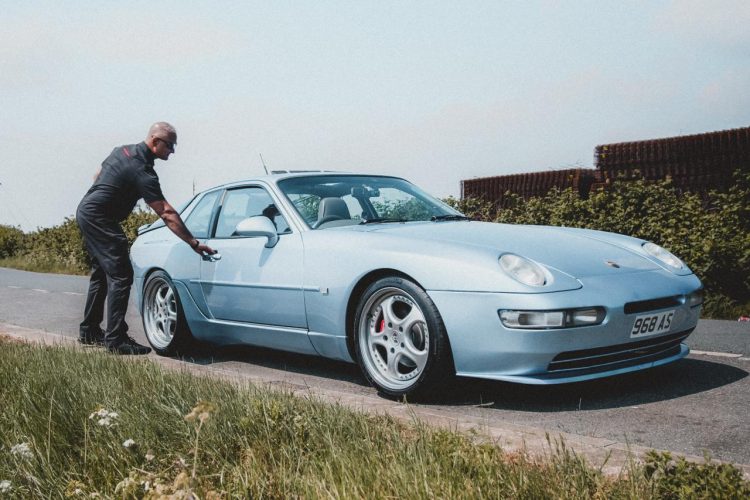
Some Porsche stories are about horsepower, lap times or rare specifications. Anil’s story is different. His Porsche 968 is not

Design911 is pleased to announce a new partnership with Rennen Plus. A new range of Rennen Plus Porsche performance parts

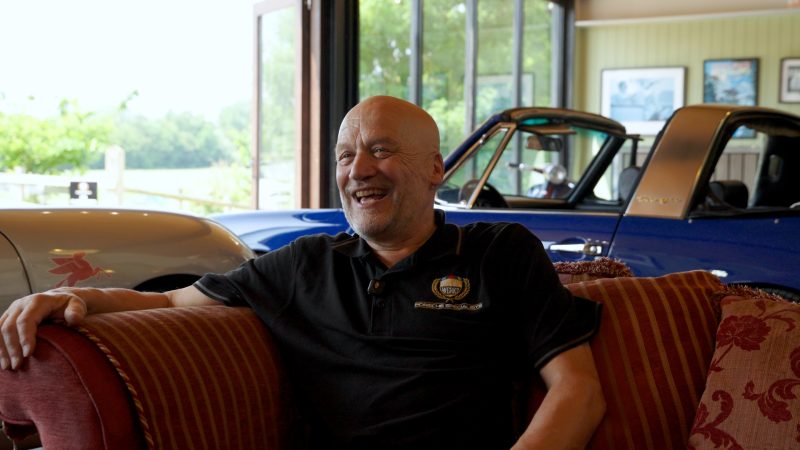
In this episode of the Pork Life Podcast, we sit down with Race&Taylor and Jas MB for a relaxed conversation