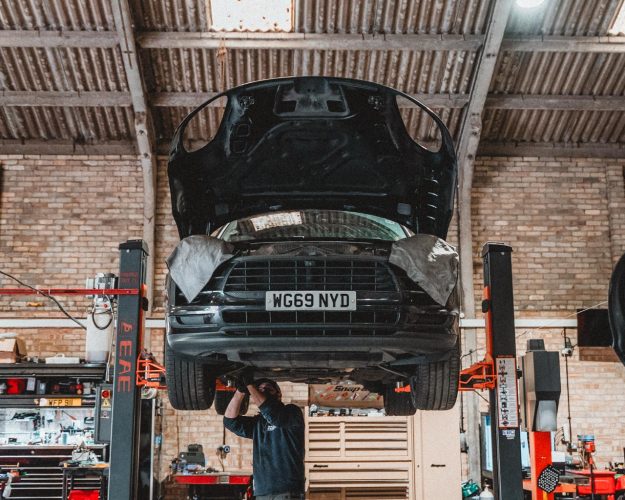
Porsche Macan Service at William Francis with OE Match Parts
Porsche Macan service work was recently carried out at William Francis, where the specialist team gave this Macan the attention

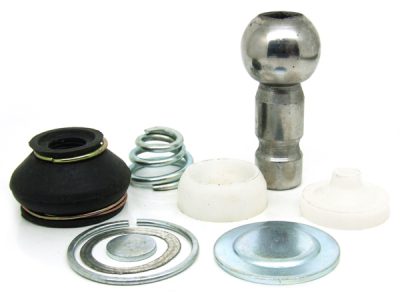
944 replacement wishbones ball joint kit
Introduction
Since the 1985 ½ model year, 944s have used aluminium control arms which use ball joints that can not be replaced, as least not by the home mechanic. Early 944s are equipped with steel control arms which use replaceable ball joints.
The big question that most owners have about control arm ball joints is “how do I know when my ball joints need replacing?” Most often you’ll hear it said that if the boot is torn or cracked, the control arm needs to be replaced. While this isn’t a great indicator, it should raise suspicion as to the condition of the ball joint. Other indicators are knocking sounds in the front suspension or noticeable play in the control arm. The play can be checked by pushing up on the control arm (toward the spindle) near the ball joint. Noticeable play between the control arm and the ball joint indicates that the control arm needs to be replaced.
Another question that often comes up is “do I have to replace the control arm if I accidentally tear the boot on the ball joint?” No. If you’re convinced that the ball joint is still good and you’ve simply torn the boot on the ball joint, there is a solution. You can replace the boot with the boot from an early 944 ball joint our part No. 171407365G. It’s not a perfect solution but, £13.98 + vat for an early ball joint beats having to buy a new control arm or having it rebuilt. If you need to rebuilt the ball joint than you will need to order our ball joint replacement kit part No. 95134100000 which cost only £49.98 + vat per side.
Removal
1. Place the vehicle on jack stands.
2. Remove the front wheels.
3. Remove the skid pans.
4. Disconnect the front sway bar from the body and the control arm and remove the sway bar from the car.
5. Mark the orientation of the eccentric bolt to the control arm for proper alignment during reassembly. I normally use brightly coloured finger nail polish. The eccentric bolt attaches the rear of the control arm to the body of the car.
6. Remove the nut and bolt that attaches the spindle to the ball joint.
7. If the rear eccentric bolt bushing is to be replaced, remove the lock nut at the rear that attaches the eccentric to the bushing.
8. Remove the lock nut at the front of the eccentric bolt.
9. Remove the two bolts that attach the eccentric bolt bushing to the body.
10. Remove the bolt and nut that attaches the front of the control arm to the cross-member.
11. Using the rubber hammer, tap on the top of the control arm to free the ball joint from the spindle and remove the control arm from the car.
Installation
1. Remove the control arms from the vehicle.
2. You may have to remove epoxy material from the control arm to expose the bottom of the control arm ball joint. Specifically, you’ll need to be able to get to the cir-clip that holds the ball joint in the arm.
3. Remove the rubber grease boot from the control arm. Keep the boot retaining spring.
4. Place a large socket over the pin side of the ball joint and a nut or small socket against the bottom cover of the ball joint.
5. Squeeze the assembly in a vise enough to allow the cir-clip in the bottom of the ball joint to be removed.
6. Use a small screwdriver to pry the cir-clip out of the groove in the control arm.
7. Remove the assembly from the vise and disassemble ball joint assembly.
8. If you’re using a kit that only replaces the ball joint bushings (i.e. ball joint is reused), inspect the ball joint carefully for cracks in the pin or unusual wear. If the ball joint is cracked, it should be replaced.
9. Place the top ball joint bushing into the opening in the control arm. Make sure it is aligned evenly in the opening.
10. Press the ball joint bushing into the control arm using a vise and a socket or seal driver that is slightly smaller than the opening in the bottom of the control arm (the opening is slightly larger than 30mm). Place a piece of wood between the back side of the control arm and the vise to prevent damage to the arm.
11. Apply good CV joint grease to the cup and to the control arm ball.
12. Insert the ball into the cup followed by the lower cup, spacer ring, spring, another spacer, and cover plate.
13. Squeeze the assembly in the vise and install the cir-clip.
14. Apply epoxy to the bottom of the ball joint opening to keep the cir-clip in place.
15. Reinstall the control arm.
Exchange units
View the ball joint kits CLICK HERE
Porsche Macan service work was recently carried out at William Francis, where the specialist team gave this Macan the attention

A Porsche is not usually bought because it is the most practical car in the world. People buy one because

Every Porsche specialist has its own character. Some are built around race cars. Some focus heavily on restoration. Others are
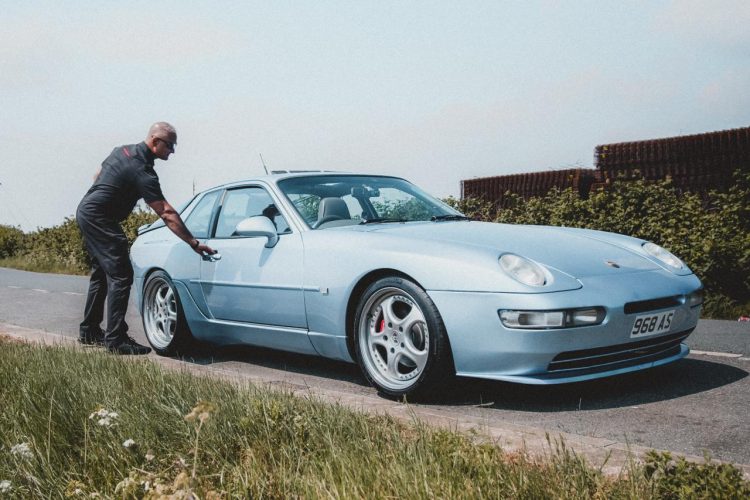
Some Porsche stories are about horsepower, lap times or rare specifications. Anil’s story is different. His Porsche 968 is not