Old-School Porsche Knowledge, Modern Workshop Standards: Inside Goss Hall Werks
Every Porsche specialist has its own character. Some are built around race cars. Some focus heavily on restoration. Others are

1.Special Tools — In addition to regular sockets/wrenches Non Adjustable Tie Rod End Puller Dull Metal Chisel w/ .5″-.75″ blade width (or big flat head screw driver might work) Silicon Lube Spray BIG adjustable wrench1. Jack front of car up high enough to easily work under it with hammers or large wrenches. Safety brake should be on.
2. Remove both wheels.
3. Turn steering wheel all the way to one side.
4. Go to opposite side and remove cotter pin from castellated nut (castle nut to some) at the top of the tie rod.
5. Get breaker bar and remove castellated nut.
6. Use tie rod end puller to get the tie rod end out of the joint that connects it to the spindle. This is a tapered end and will probably POP out with a loud noise
Do not let the tie rods change their length at any time or you will have some problems later on.
7. Repeat 3-6 for other side of the car.
8. Remove metal dust/rock guard from under the front of car. This plate covers the steering rack.
9. Remove front sway bar. You may or may not have to do this.
10. Remove the old rubber bellows from the steering rack and push it as far out of the way toward the outside of the car as you can. Be careful not to damage the little retaining springs as you will be using these again.
11. There is a large ring with 4 rectangular cuts in it at the joint between tie rod and steering rack. Call it big nut for now. Take your dull chisel and place it in one of those rectangular cutouts and hammer gently. You must make sure that you are trying to force the big nut loose and hammering on the correct side.
12. Big nut should get loose with in reason. Do both sides. You can use the steering wheel or big muscle to move the steering rack such that you can get a better angle on removing the big nuts.
13. Remove the tie rod of your choice by unscrewing it completely from the steering rack. DO NOT change the length.
14. Mark the tie rod as either drivers or passengers (or right or left).
15. Remove and mark other tie rod.
16. Open your turbo kit and remove the plastic covers (one each end) to the turbo tie rod ends.
17. Put Rubber turbo bellows over the turbo rods as this is a pain to do it later (don’t ask how I know). We also should have cleaned the retaining springs with brake cleaner at this point };). You will only need to use one for each side. I think it’s the bigger one, but check as the inner and outer retainer springs are of different sizes.
18. Adjust the length of one turbo rod to the length of one old rod as close as you can. Make sure you mark the turbo rods as to which the left side is and which is right side.
19. The kit we had came with two large spacers, they were to be used as replacements for the space occupied by big nut on the old tie rods.
20. Screw in both turbo rods on their appropriate sides after applying some thread lock.
21. Tighten the tie rods,
22. Put the rubber turbo bellows on. This is where the silicone lube spray comes in handy. Spray the inside end areas of the bellows with a little bit of that silicone stuff and they slip on their stops easily. You should only have one spring retaining ring that you use on the steering rack side. The tie rod side is sufficiently held by a rubber thing on the tie rod side.
23. Replace sway bar if removed.
24. Replace dust/rock guard plate.
25. Use some mid-fine grade sand paper or Emory paper to clean up the hole area on the arm that the tie rod links to. Wash with brake cleaner to remove dust.
26. Put tie rod end into hole at end of arm. Put castellated nut on and tighten to torque in spec book
27. Insert a new cotter pin. These didn’t come with our kit so you should make a hardware store run before you start to get the right pins.
28. Put on wheels.
29. Lower car.
30. Done.
Every Porsche specialist has its own character. Some are built around race cars. Some focus heavily on restoration. Others are
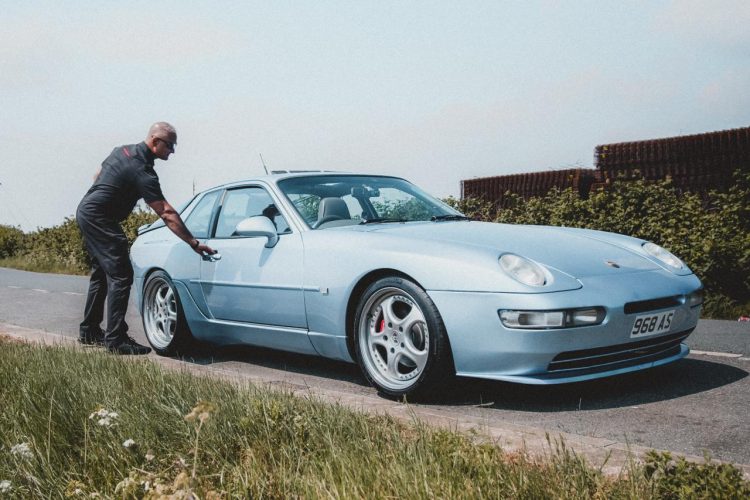
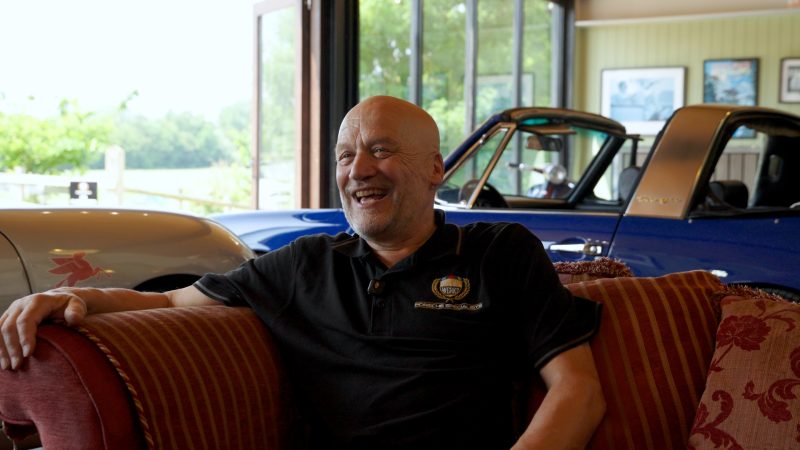
Some Porsche stories are about horsepower, lap times or rare specifications. Anil’s story is different. His Porsche 968 is not

Design911 is pleased to announce a new partnership with Rennen Plus. A new range of Rennen Plus Porsche performance parts

In this episode of the Pork Life Podcast, we sit down with Race&Taylor and Jas MB for a relaxed conversation