




Enter your VAT number here and click Verify:
Your details have been verified. VAT number registered to:
,
.
Your order will now be zero rated for VAT purposes. We reserve the right to verify these details after your order request has been made and reinstate VAT if required.
Your VAT details were not recognised or were invalid. Your VAT number must be matched to your Billing Country as specified above. This is currently specified as . You do not need to enter the country code part of your VAT number as this has already been selected in your billing address details above.
The VAT number checking service is currently offline. Please supply your VAT details within the comments or special instructions field below and we will apply a VAT discount after placing your order request.
OE Match

OE Match for Porsche
OE Match is a specialist replacement-parts brand developed around Porsche applications, covering routine maintenance, mechanical repairs, restoration and difficult-to-source components for classic and modern models. Design911 selects brands for quality and Porsche fitment, with knowledgeable specialists available to help owners and workshops choose suitable parts.
The OE Match story
OE Match is focused on preserving Porsche vehicles by returning hard-to-find and no-longer-available components to the market. Its purpose is to keep Porsche vehicles maintained, repaired, restored and usable for the future, particularly where original components have become expensive, difficult to source or discontinued.
Supplied catalogue information records over 8000 individual part numbers, more than 11,800 OE cross-references and over 100 new products in engineering, while the wider product programme contains more than 9,000 variants; these figures describe different measures of the range. Continuing development involves researching the parts owners and workshops genuinely need, working with specialist manufacturers, reviewing engineering specifications, assessing samples, testing and approving components before release. From small seals, clips and brackets to major mechanical components, the aim is to prevent a difficult-to-source item from holding up an entire repair or restoration: preserving Porsche, one part at a time.
Why choose OE Match for your Porsche
OE Match is a quality aftermarket and OE-equivalent replacement option developed specifically around Porsche applications rather than adapted from a general aftermarket range. Original references, vehicle fitment information, dimensions, materials and component specifications are used to identify suitable replacements for routine service, age-related wear, larger mechanical repairs and restoration work.
Its research, development and quality-control processes assess material and manufacturing quality, dimensions and specification, OE-reference compatibility, vehicle application, fit and function, supplier samples, product consistency, packaging and presentation. Where appropriate, physical inspection and fitment evaluation form part of final approval, and products must meet the programme's requirements before entering the catalogue.
Coverage includes the Porsche 356, 911, 912, 914, 924, 944 and 928, alongside the 964, 993, Boxster 986, 996, Cayenne, Cayman and 997. This gives owners, enthusiasts, independent specialists and professional workshops a Porsche-focused replacement option alongside Genuine Porsche parts. OE Match is intended to provide correctly specified, OE-equivalent replacements with sensible running costs rather than simply serving as a lower-cost alternative. Design911 selects the brands it carries for quality and fitment and can advise customers on suitable options for maintenance, restoration or upgrades.
- A replacement-parts programme developed specifically around Porsche applications.
- More than 9,000 product variants within the wider programme.
- Original Porsche part-number cross-references wherever applicable.
- Dedicated research, development, sample evaluation and quality-control processes.
- Classic and modern Porsche coverage for maintenance, repairs and restoration.
- Development focused on difficult-to-source and discontinued applications.
Categories we stock from this brand
Design911 stocks OE Match across an extensive range of Porsche mechanical, electrical, body, interior and maintenance categories. Original Porsche references help identify replacements where part numbers have been superseded or several versions exist. Always check the model, production year, engine, transmission, side or position, connector type where relevant and individual product notes. Incorrect application, mismatched versions, reused seals or hardware and worn supporting components can cause noise, premature wear, leaks, fitment problems or repeat failures. Safety-critical specifications and installation should be checked by a competent technician.
Engine components
OE Match engine coverage supports maintenance, repair and rebuilding work, ranging from small retaining hardware and brackets to components associated with the cylinder heads, crankcase, valve train and supporting engine systems.
- Confirm the engine type, capacity, production year and original reference.
- Inspect associated seals, fasteners and supporting components during engine work.
- Check whether components require specialist measuring, machining or installation procedures.
Engine seals and gaskets
Replacement seals and gaskets help address oil, coolant, air and vacuum leaks throughout classic and modern Porsche engines. The range supports individual repairs as well as more extensive engine resealing and rebuilding projects.
- Identify the source of a leak before replacing components.
- Check mating surfaces, housings and fasteners for wear or damage.
- Use the correct gasket or seal version for the engine and production year.
Cooling systems and radiators
OE Match cooling-system coverage includes components used to circulate coolant, control temperature and transfer heat away from the engine. These parts support repairs involving radiators, pipework, hoses, fittings and related cooling hardware.
- Investigate coolant loss, overheating, staining and damaged hoses promptly.
- Check pressure caps, clips, seals and connecting pipes during cooling-system work.
- Bleed and refill the system using the correct model-specific procedure.
Oil system components
Oil-system parts support engine lubrication, oil circulation, filtration and leak repair. Coverage can assist with routine servicing as well as work on oil lines, fittings, housings, seals and associated hardware.
- Confirm thread sizes, connection types and component position.
- Inspect flexible lines and seals for age-related hardening or leakage.
- Verify the required oil specification and system capacity separately.
Transmission and drivetrain
OE Match transmission and drivetrain parts support manual and automatic gearbox repairs, clutch operation, gear selection and the transfer of power to the driven wheels.
- Match parts to the exact gearbox or transmission code where specified.
- Check splines, bearings, seals, joints and supporting hardware for related wear.
- Diagnose noise, vibration or difficult gear selection before ordering components.
Engine and gearbox mounts
Replacement mounts help support the powertrain, maintain alignment and control unwanted engine and transmission movement. Worn mounts may contribute to vibration, knocking, drivetrain shunt or unsettled gear changes.
- Inspect mounts for cracking, collapse, separation and oil contamination.
- Check mounting bolts, washers, brackets and surrounding hardware.
- Consider replacing paired mounts together where required by the application.
Suspension and steering
OE Match suspension hardware and steering components support repairs intended to restore accurate wheel control, alignment and predictable steering response. Coverage includes wear-related items used around suspension joints, mounting points and steering assemblies.
- Investigate play, knocking, uneven tyre wear and unstable handling.
- Check left- and right-hand applications and axle position carefully.
- Arrange wheel alignment after replacing components that affect geometry.
Braking components
OE Match braking components form part of its Porsche-specific replacement programme. Brake work may address wear, restore stopping performance or prepare a car for fast-road or track use, but the specification of each component must suit the intended application.
- Symptoms prompting inspection include vibration, longer stopping distances, squealing, pulling to one side, warning lights and visible disc or pad wear.
- Confirm whether the selected component is an OE-equivalent replacement or a performance upgrade.
- Check whether new fitting kits, seals, hardware and pad wear sensors are required.
Electrical and ignition
Electrical and ignition coverage supports Porsche repairs involving starting, charging, ignition and engine-management faults. Correct diagnosis is particularly important because wiring, supply voltage, earth connections and other supporting components can produce similar symptoms.
- Typical symptoms include intermittent no-start, misfires, rough idle, poor charging, warning lights and heat-soak failures.
- Check the original reference, engine, production year and connector type.
- Test power supplies, earths and wiring before replacing electrical components.
Sensors and switches
OE Match sensors and switches provide replacement options for systems that monitor or control engine operation, temperature, pressure, position, lighting and driver warnings.
- Similar-looking sensors may have different calibrations, connectors or applications.
- Use fault codes as a diagnostic guide rather than proof that a sensor has failed.
- Inspect connectors for corrosion, damaged terminals and degraded wiring.
Heating and air conditioning
Heating, ventilation and air-conditioning components support cabin temperature control, airflow and demisting. The range covers replacement needs involving blower assemblies, controls, ducts, valves, fittings and related hardware.
- Check whether parts differ between left- and right-hand-drive vehicles.
- Confirm connector, housing and production-year variations.
- Refrigerant-system work should be completed by an appropriately qualified technician.
Exhaust components
OE Match exhaust coverage supports repairs to worn, corroded or leaking parts of the exhaust system, together with associated brackets, clamps, seals and fittings.
- Inspect joints, flanges, fixings and heat shields when replacing exhaust parts.
- Check emissions equipment and sensor positions for the specific model.
- Corroded fasteners may require additional hardware during installation.
Rubber seals and hoses
Rubber components are important throughout a Porsche for sealing fluids, air, weather and noise. OE Match coverage assists with replacing hardened, split, swollen, leaking or missing hoses, boots, grommets and sealing profiles.
- Match the shape, dimensions, connection points and intended fluid or system.
- Inspect adjoining clips, pipes and sealing surfaces.
- Age-related rubber deterioration can affect several nearby components at once.
Exterior trim and body components
Exterior and body coverage supports accident repair, cosmetic refurbishment and restoration. It includes replacement needs involving trim, lamps, brackets, fixings, seals and other model-specific body fittings.
- Confirm body style, side, position, colour and finish where applicable.
- Check whether clips, seals or mounting hardware are supplied separately.
- Compare the original component and reference before installation.
Interior components
OE Match interior products support the repair and restoration of cabin fittings that may have worn, faded, broken or become difficult to source with age.
- Check colour, finish, side and model-year variations.
- Inspect clips, brackets and fixing points before fitting replacement trim.
- Some interior components may differ according to body style or equipment specification.
Service and maintenance parts
OE Match service components support scheduled upkeep across Porsche generations, helping owners and workshops maintain reliability, efficiency and system protection while addressing everyday wear.
- Hard starting, rough idle, poor fuel economy and warning lights can accompany clogged filters or worn ignition components.
- Select service items against the exact Porsche model, engine, production year and required specification.
- Review related seals, hardware and other maintenance items when planning a larger service.
Restoration hardware
Restoration hardware covers the small but essential fasteners, brackets, clips, fittings and retaining components needed to complete repairs accurately and securely.
- Record the position and orientation of original hardware during dismantling.
- Check thread, length, finish, quantity and model application.
- Replacing damaged or heavily corroded hardware can prevent delays during reassembly.
Difficult-to-source and discontinued applications
A central purpose of the OE Match programme is identifying gaps where original Porsche parts have become difficult to obtain or are no longer available. Reintroduced components can help prevent one missing seal, clip, bracket or mechanical part from delaying an otherwise complete repair or restoration.
- Use OE cross-references and dimensions to verify the intended application.
- Check whether the original number has been superseded.
- Review product-specific fitment notes where several component versions exist.
Brake Pad Wear Sensors
OE Match brake pad wear sensors provide replacement options for Porsche brake servicing. Sensors may need renewal when pads are replaced or when a worn or damaged sensor causes a brake wear warning.
- Warning messages with new pads, damaged sensor cables and broken clips warrant inspection.
- Match the OE reference, caliper application, model year, connector and sensor position.
- Check the quantity required and whether sensors are included with the selected brake parts.
Engine Electrical
OE Match engine electrical parts cover starting, charging, ignition, sensor and switch applications. They support repairs involving intermittent no-start, misfires, rough idle, stalling, battery drain, poor charging, warning lights, inconsistent readings and heat-related failures.
- Similar-looking components may have different electrical or vehicle applications.
- Repeat faults can indicate a mismatched component or a worn supporting item.
- Battery condition, earth straps, connectors and voltage drop should be checked during diagnosis.
Service Parts
OE Match service parts cover everyday maintenance requirements intended to protect the engine, gearbox and other major systems. Routine replacement can address natural wear caused by heat, friction, fluid degradation and environmental exposure.
- Match filters, ignition parts, belts and fluids to the exact vehicle specification.
- Many symptoms overlap, so establishing a sound service baseline can assist diagnosis.
- Keep a service record to support future maintenance and fault finding.
Service Kits
OE Match service kits group key maintenance components to simplify servicing and establish a known baseline. They are particularly useful when catching up on overdue maintenance or assessing sluggish running, inconsistent idle, poor economy and reduced performance.
- Match each kit to the exact Porsche model, engine and production year.
- Contents vary, so review the included components rather than assuming every service item is supplied.
- Add any required while-you-are-there items, such as spark plugs, belts, fluids, seals or hardware.
Explore the range
Browse the OE Match Porsche range at Design911, then narrow your selection by model and category and cross-check the original part references and fitment notes. Whether you are planning routine maintenance, a workshop repair or a complete restoration, Design911's Porsche specialists can help identify suitable components within a programme focused on fitment, quality and long-term vehicle preservation.


The brake disc cover plate (also known as a brake dust shield or protective plate) is mounted behind the rear brake disc and forms part of the rear brake assembly. Its primary role is to shield critical braking components - such as the brake disc, caliper and parking brake mechanism - from debris, dust and moisture encountered during driving.
Sold individually, two required per vehicle.

Porsche 911 (930) Turbo 1978 - 1989
Porsche 911 1978 - 1989 Turbo Look (option code: M491)
Diagram ref no 3
This OE Match Brake disc cover plate matches the original Porsche design in shape, mounting points and dimensions, making it ideal for repairs, brake overhauls or restoration of classic Porsche 911 Turbo models.
The rear brake cover plate protects the braking system while also helping maintain correct positioning of brake components. By acting as a protective barrier, it prevents debris from contacting the brake disc and helps prolong the life of surrounding brake hardware.
Replacing a damaged or corroded plate restores the protective function of the rear brake system and ensures proper fitment of the brake assembly.
Function
• Brake Protection: Shields rear brake discs and calipers from road debris, water and dirt
• Component Support: Helps maintain proper positioning of rear brake components
• Heat Resistance: Durable metal construction designed to withstand braking temperatures
• OE Fit: Manufactured to match the original Porsche plate for precise installation
Brake cover plates are exposed to heat, moisture and road salt, which can cause corrosion or structural damage over time. A deteriorated plate may fail to protect the brake components effectively and could lead to debris entering the braking system. Replacing worn plates with OE Match parts restores proper protection and helps maintain the longevity and reliability of the rear brake system.
Replace the rear brake cover plate if you notice:
• Visible rust or corrosion
• Bent or damaged backing plates
• Missing protective plate during brake service
• During a rear brake system rebuild or restoration
Related reference numbers
Related, superseded, cross reference or alternative numbers for comparison.
93035280104
The product you are viewing cross references to these numbers
- Porsche 911 1978-1989 3.3L Turbo (930)
 Shop Securely
 12 Month Warranty
 Worldwide Delivery

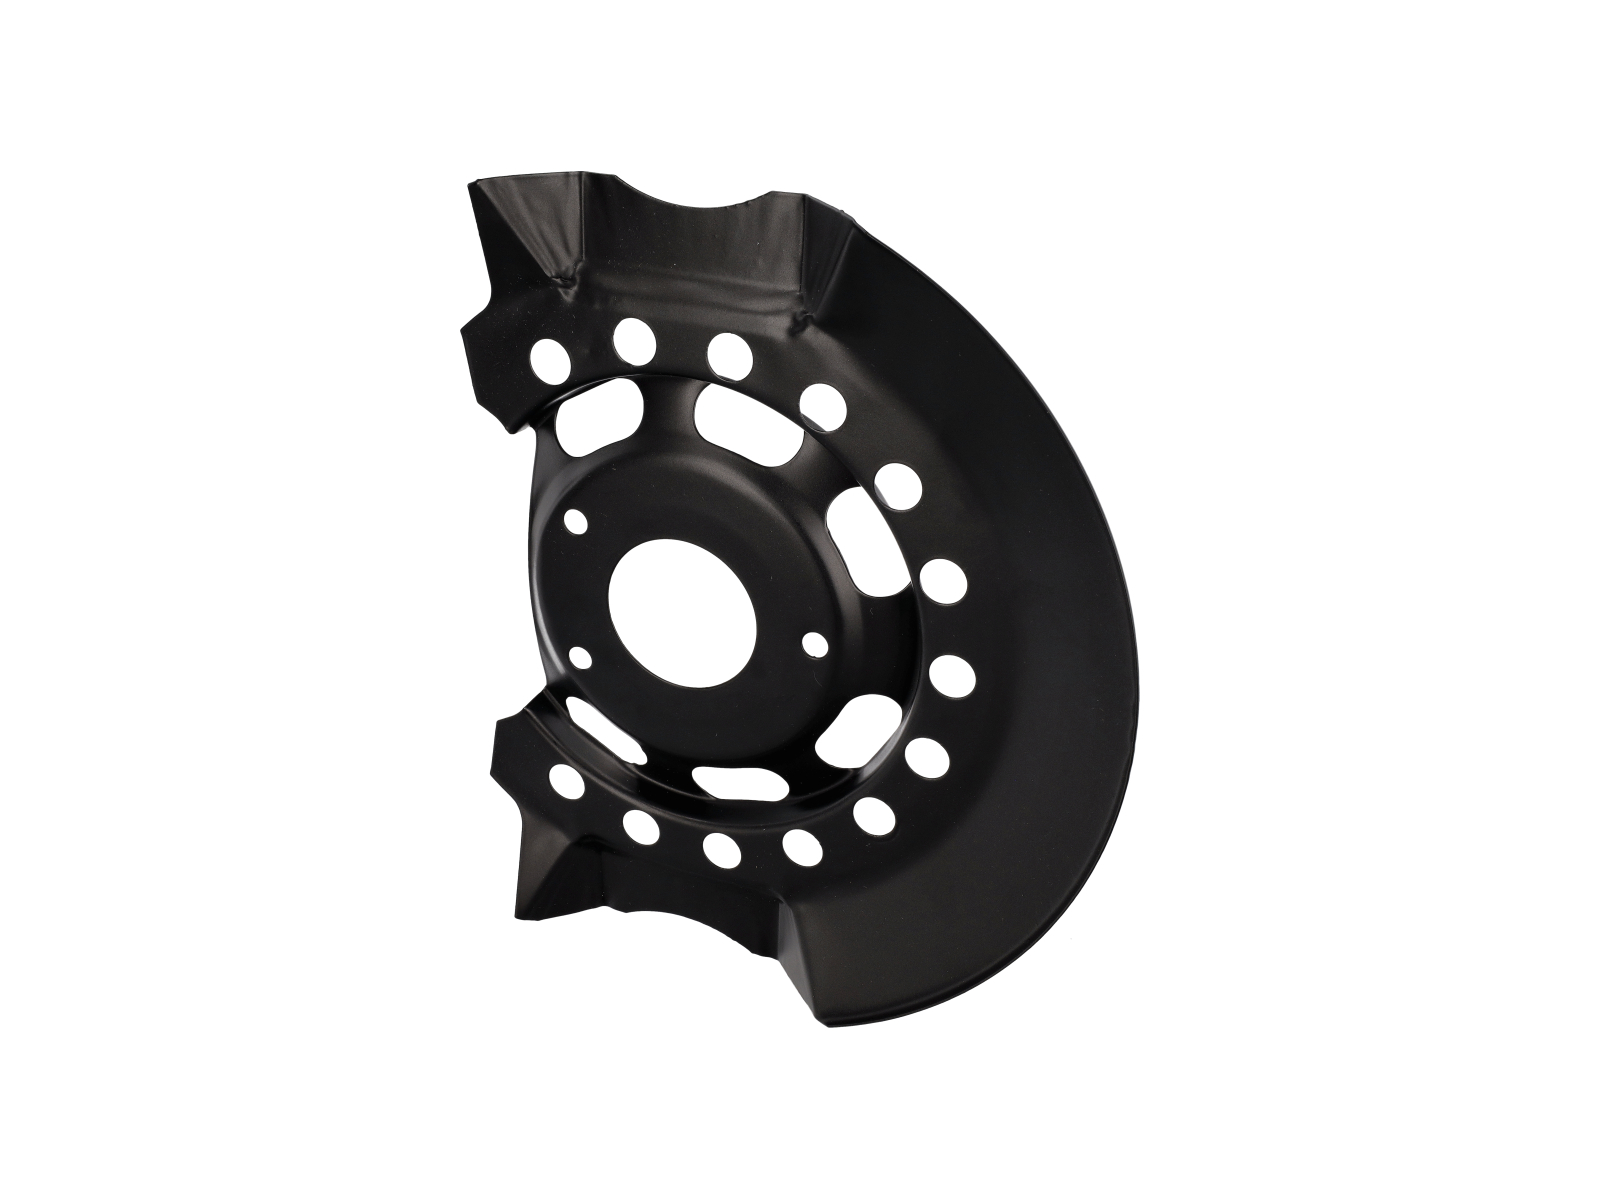
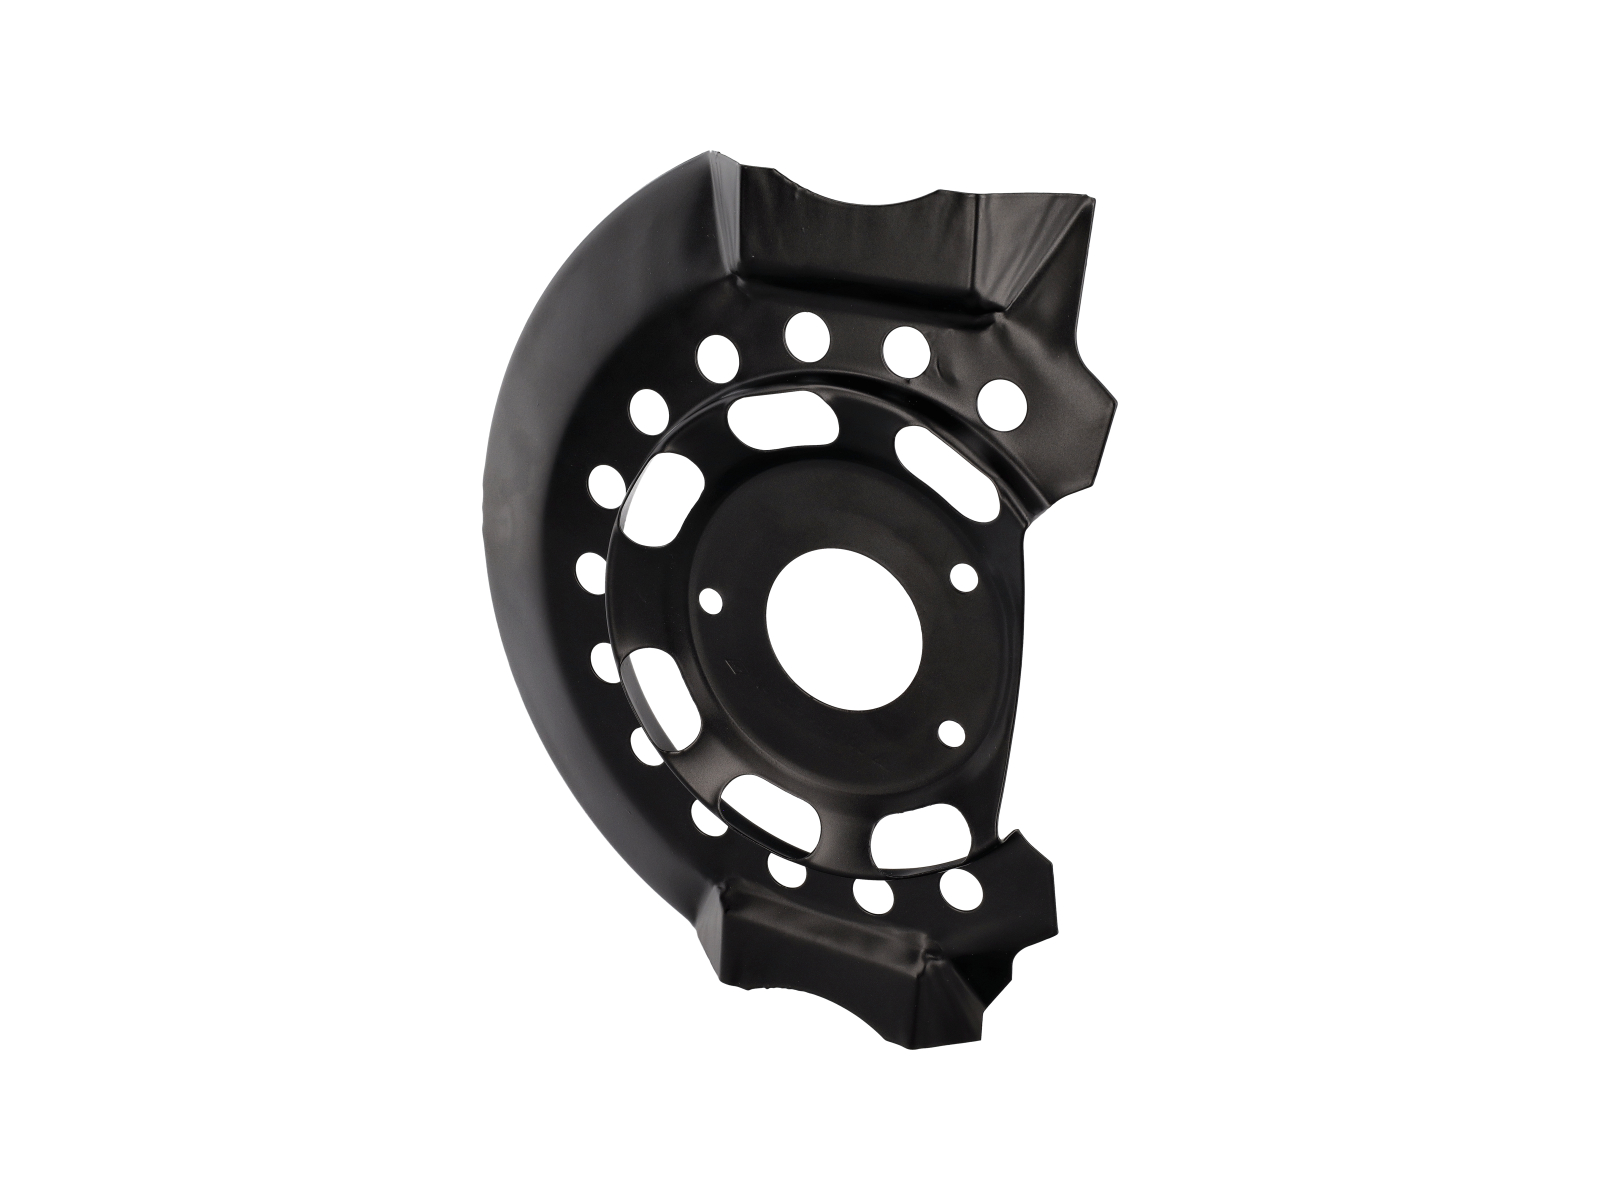
Front brake disc cover plate for the Porsche 911 (930) Turbo. Supplied individually; two are needed per car.
Fits
- Porsche 911 1978-1989 3.3L Turbo (930)
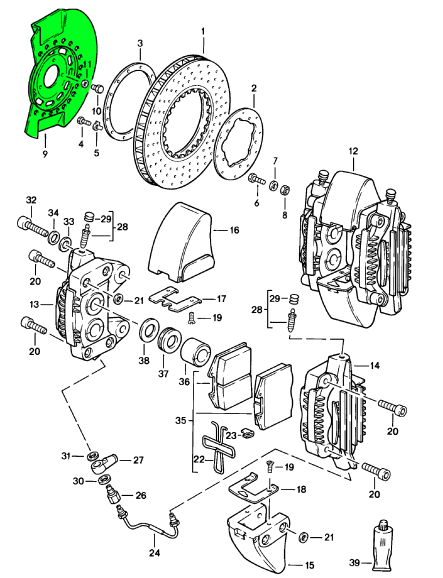
Diagram ref no 9
What This Product Does
This protective plate is fitted at the front brake assembly behind the disc. It helps shield surrounding brake components from water, dirt and road debris while maintaining the original front-axle arrangement.
Functions
- Provides a protective barrier behind the front brake disc
- Helps limit contamination from road debris and water
- Maintains the original brake assembly configuration
- Replaces a corroded, bent or damaged cover plate
Technical Details
- Position: Front
- Application: Porsche 911 Turbo, type 930
- Engine: 3.3L Turbo
- Quantity: Two required per vehicle; supplied individually
Symptoms of Fault
- Visible corrosion or missing sections
- A bent plate contacting the brake disc
- Scraping or rattling from the front brake area
- Damage discovered during brake or suspension servicing
Why Replacement Matters
Replacing a heavily corroded or distorted plate restores the protective barrier around the front brake assembly and prevents contact with the rotating disc. It is also suitable for maintaining the factory configuration during a brake overhaul or restoration.
FAQs
- How many plates are required?
Two are needed per car. Each plate is supplied individually. - Is this for the front or rear brakes?
This cover plate is for the front brake assembly. - Which Porsche models does it fit?
It is listed for the Porsche 911 (930) Turbo 3.3L manufactured from 1978 to 1989. - When should the plate be replaced?
Replacement is appropriate when the existing plate is corroded, damaged, incomplete or rubbing against the brake disc.
Check fitment for your specific vehicle (model, year, engine) before ordering.
Related reference numbers
Related, superseded, cross reference or alternative numbers for comparison.
93035180301
The product you are viewing cross references to these numbers
- Porsche 911 1978-1989 3.3L Turbo (930)
Shop Securely
12 Month Warranty
Worldwide Delivery

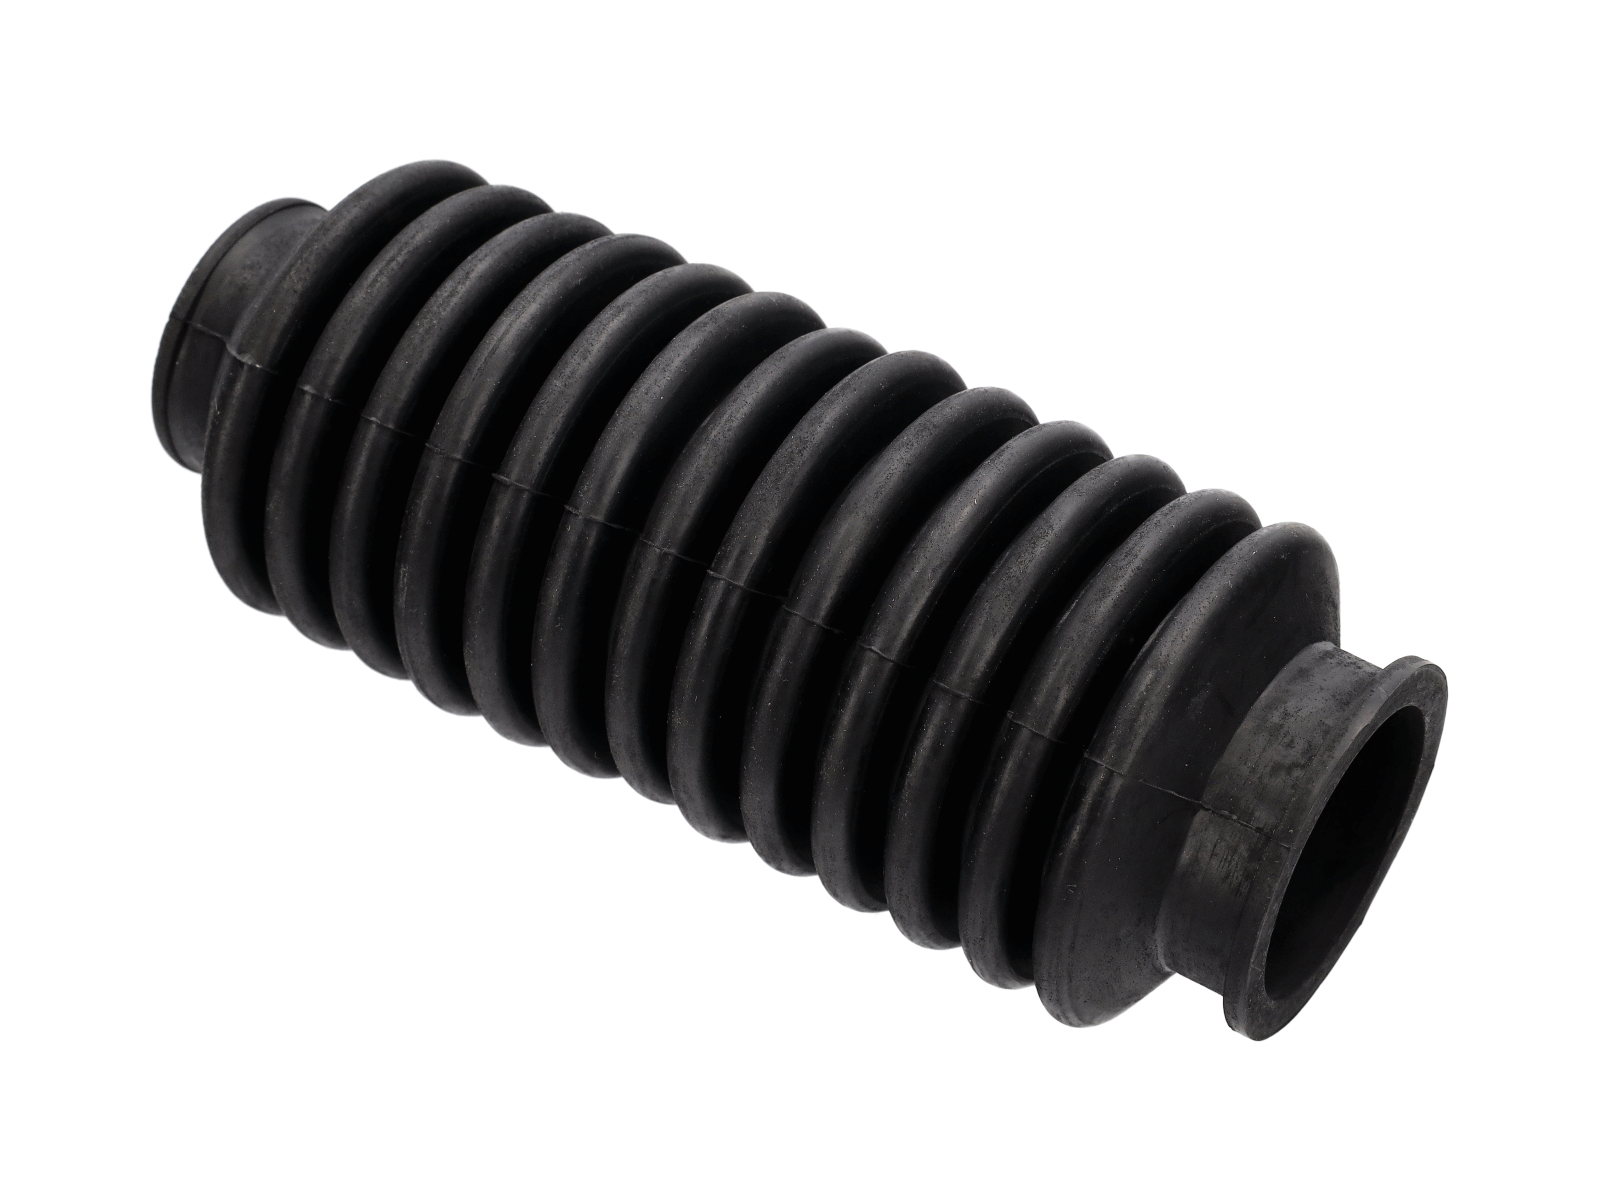
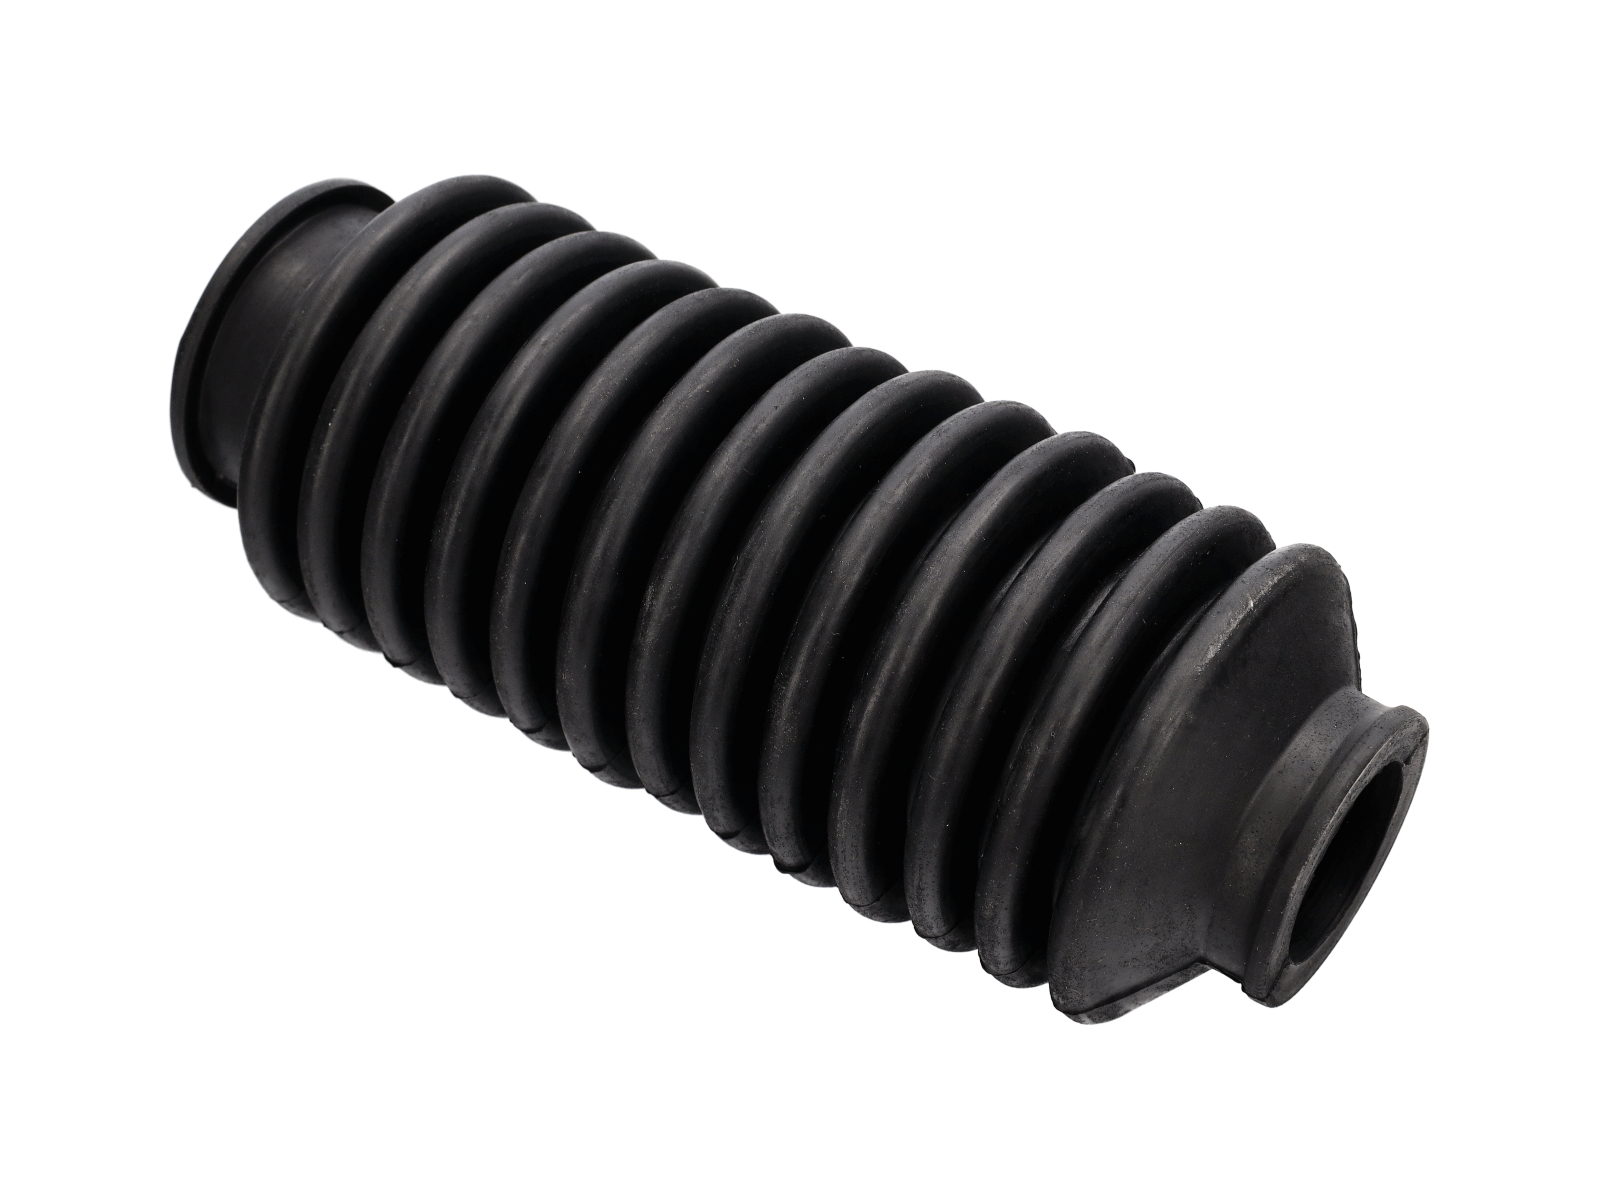
This right-side steering rack gaiter by OE Match is intended for manual steering racks. It forms a flexible protective cover around the end of the steering rack.
Fits:
- Porsche 924 2.0L 1976-79
- Porsche 924 2.0L 1980-85
- Porsche 924 Turbo 2.0L 1979-81
- Porsche 924 Turbo 2.0L 1982-84
- Porsche 924 Carrera GT 2.0L 1981
- Porsche 924 Carrera GTS 2.0L 1982
- Porsche 924S 2.5L 1986-87
- Porsche 924S 2.5L 1988
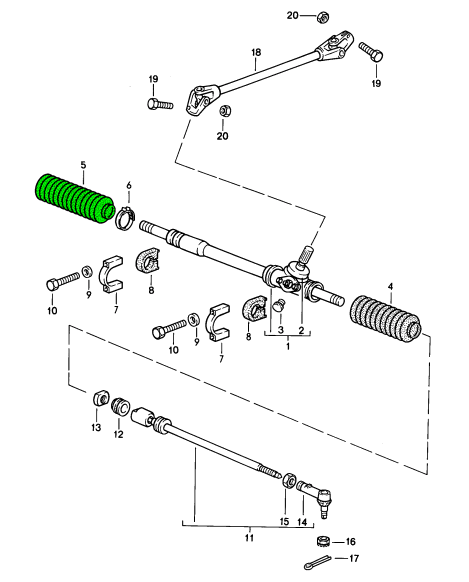
Diagram ref no 5
What This Product Does
The gaiter covers the moving section at the end of the steering rack, helping to shield the mechanism from water, grit and other road contaminants. Its flexible bellows design allows the steering assembly to move through its normal range while remaining covered.
Functions
- Covers the right-hand end of the manual steering rack
- Helps prevent dirt and moisture from reaching exposed components
- Moves with the steering rack during operation
- Supports protection of the rack and adjacent steering parts
Technical Details
- Position: Right side
- Steering system: Manual steering only
- Applications: Porsche 924, 924S and 944
Symptoms of Fault
- Visible cracks, splits or holes in the gaiter
- Material that has become hard or distorted with age
- Dirt or moisture collecting around the steering rack end
- A loose gaiter that no longer seals around its mounting points
- Contamination or corrosion visible beneath the gaiter
Why Replacement Matters
A damaged or unsecured gaiter leaves the steering rack exposed to road debris and moisture. Replacing it promptly helps limit contamination and allows the rack, tie rod and surrounding components to be inspected before the new gaiter is installed.
FAQs
- Which side does this gaiter fit? It is specified for the right side.
- Is it suitable for power steering? No. This product is intended only for manual steering racks.
- Which models are covered? Porsche 924 from 1976-85, 924S from 1986-88 and 944 from 1982-88.
Check fitment for your specific vehicle (model, year, engine) before ordering.
Related reference numbers
Related, superseded, cross reference or alternative numbers for comparison.
171419832C
The product you are viewing cross references to these numbers
- Porsche 924 2.0L 1976-79
- Porsche 924 2.0L 1980-85
- Porsche 924 Turbo 2.0L 1979-81
- Porsche 924 Turbo 2.0L 1982-84
- Porsche 924 Carrera GT 2.0L 1981
- Porsche 924 Carrera GTS 2.0L 1982
- Porsche 924S 2.5L 1986-87
- Porsche 924S 2.5L 1988
Shop Securely
12 Month Warranty
Worldwide Delivery

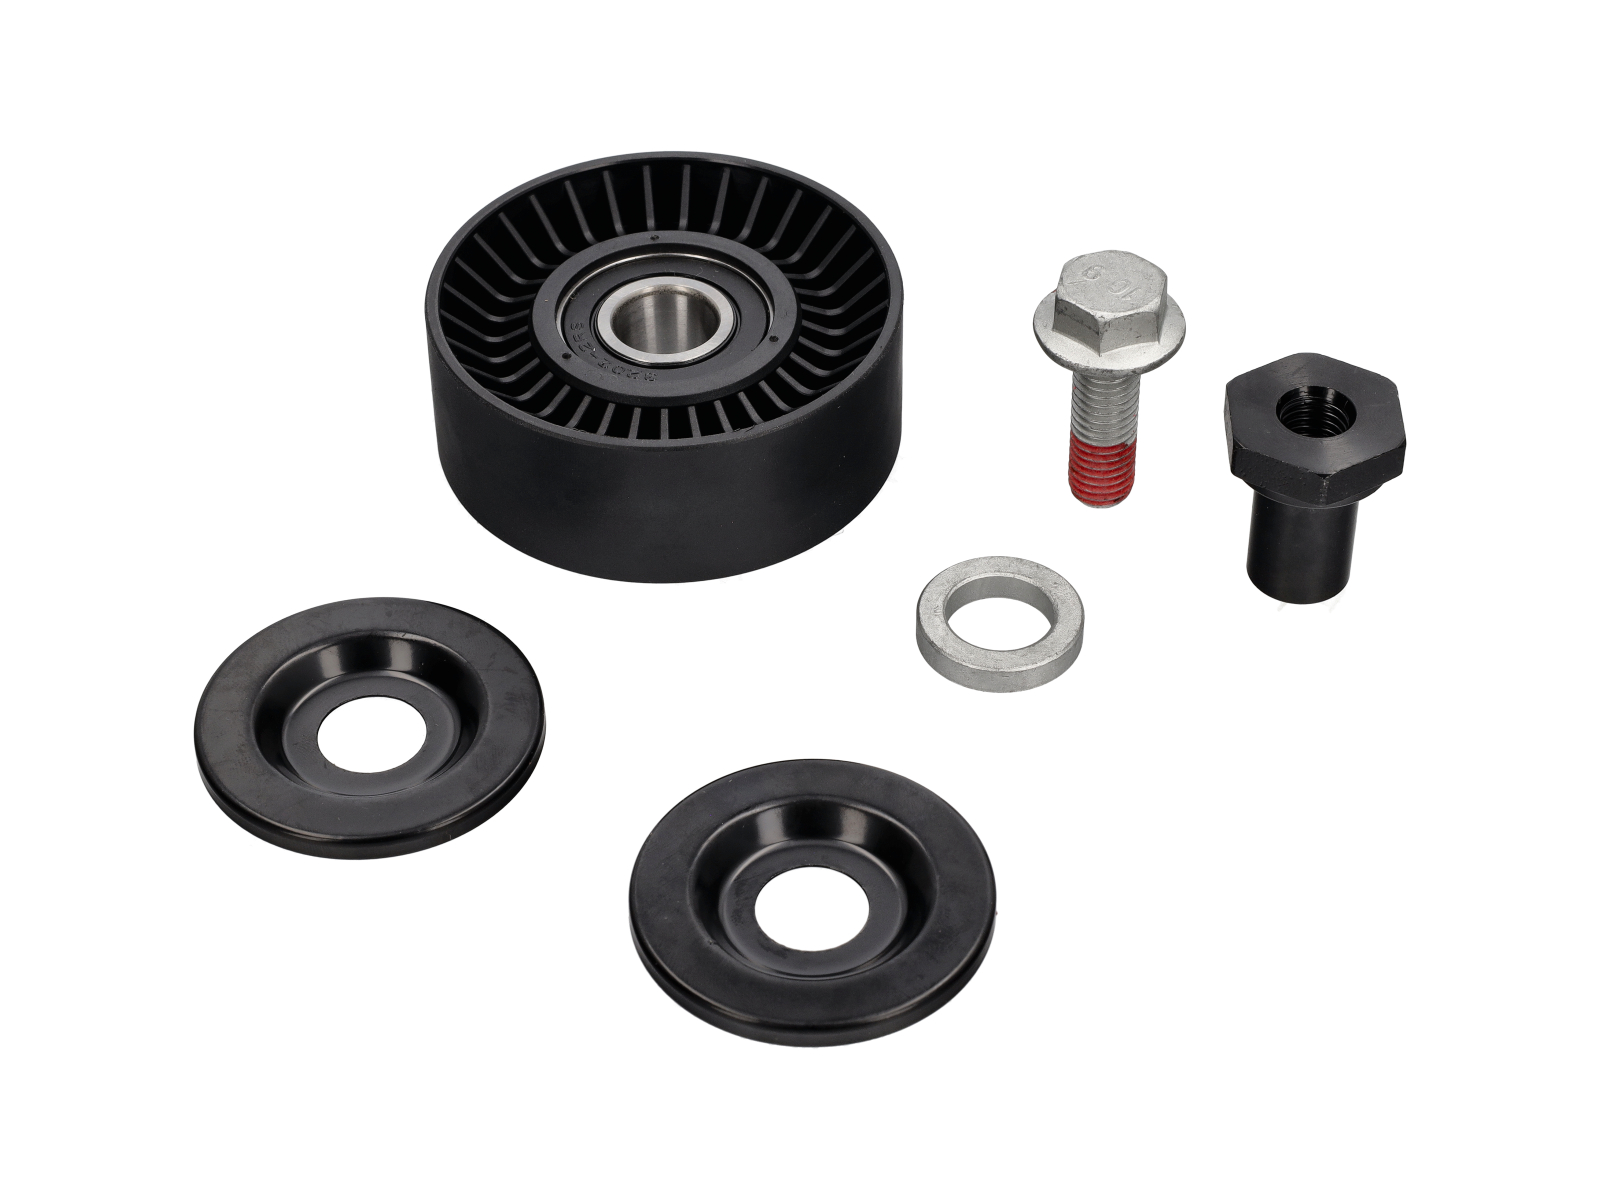
The Drive Belt Tensioning Roller, identified by part number 997.102.117.00, is a critical component in the accessory drive system of several Porsche models, including the 996, 987 (Boxster and Cayman), and 997 (Carrera) equipped with manual transmissions. This roller maintains proper tension on the serpentine belt, ensuring the efficient operation of engine accessories such as the alternator, power steering pump, and air conditioning compressor.
Fits:
- Porsche Boxster 987 S 3.2/3.4L 2005-08/08 Manual transmission
- Porsche 996 C2 3.4L 1997-08/01 6-speed Manual transmission
- Porsche 996 C4 3.4L 1997-08/01 6-speed Manual transmission
- Porsche 996 C2 3.6L 09/01-2005 6-speed Manual transmission
- Porsche 996 C4 3.6L 09/01-2005 6-speed Manual transmission
- Porsche 996 C4S 3.6L 09/01-2005 6-speed Manual transmission
- Porsche 997 MK1 Carrera 2 3.6L 2005-08 6-speed Manual transmission
- Porsche 997 MK1 Carrera 2S 3.8L 2005-08 6-speed Manual transmission
- Porsche 997 MK1 Carrera 4 3.6L 2005-08 6-speed Manual transmission
- Porsche 997 MK1 Carrera 4S 3.8L 2005-08 6-speed Manual transmission
- Porsche Cayman 2.7L 987C 2006-08 Manual transmission
- Porsche Cayman S 3.4L 987C 2005-08 Manual transmission
Common Tensioning Roller Issues and Why Replacement is Necessary. Over time, a tensioning roller can wear down due to constant exposure to engine heat and mechanical stress. Typical problems include:
- Bearing Wear: The internal bearing may deteriorate, causing noise and reducing performance.
- Seized Pulley: Rust or corrosion can lock the pulley, disrupting proper belt tension.
- Cracked or Damaged Pulley: Physical damage can misalign the belt and hinder the roller’s function.
- Replacing a worn tensioning roller is crucial to maintain proper belt operation, prevent squealing noises, and avoid potential damage to other engine components.
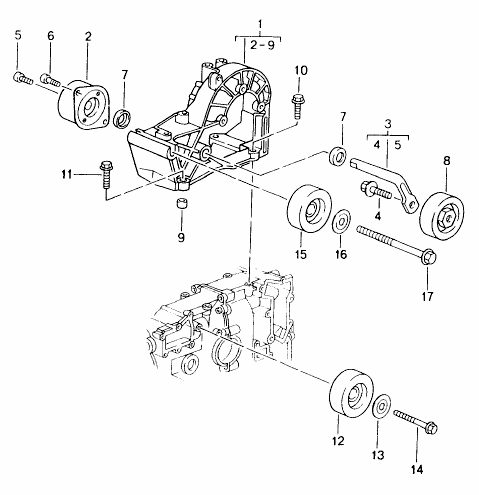
Diagram ref no 8
Related reference numbers
Related, superseded, cross reference or alternative numbers for comparison.
99710211700
The product you are viewing cross references to these numbers
- Porsche Boxster 987 2.7L 2005-08/08
- Porsche Boxster 987 S 3.2/3.4L 2005-08/08
- Porsche 996 C2 3.4L 1997-08/01
- Porsche 996 C4 3.4L 1997-08/01
- Porsche 996 C2 3.6L 09/01-2005
- Porsche 996 C4 3.6L 09/01-2005
- Porsche 996 C4S 3.6L 09/01-2005
- Porsche 997 MK1 Carrera 2 3.6L 2005-08
- Porsche 997 MK1 Carrera 2S 3.8L 2005-08
- Porsche 997 MK1 Carrera 4 3.6L 2005-08
- Porsche 997 MK1 Carrera 4S 3.8L 2005-08
- Porsche Cayman 2.7L 987C 2006-08
- Porsche Cayman S 3.4L 987C 2005-08
Shop Securely
12 Month Warranty
Worldwide Delivery

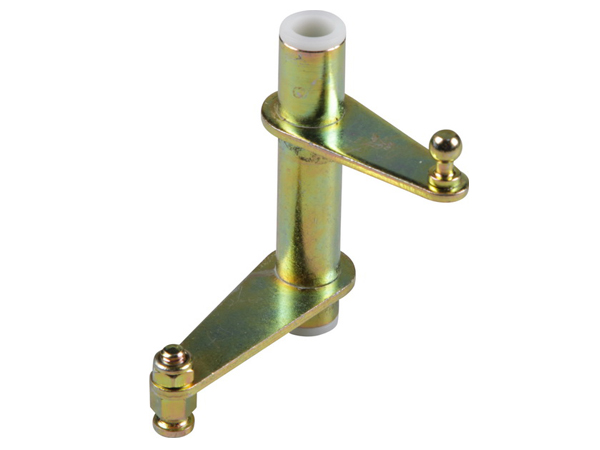
OE Match throttle linkage reverse lever. It is a replacement component for the car's mechanical accelerator linkage.
Porsche 911 1968-1973 2.2L / 2.4L / 2.7L RS LWB (F)
Porsche 911 1974-1977 2.7L / 1976-77 3.0 Carrera
Porsche 911 1978-1983 3.0L / SC
Porsche 911 1984-1986 3.2L
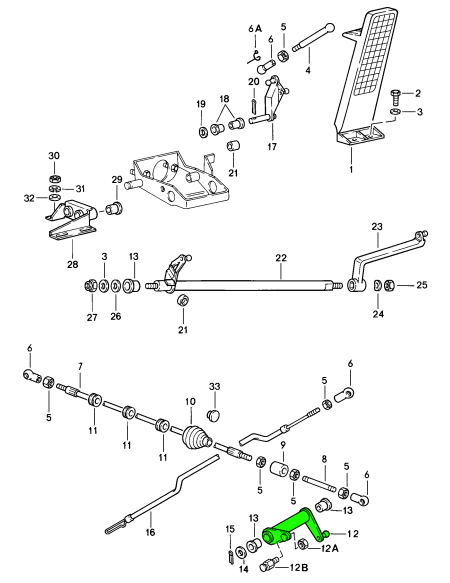
Diagram reference: 12
What This Product Does
The reverse lever operates within the accelerator control mechanism, redirecting movement between the connected throttle-linkage components as the accelerator pedal is used.
Functions
- Provides the reversing connection within the mechanical throttle linkage
- Routes pedal-operated movement through the accelerator control assembly
- Connects with the associated linkage hardware in the pedal-control system
Technical Details
- Part type: throttle linkage reverse lever
- Engine application: 2.4L–3.2L
- Application excludes Porsche 911 Turbo models
FAQs
- Is this suitable for a Porsche 911 Turbo?
No. The specified fitment is for non-Turbo Porsche 911 models. - Which engine sizes are included?
The application covers 2.4L, 2.7L, 3.0L and 3.2L non-Turbo 911 models within the stated production period. - What is the parts-diagram reference?
The listed diagram reference is 12.
Check fitment for your specific vehicle model, year and engine before ordering.
Related reference numbers
Related, superseded, cross reference or alternative numbers for comparison.
91142301701
The product you are viewing cross references to these numbers
- Porsche 911 1968-1973 2.2L / 2.4L / 2.7L RS LWB (F)
- Porsche 911 1974-1977 2.7L / 1976-77 3.0 Carrera
- Porsche 911 1978-1983 3.0L / SC
- Porsche 911 1984-1986 3.2L
Shop Securely
12 Month Warranty
Worldwide Delivery

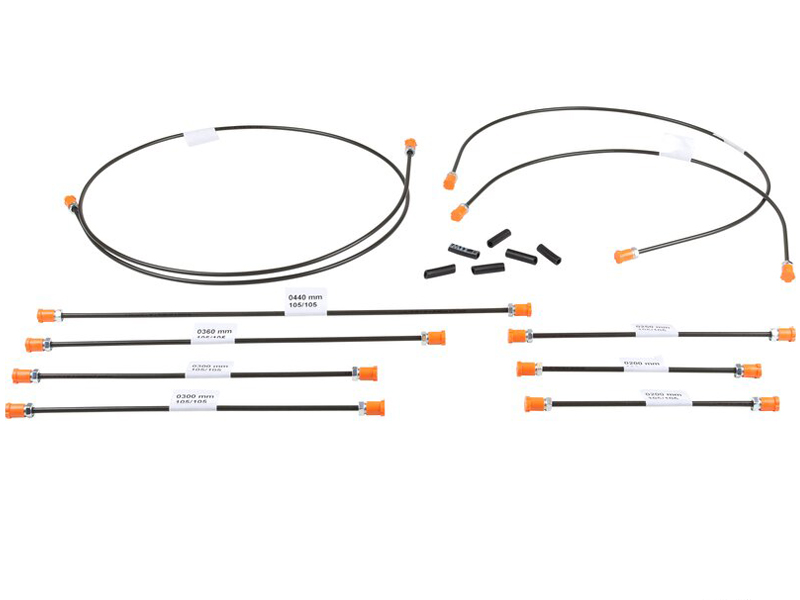
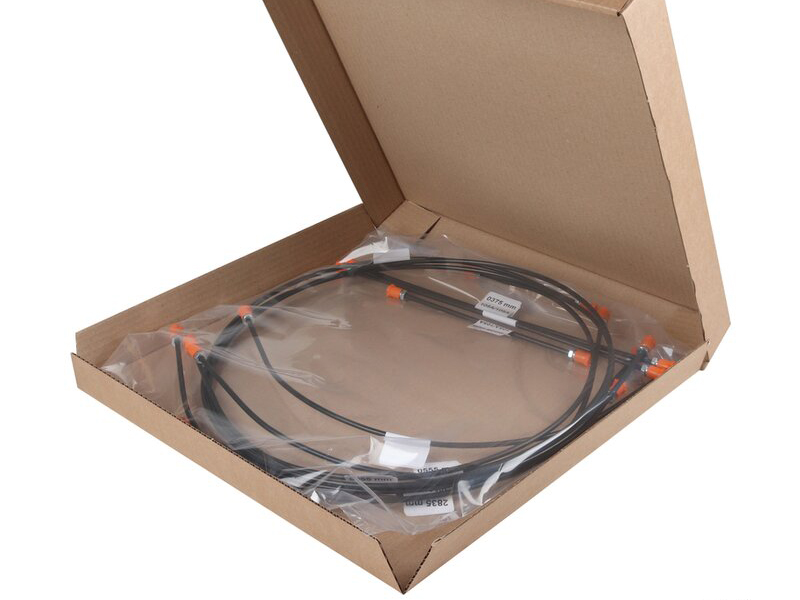
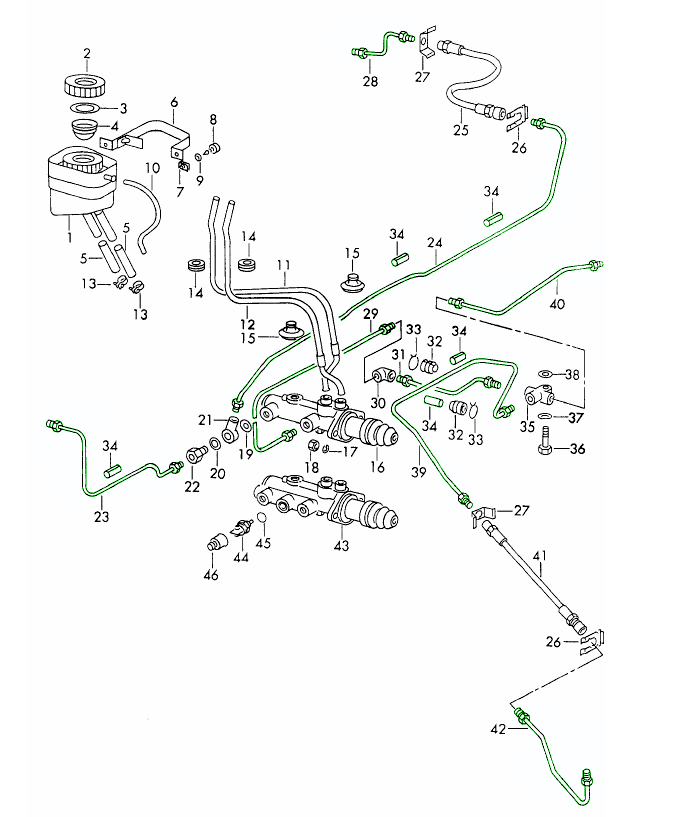
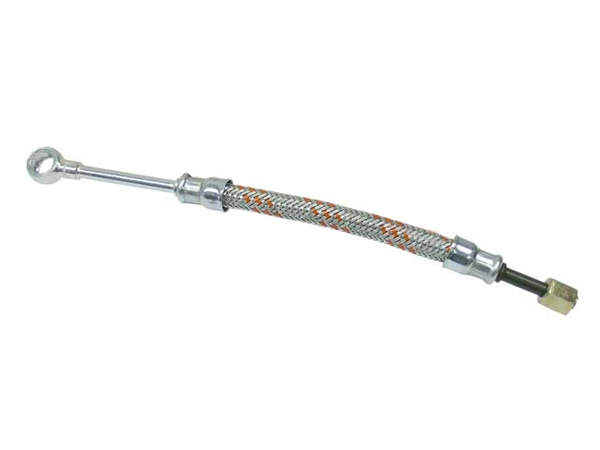
The OE Match Brake Line Kit is a complete replacement hard brake pipe set for classic Porsche 911 models equipped with a dual-circuit braking system and without a brake booster.
Set Of 10.
NOTE: Needs To Be Moulded Into Shape!
Fits:
- Porsche 911 1971-1973 2.2L / 2.4L / 2.7L RS LWB (F) (LHD Cars)
The kit contains 10 rigid brake lines used to renew the hydraulic pipework that carries pressurised brake fluid between the master cylinder and the braking components around the vehicle.
Designed for left-hand-drive Porsche 911 models from 08/1971 to 07/1973, the lines are supplied ready to be carefully shaped and routed to match the original installation.
This kit is particularly suitable for restoration work, major brake-system refurbishment, or replacement of original steel brake pipes that have become corroded, damaged or unsafe through age.
What This Product Does:
The brake lines form a critical part of the vehicle's hydraulic braking system.
When the brake pedal is pressed, the master cylinder generates hydraulic pressure. The rigid brake pipes carry this pressurised fluid through the vehicle to the wheel brakes, allowing braking force to be applied.
Their main functions include:
- Carrying pressurised brake fluid through the vehicle
- Transferring hydraulic pressure from the master cylinder to the wheel brakes
- Maintaining a sealed braking circuit
- Supporting consistent brake pedal response
- Preventing brake fluid loss
- Maintaining correct hydraulic connections between braking components
- Helping preserve the original brake-line routing
- Supporting reliable operation of the dual-circuit braking system
A dual-circuit brake system divides the hydraulic system into separate circuits, providing an additional level of redundancy compared with an earlier single-circuit arrangement.
Symptoms Of Wear Or Failure:
Rigid brake lines are exposed to moisture, road salt, dirt, vibration and repeated temperature changes. Over many years, steel pipes can corrode or become physically damaged.
Common signs that brake lines may require replacement include:
- Visible rust or corrosion
- Heavy surface pitting
- Flaking or severely deteriorated pipe surfaces
- Brake fluid leaking from a pipe
- Wetness around brake-line unions
- Falling brake fluid reservoir level
- Soft or spongy brake pedal
- Increased brake pedal travel
- Brake pedal slowly sinking under pressure
- Reduced braking performance
- Brake warning indications
- Damaged or rounded pipe fittings
- Bent, crushed or kinked brake lines
- Pipes rubbing against surrounding components
- Severe corrosion around retaining clips
- Poor-quality previous brake-line repairs
- Pipes identified as unsafe during inspection or restoration
Any leaking or heavily corroded brake pipe should be treated as a safety-critical fault.
Why Replacement Matters:
Brake lines must contain substantial hydraulic pressure every time the brakes are applied.
Corrosion gradually reduces the wall thickness of a steel brake pipe. If deterioration progresses far enough, the line can begin to leak or may rupture under braking pressure.
Loss of brake fluid reduces hydraulic pressure and can seriously compromise braking performance. Although a dual-circuit system provides more redundancy than a single-circuit design, failure of one circuit still causes a significant reduction in braking capability and requires immediate repair.
Replacing ageing or corroded brake lines helps restore:
- A sealed hydraulic braking system
- Reliable transmission of brake pressure
- Consistent pedal feel
- Correct operation of both brake circuits
- Reduced risk of brake-fluid loss
- Safer and more predictable braking
For restoration projects, replacing the complete pipe set is often preferable to renewing only one visibly damaged section, as other original lines may be of similar age and condition.
Related reference numbers
Related, superseded, cross reference or alternative numbers for comparison.
1661500610
The product you are viewing cross references to these numbers
- Porsche 911 1968-1973 2.2L / 2.4L / 2.7L RS LWB (F)
Shop Securely
12 Month Warranty
Worldwide Delivery

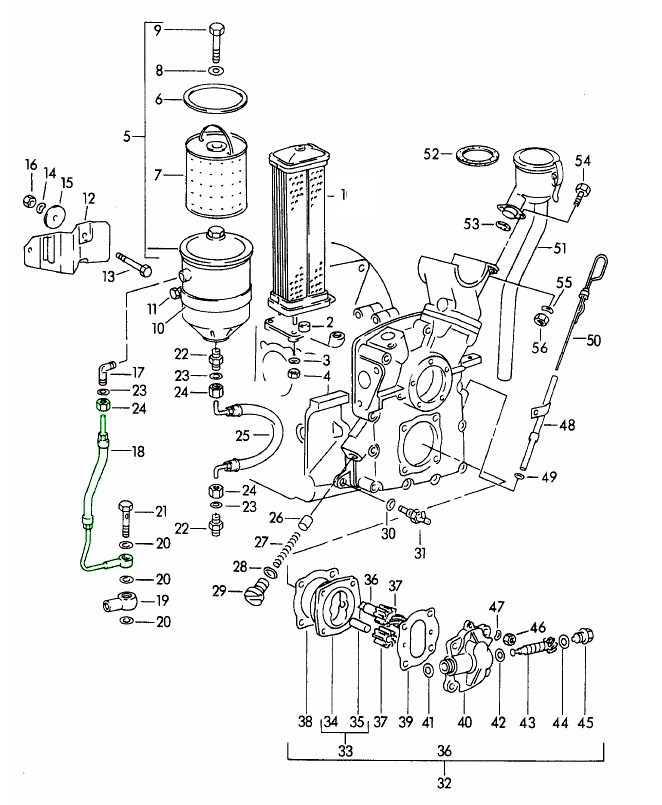
The OE Match Inlet Oil Line with Sleeve & Nut is a replacement engine lubrication line for classic Porsche 356 and 912 models.
Fits:- Porsche 912 SWB (F)
- Porsche 356 1950-55 1600 From engine M 67 001>>
- Porsche 356A 1955-59
- Porsche 356B 1959-63
- Porsche 356C 1963-65
Diagram Ref No 18 And 24
The line forms part of the engine oil circuit and provides a secure route for engine oil between components of the lubrication system. Supplied with the appropriate sleeve and nut, it is designed to reproduce the original connection arrangement and provide a reliable, leak-resistant installation.
This OE Match replacement is particularly suitable for restoration work or for replacing an original oil line that has become brittle, corroded, damaged or is beginning to leak.
What This Product Does:
Engine oil must circulate continuously through the lubrication system to protect bearings, moving components and other internal engine surfaces.
The inlet oil line forms part of this oil flow path, carrying engine oil through the lubrication circuit while maintaining a sealed connection.
Its functions include:
- Carrying engine oil through the lubrication system
- Maintaining a secure and sealed oil connection
- Supporting reliable oil circulation
- Helping maintain correct lubrication of internal engine components
- Preventing oil loss from deteriorated pipework or connections
- Maintaining the original routing of the lubrication system
- Providing a correct connection using the supplied sleeve and nut
Although relatively small, the oil line plays an important role in maintaining the integrity of the engine lubrication system.
Symptoms Of Wear Or Failure:
Classic Porsche oil lines are exposed to engine heat, vibration, oil, moisture and decades of ageing.
Common signs that an inlet oil line may require replacement include:
- Visible oil leakage
- Wet or oily deposits around the hose or fittings
- Cracks in the flexible section
- Hardened or brittle hose material
- Fraying or deterioration of the outer covering
- Corrosion around metal fittings
- Loose or damaged sleeve or securing nut
- Oil stains beneath the engine
- Gradual reduction in engine oil level
- Oil smell after driving
- Oil contamination around surrounding engine components
- Hose swelling, deformation or physical damage
- Leakage that becomes more noticeable when the engine is running
The surrounding connections and other oil hoses should also be inspected whenever deterioration is found in one section of the lubrication circuit.
Why Replacement Matters:
- A reliable engine oil supply is essential for the longevity of an air-cooled Porsche engine.
- If the inlet oil line becomes cracked, loose or damaged, engine oil can escape from the lubrication circuit. Even a relatively small leak can gradually lower the engine oil level and contaminate surrounding components.
- More significant oil loss can reduce the amount of lubricant available to critical internal engine parts. Insufficient lubrication can increase friction, heat and mechanical wear and, in severe cases, contribute to serious engine damage.
- Oil leaking onto hot engine or exhaust components can also create smoke, unpleasant odours and an increased fire risk.
- Replacing a deteriorated oil line helps restore a sealed lubrication circuit, maintain reliable oil flow and protect valuable internal engine components.
Related reference numbers
Related, superseded, cross reference or alternative numbers for comparison.
PCG07818
The product you are viewing cross references to these numbers
- Porsche 911 1965-1968 2.0L / 912 SWB (F)
- Porsche 356 1950-55
- Porsche 356A 1955-59
- Porsche 356B 1959-63
- Porsche 356C 1963-65
Shop Securely
12 Month Warranty
Worldwide Delivery

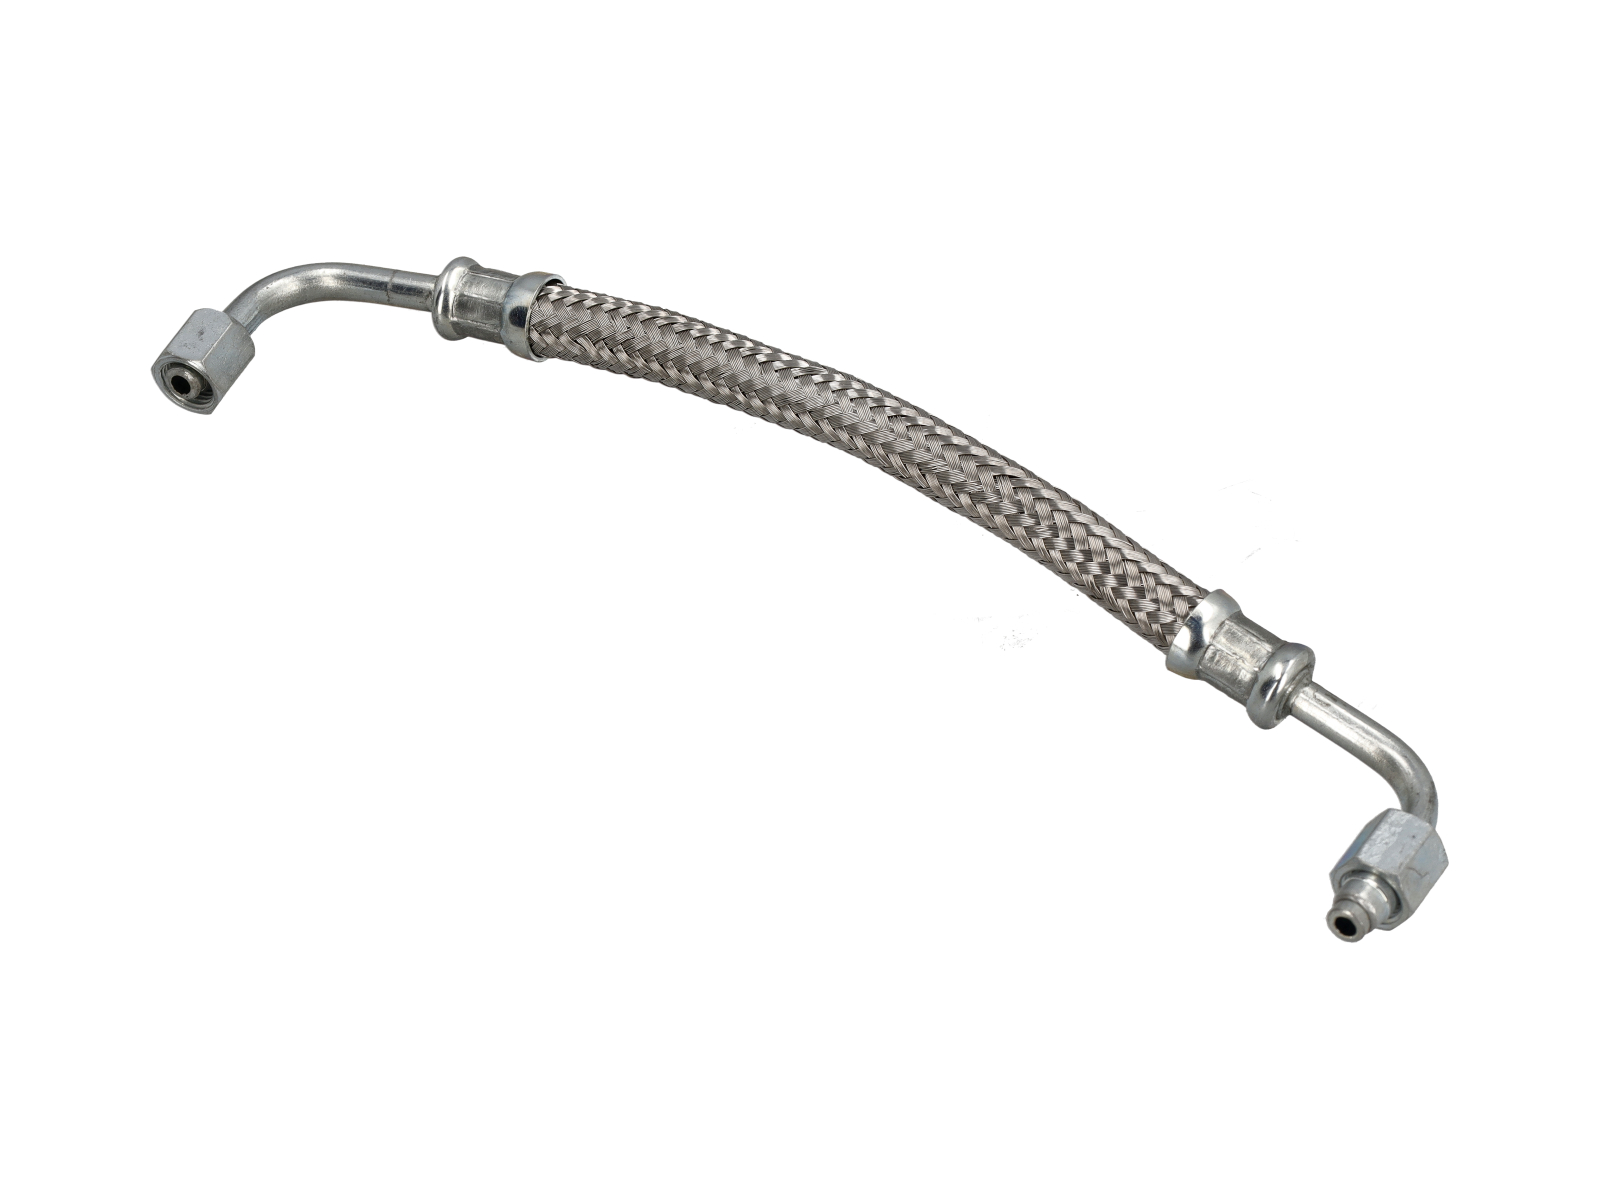
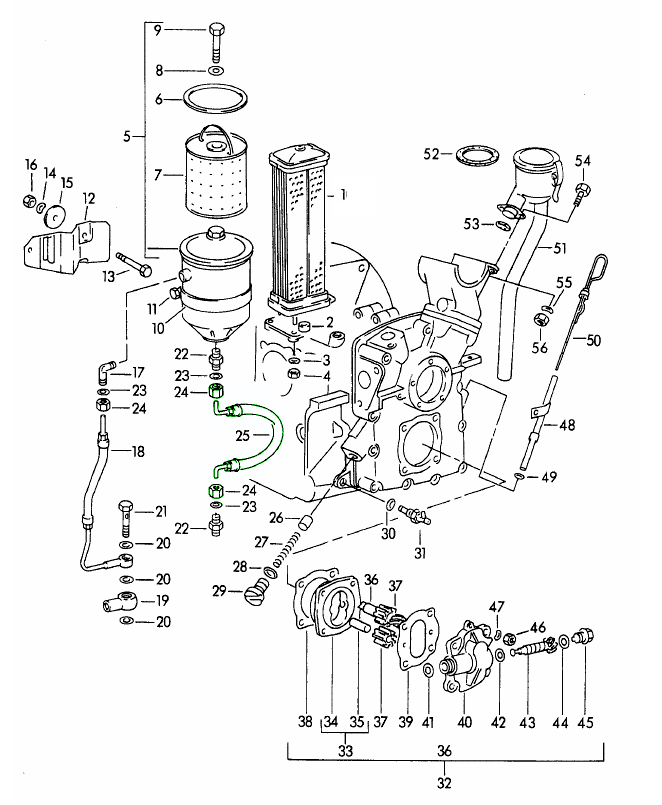
This oil line hose is a premium replacement oil line designed to replace the original Porsche hose that runs from the oil filter housing to the engine. Designed for classic Porsche 356 and 912 vehicles, this hose installs directly without modification, restoring correct oil flow and system integrity.
Fits:
Porsche 356 1950 - 1965
Porsche 912 1965 - 1969
Diagram ref no 24, 25.
The hose carries filtered engine oil from the oil filter housing to the engine block, maintaining proper oil flow and pressure to critical lubrication points throughout the engine.
Position: Engine oil delivery — between oil filter housing and engine
Function:
• Connects oil filter housing to engine for continuous oil delivery
• Maintains proper oil pressure under operating conditions
• Resists oil, heat, and vibration for long service life
A compromised oil line hose can lead to oil leaks, drop in oil pressure, and inadequate lubrication, which can accelerate engine wear or lead to severe damage. Using a correct OE Match hose ensures reliable oil flow and helps preserve engine health and longevity.
When to replace:
• Visible cracks, swelling, or brittle hose surface
• Signs of oil leakage near the filter housing or engine block
• Low oil pressure or oil delivery concerns
• During engine rebuild or maintenance service
• If original hose shows age-related deterioration
Related reference numbers
Related, superseded, cross reference or alternative numbers for comparison.
PCG07827
The product you are viewing cross references to these numbers
- Porsche 911 1965-1968 2.0L / 912 SWB (F)
- Porsche 356 1950-55
- Porsche 356A 1955-59
- Porsche 356B 1959-63
- Porsche 356C 1963-65
Shop Securely
12 Month Warranty
Worldwide Delivery

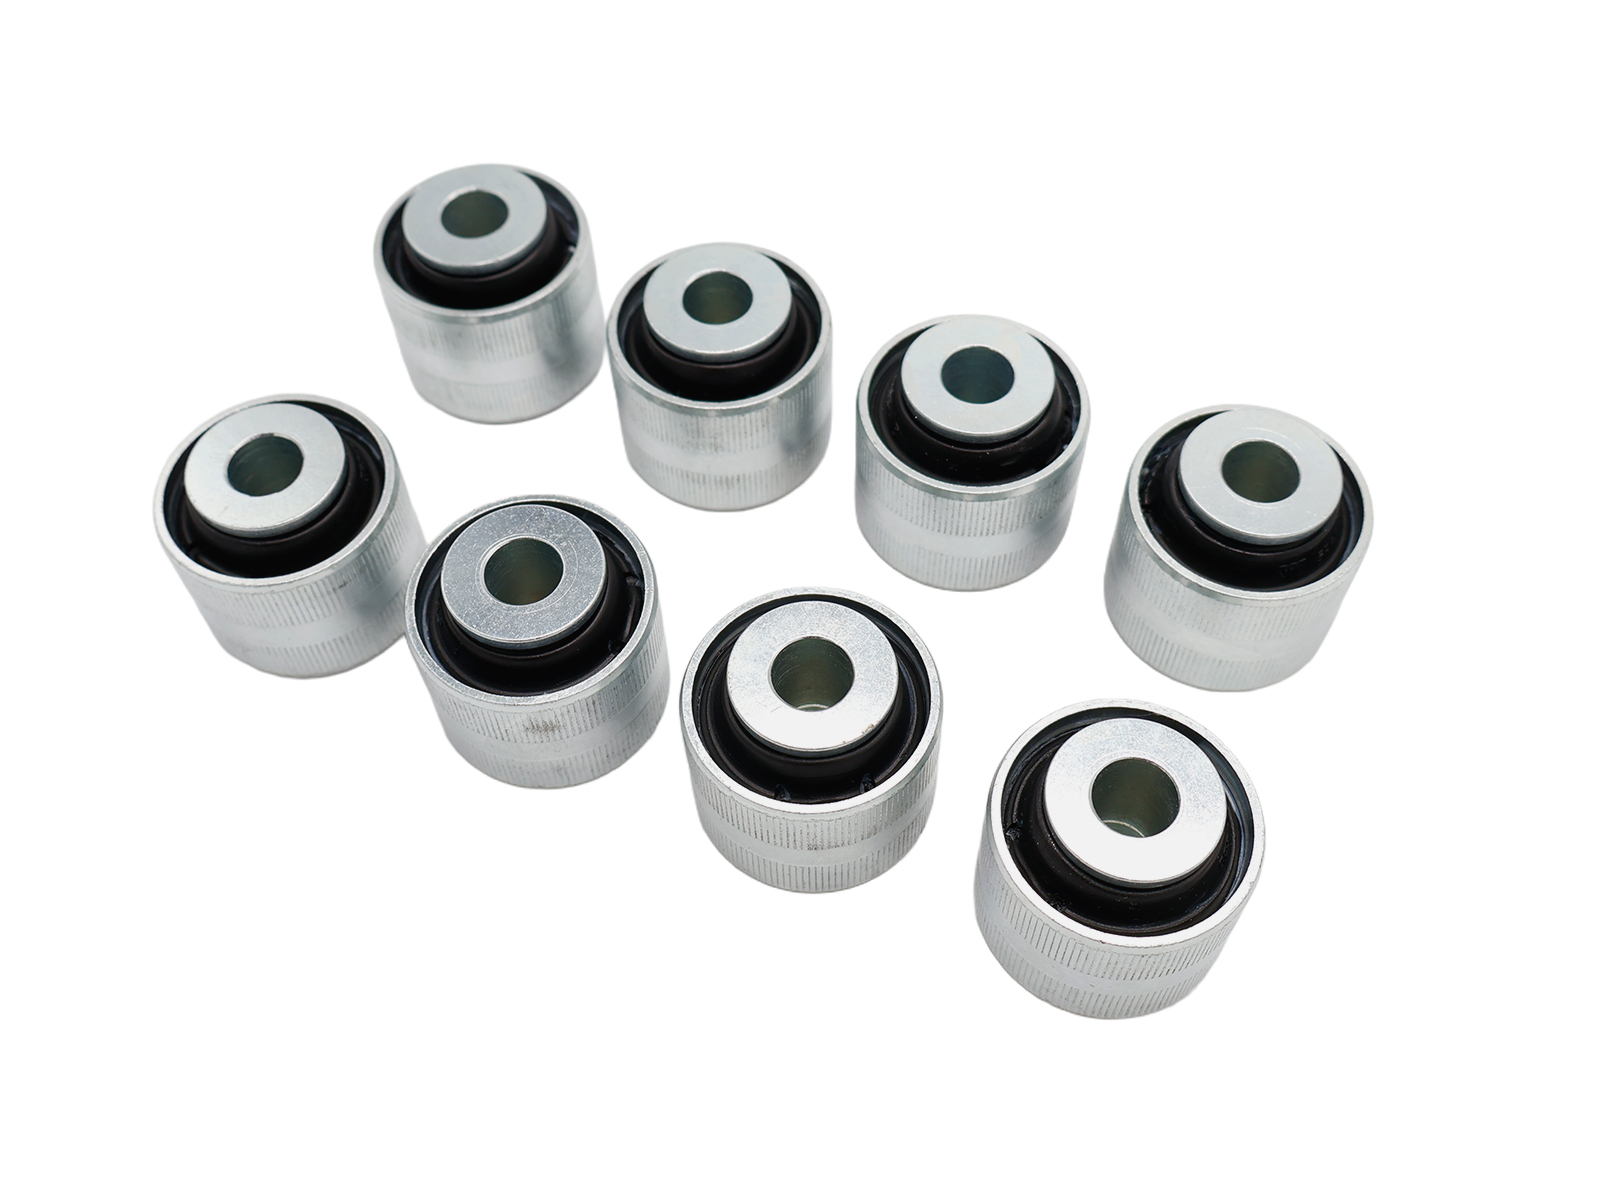
Price is SET OF 8
Fits:
Porsche 993 1995-98 all REAR
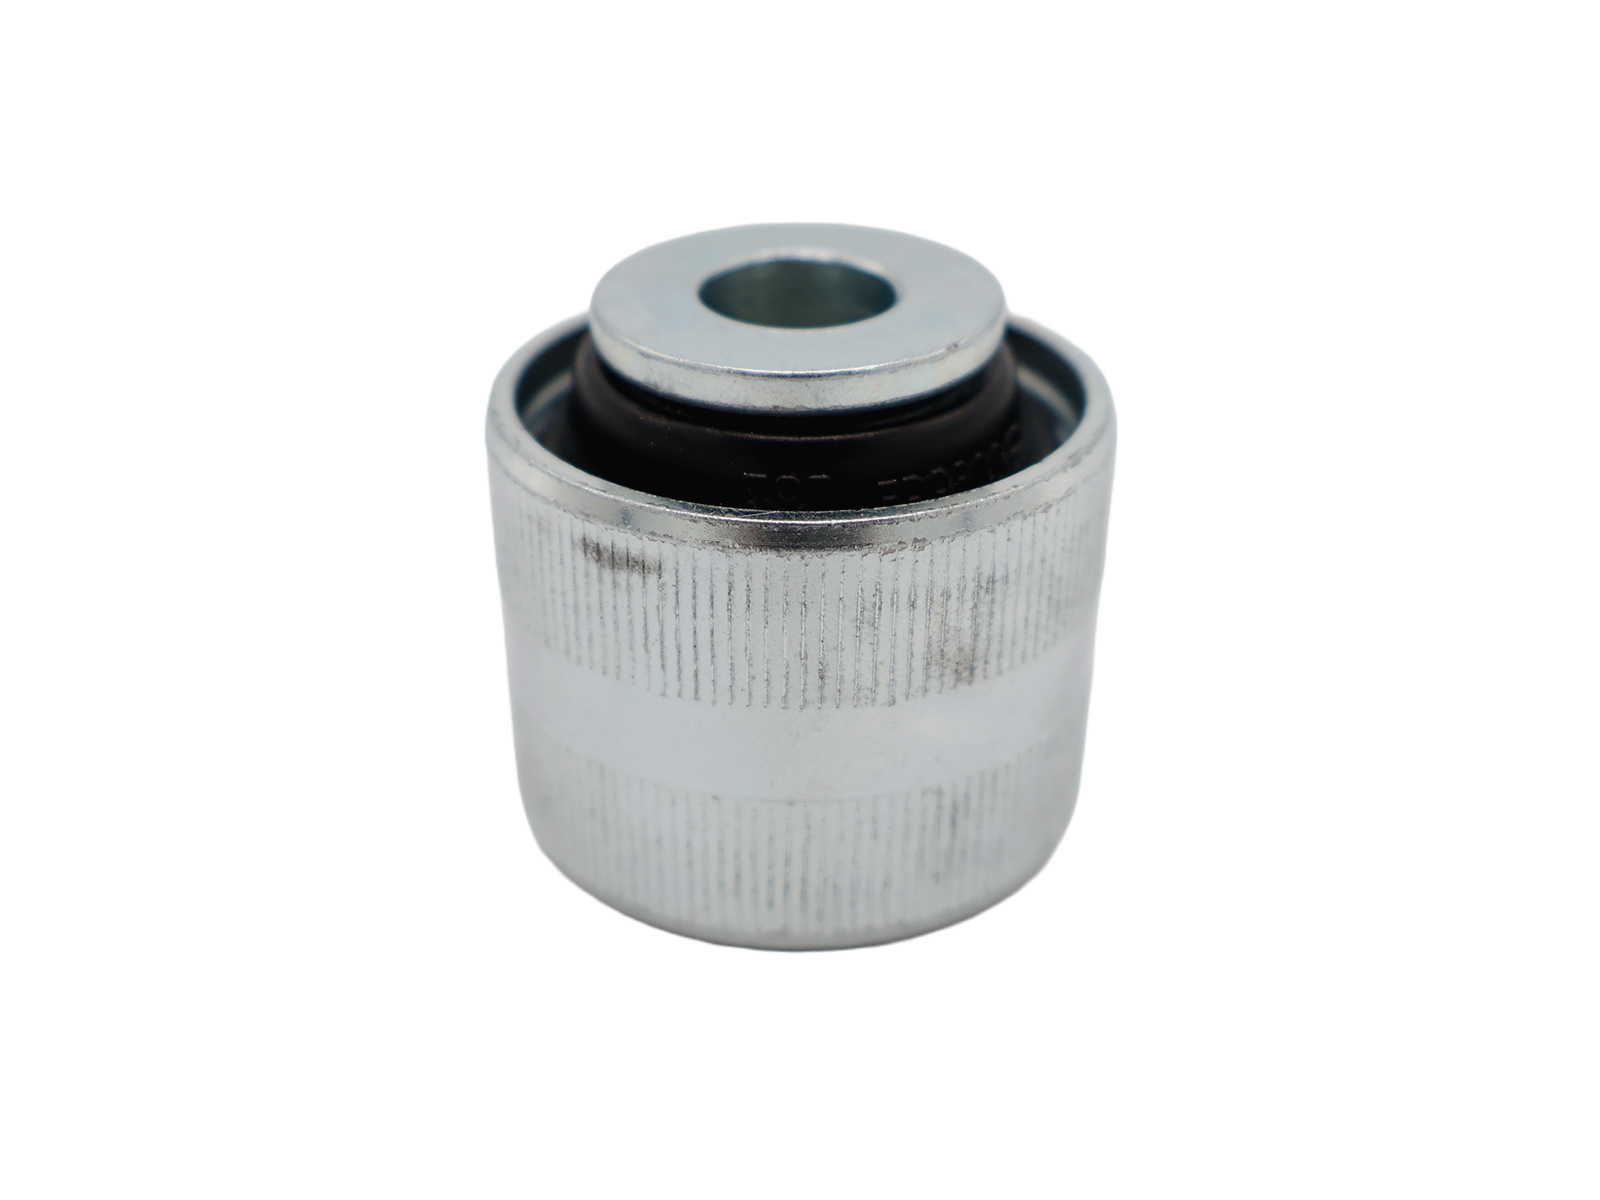
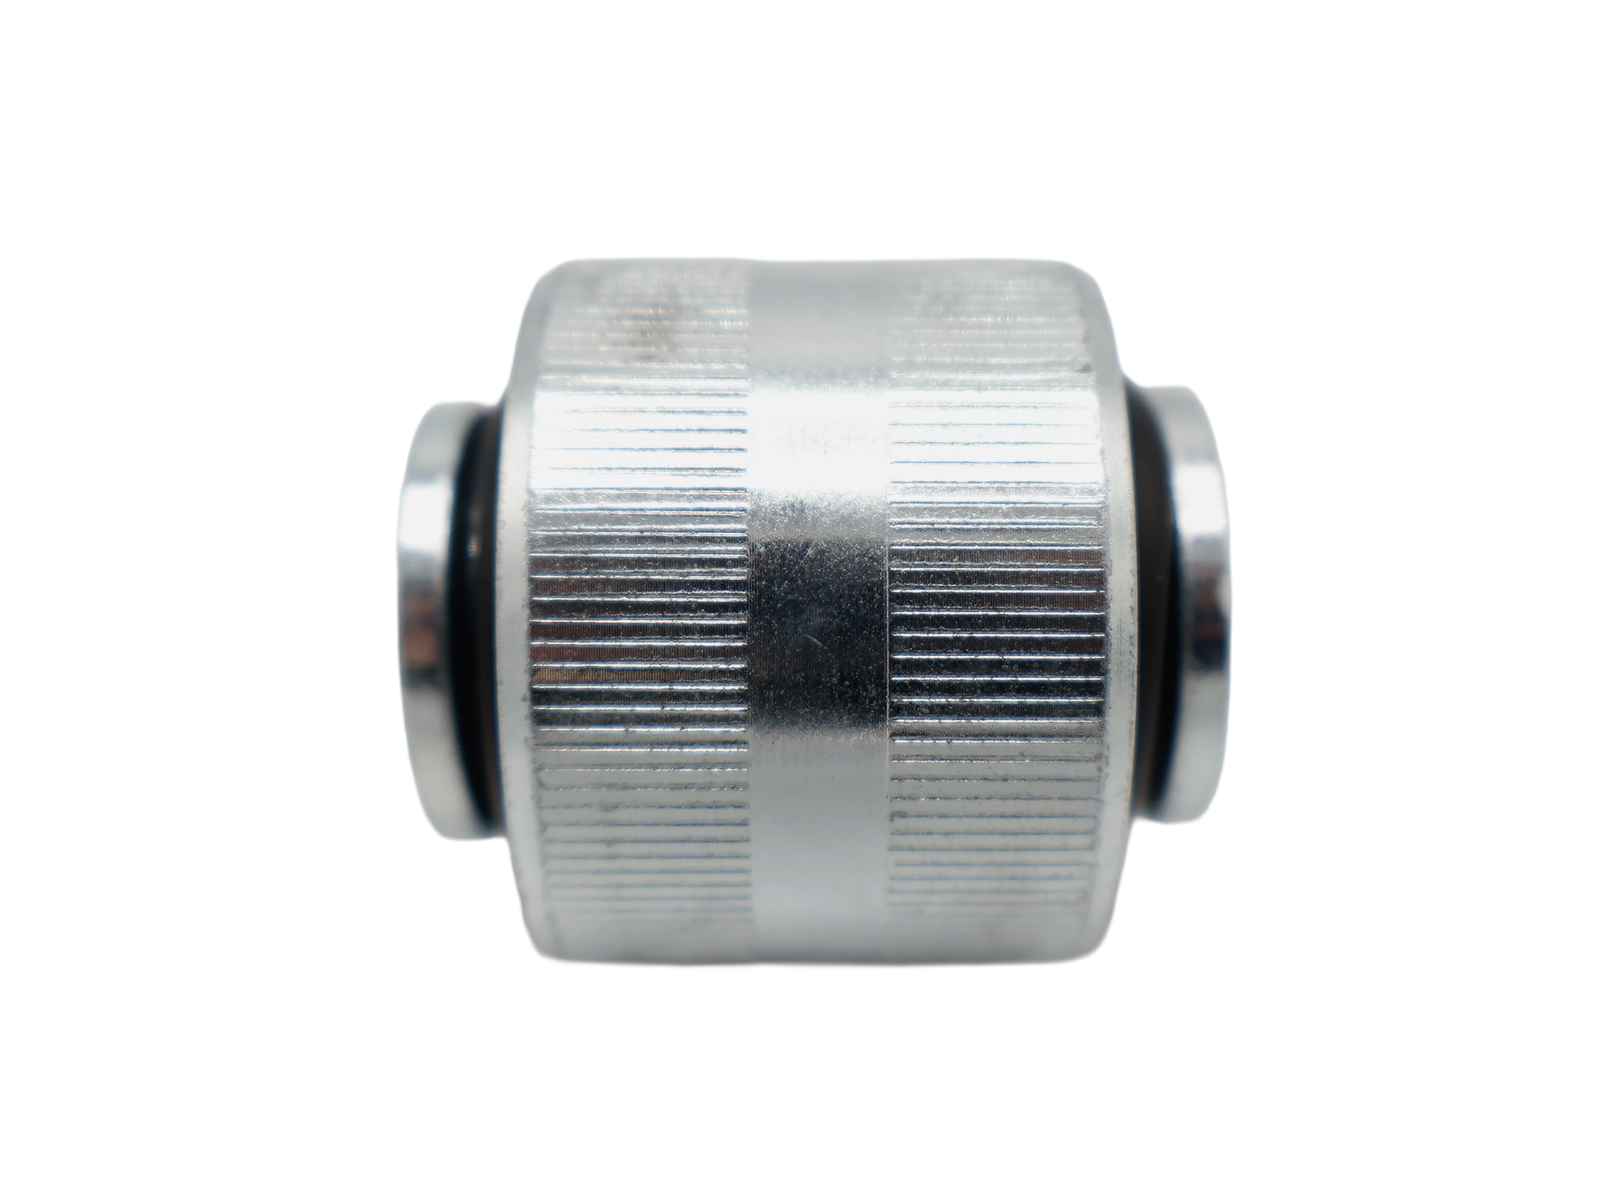
Rear Monoball bushings feature Precision Teflon-lined bearings to increase the performance of your suspension setup. Track Rods are one of the most critical pieces of a 993 rear suspension as these rods locate the rear spindle assembly. This means a worn bushing can not only cause an even twitchier rear end, but they can negatively affect camber and caster throughout the suspension's range of motion. These are a great solution on your street or track car so you can enjoy knowing your alignment settings will stay true even under heavy load and use.
Related reference numbers
Related, superseded, cross reference or alternative numbers for comparison.
99333104301
The product you are viewing cross references to these numbers

- Porsche 993 (911) C2 1994-97
- Porsche 993 (911) C4 1994-97
- Porsche 993 (911) RS 1994-97
- Porsche 993 (911) C2S 1994-97
- Porsche 993 (911) C4S 1994-97
- Porsche 993 (911) TURBO 1994-96
- Porsche 993 (911) GT2 1994-97
- Porsche 993 (911) TURBO S 1994-97
Shop Securely
12 Month Warranty
Worldwide Delivery

The OE Match Rear Brake Caliper is a replacement hydraulic braking component for classic Porsche 356 C, 911 and 912 models.
Fits:
- Porsche 911 1965-1968 2.0L / 912 SWB (F)
- Porsche 356C 1963-65
Mounted at the rear wheel, the brake caliper converts hydraulic pressure from the braking system into mechanical clamping force, pressing the brake pads against the brake disc to slow or stop the vehicle.
These OE Match calipers are designed as replacements for worn, seized, leaking or heavily corroded original units and are particularly suitable for brake-system restoration or refurbishment on classic Porsche models.
What This Product Does:
The rear brake caliper is a fundamental part of the vehicle's disc braking system.
When the driver presses the brake pedal, hydraulic pressure generated by the master cylinder travels through the brake lines to the caliper. The caliper piston then moves outward, forcing the brake pads against the rotating brake disc.
The friction generated between the pads and disc reduces wheel speed and helps bring the vehicle to a controlled stop.
Its main functions include:
- Converting hydraulic pressure into braking force
- Pressing the brake pads against the rear brake discs
- Providing controlled rear-wheel braking
- Helping maintain balanced braking between left and right sides
- Allowing the brake pads to release correctly when pedal pressure is removed
- Supporting stable and predictable braking performance
- Maintaining proper brake pad positioning
Correct operation of both rear calipers is important for balanced braking and predictable vehicle behaviour.
Symptoms Of Wear Or Failure:
Brake calipers operate in a demanding environment and are exposed to moisture, dirt, road contamination, heat and repeated hydraulic pressure.
Common signs of a worn or failing rear brake caliper include:
- Brake fluid leaking from the caliper
- Wetness around the piston or hydraulic connection
- Seized or sticking brake piston
- Brake dragging after the pedal is released
- Vehicle pulling to one side under braking
- Uneven braking performance
- One rear wheel becoming noticeably hotter than the other
- Burning smell from an overheating brake
- Excessive brake dust on one wheel
- Uneven or accelerated brake pad wear
- Reduced braking efficiency
- Soft or inconsistent brake pedal feel
- Corrosion around the caliper body
- Damaged or deteriorated piston seals
- Brake pads wearing more heavily on one side
- Wheel becoming difficult to rotate when the brake should be released
A sticking piston can cause the brake pad to remain in contact with the disc, creating excessive heat and rapid wear.
Why Replacement Matters:
Brake calipers are safety-critical components and must apply and release braking force correctly.
A seized caliper can cause the brake to remain partially applied even when the pedal is released. This generates excessive heat and can quickly damage the brake pads and disc while increasing rolling resistance.
A caliper that is seized in the opposite direction may fail to apply sufficient braking force, reducing braking effectiveness on that wheel.
Brake fluid leaks are particularly serious because loss of hydraulic fluid can reduce system pressure and significantly compromise braking performance.
Replacing a worn or damaged caliper helps restore:
- Reliable hydraulic operation
- Balanced rear braking
- Correct brake-pad movement
- Consistent pedal response
- Proper brake release
- Reduced risk of overheating
- Even brake pad and disc wear
- Predictable vehicle braking behaviour
Because braking performance should remain balanced across the axle, the condition of the caliper on the opposite side should also be checked when one caliper has failed.
Related reference numbers
Related, superseded, cross reference or alternative numbers for comparison.
90135296
The product you are viewing cross references to these numbers
- Porsche 911 1965-1968 2.0L / 912 SWB (F)
- Porsche 356C 1963-65
Shop Securely
12 Month Warranty
Worldwide Delivery

2.5 fixing centres
Note: Comes with Caliper spacers fitted for Vented discs. Remove spacers, use shorter bolts provided and existing fluid link pipe for Non-Vented disc applications.

Porsche 911 TU 1965-68
Porsche 912
Porsche 356 C 1964-65*
For 356 C the Left & Right side is opposite
The brake caliper holds the brake pads and applies clamping force to the brake disc when the brake pedal is pressed. A correctly working caliper helps provide consistent braking response, even pad contact, and dependable stopping performance.
Functions
• Replaces the front brake caliper
• Available for left and right side applications
• Holds and applies the brake pads to the front brake disc
• Helps restore correct front axle braking performance
• Supports even brake pad wear and stable braking response
• Suitable for brake overhaul, restoration, or repair work
• OE Match replacement for classic Porsche front brake systems.
Why Replace This Part?
Brake calipers can seize, leak, corrode, stick, or wear internally due to age, moisture, brake fluid contamination, heat, and long-term use. A faulty caliper may cause pulling under braking, uneven pad wear, brake fluid leaks, dragging brakes, reduced braking performance, or failed inspection. Replacing the caliper helps restore safe and reliable front braking operation.
When to Replace This Part
• Front brake caliper is seized, leaking, or corroded
• Brake pads are wearing unevenly
• Vehicle pulls to one side under braking
• Brake pedal feel is poor or inconsistent
• Front brakes are dragging or overheating
• Brake overhaul or restoration work is being carried out
• The vehicle has failed inspection due to caliper wear or leakage.
Where it fits on the car
This caliper fits on the front brake assembly of Porsche 356C, 911, and 912 models. Left and right side versions are available depending on the side being replaced.
Related reference numbers
Related, superseded, cross reference or alternative numbers for comparison.
90135196
The product you are viewing cross references to these numbers
- Porsche 911 1965-1968 2.0L / 912 SWB (F)
- Porsche 356C 1963-65
Shop Securely
12 Month Warranty
Worldwide Delivery

The OE Match Console for Twin Ignition Coil is a replacement mounting bracket designed to securely locate two ignition coils within the engine compartment of classic Porsche 911 and 912 models.
Fits:- Porsche 911 1965-1968 2.0L / 912 SWB (F)
- Porsche 911 1968-1973 2.2L / 2.4L / 2.7L RS LWB (F)
The console provides a stable mounting platform for a twin-coil ignition arrangement, keeping both coils correctly positioned and helping prevent excessive movement caused by engine vibration and vehicle motion.
It is particularly suitable for restoration, ignition-system refurbishment or vehicles equipped with a twin-coil or compatible twin-ignition configuration where the original bracket is damaged, corroded, modified or missing.
What This Product Does:
Ignition coils convert the vehicle's low-voltage electrical supply into the much higher voltage required by the ignition system to create a spark at the spark plugs.
This console does not generate or control the spark itself. Instead, it securely supports the two ignition coils used in the relevant ignition arrangement.
Its functions include:
- Securely mounting two ignition coils
- Maintaining correct coil positioning
- Reducing excessive vibration and movement
- Supporting orderly ignition-wire routing
- Reducing strain on electrical terminals and wiring
- Preventing coils from contacting surrounding engine components
- Maintaining a clean and secure engine-bay installation
- Providing a suitable mounting arrangement for twin-coil ignition systems
A secure mounting platform is important because ignition components are continually exposed to engine vibration and heat.
Symptoms Of Wear Or Failure:
Although the console is a relatively simple metal component, age, corrosion, vibration and previous modifications can cause deterioration.
Common signs that replacement may be required include:
- Visible rust or heavy corrosion
- Cracked or broken mounting points
- Bent or distorted console
- One or both ignition coils becoming loose
- Excessive coil vibration while the engine is running
- Rattling from the engine compartment
- Enlarged or damaged mounting holes
- Missing or loose mounting hardware
- Ignition wiring being stretched or poorly routed
- Coils contacting nearby components
- Difficulty securely mounting both ignition coils
- Evidence of improvised or incorrect previous repairs
- Missing original mounting console
Ignition problems such as misfires or weak spark are not necessarily caused by the bracket itself. The coils, wiring, distributor and other ignition components should also be checked where running problems are present.
Why Replacement Matters:
Ignition coils should remain securely mounted during engine operation.
If the mounting console is bent, cracked or heavily corroded, the coils may vibrate excessively. Continued movement can place additional stress on electrical terminals, high-voltage leads and associated wiring.
A poorly secured coil can also move into contact with surrounding engine components, potentially causing chafing, damaged insulation or unreliable electrical connections.
Replacing a damaged console helps restore:
- Secure twin-coil mounting
- Correct ignition component positioning
- Reduced vibration
- Proper wiring and lead routing
- Reduced mechanical stress on electrical connections
- A tidy, factory-style engine-bay installation
For restored or modified classic Porsche models using a twin-coil ignition arrangement, a correctly fitted mounting console also provides a much safer and more professional installation than improvised brackets or unsupported coils.
Related reference numbers
Related, superseded, cross reference or alternative numbers for comparison.
COM111106
The product you are viewing cross references to these numbers
- Porsche 911 1965-1968 2.0L / 912 SWB (F)
- Porsche 911 1968-1973 2.2L / 2.4L / 2.7L RS LWB (F)
Shop Securely
12 Month Warranty
Worldwide Delivery

The OE Match Seat Belt Fastening Angle is a replacement mounting bracket for the seat-belt installation on classic Porsche 911 models from 1969–1973.
Price Is For Each.
- Porsche 911 1968-1973 2.2L / 2.4L / 2.7L RS LWB (F)
Diagram Ref No 5
Available in specific left- and right-hand versions, the fastening angle forms part of the seat-belt mounting arrangement and provides a secure mounting position for the associated restraint hardware.
These OE Match components are particularly suitable for restoration or replacement of original brackets that have become corroded, bent, damaged or are missing.
What This Product Does:
The fastening angle provides a rigid mounting point within the seat-belt installation.
Seat belts rely on correctly positioned and structurally secure anchorages to restrain the occupant during sudden braking or a collision. The fastening angle helps position and support the relevant seat-belt attachment hardware in the intended factory location.
Its functions include:
- Providing a secure mounting point for seat-belt hardware
- Maintaining correct positioning of the belt attachment
- Supporting the original seat-belt installation geometry
- Providing a rigid connection between the restraint hardware and mounting structure
- Helping keep the seat belt correctly aligned
- Restoring the factory-style mounting arrangement during vehicle restoration
Because this component forms part of the occupant restraint system, its structural condition and correct installation are particularly important.
Symptoms Of Wear Or Failure:
The fastening angle is a metal component, but age, moisture, corrosion and previous repairs can compromise its condition.
Common signs that replacement may be required include:
- Visible rust or corrosion
- Heavy surface pitting
- Cracks around mounting holes
- Bent or distorted bracket
- Enlarged or damaged mounting holes
- Loose seat-belt attachment
- Bracket moving when the belt is pulled
- Missing fastening angle
- Damage caused by previous seat or interior modifications
- Incorrectly positioned seat-belt mounting hardware
- Evidence of previous accident damage
- Severe corrosion discovered during restoration
- Mounting hardware that can no longer be tightened securely
Any seat-belt anchorage showing structural damage or significant corrosion should be inspected carefully before the vehicle is used.
Why Replacement Matters:
- The seat belt is a primary safety system, and its mounting components must remain strong and securely attached.
- A corroded, cracked or distorted fastening angle may not support the seat-belt attachment as intended. Excessive movement can also affect belt positioning and place abnormal loads on related mounting hardware.
- Because seat belts can experience very high forces during a collision, seemingly minor deterioration in an anchorage component can be significant.
- Replacing a damaged fastening angle helps restore the intended mounting arrangement and ensures the associated seat-belt hardware can be secured correctly.
- For restoration work, renewing heavily corroded or previously modified brackets is also preferable to reusing components whose structural integrity may be uncertain.
Related reference numbers
Related, superseded, cross reference or alternative numbers for comparison.
90152104
The product you are viewing cross references to these numbers
- Porsche 911 1968-1973 2.2L / 2.4L / 2.7L RS LWB (F)
Shop Securely
12 Month Warranty
Worldwide Delivery

OE Match front brake caliper for Porsche 914-4 models from 1972. The caliper mounting points are spaced 76mm apart.
Fits
Porsche 914 (1972-1976)
What This Product Does
The front brake caliper converts hydraulic pressure from the braking system into clamping force at the brake pads. This presses the pads against the brake disc to slow the wheel. Correct caliper movement is important for balanced braking and consistent pad contact.
Functions
- Holds the front brake pads in position around the disc.
- Applies clamping force when hydraulic pressure reaches the caliper.
- Releases the pads correctly when brake pressure is removed.
- Supports even braking effort across the front axle when paired with a serviceable matching caliper.
Technical Details
- Position: front
- Caliper type: fixed caliper
- Fixing-point spacing: 76mm
- Brake pads are not included according to the assembly reference.
Symptoms of Fault
- Vehicle pulling to one side during braking
- Uneven or accelerated front brake-pad wear
- Caliper piston sticking or failing to release correctly
- Brake-fluid leakage around the caliper seals or connections
- Unusual heat, noise or resistance from a front wheel
- Soft or inconsistent brake-pedal response
Why Replacement Matters
A seized, leaking or damaged caliper may prevent the pads from applying or releasing evenly. Replacing the affected unit can restore correct hydraulic operation and pad movement, although the brake disc, pads, hose, fluid and opposite caliper should also be inspected for related wear. Confirm the required left- or right-hand reference before ordering. Brake-system work should be completed and checked by a competent technician.
FAQs
- Which models use this caliper?
Porsche 914-4 1.7L, 1.8L and 2.0L applications from 1972, subject to vehicle-specific confirmation. - What is the mounting distance?
The caliper fixing points are 76mm apart. - Are both sides represented by the same OE number?
No. Reference 91435142500 identifies the left-hand caliper and 91435142600 identifies the right-hand caliper. - Are brake pads included?
The assembly information identifies these as fixed calipers without pads. Check the required pads and fitting components separately.
Related reference numbers
Related, superseded, cross reference or alternative numbers for comparison.
91435142
The product you are viewing cross references to these numbers
- Porsche 914 (1970-1976)
Shop Securely
12 Month Warranty
Worldwide Delivery

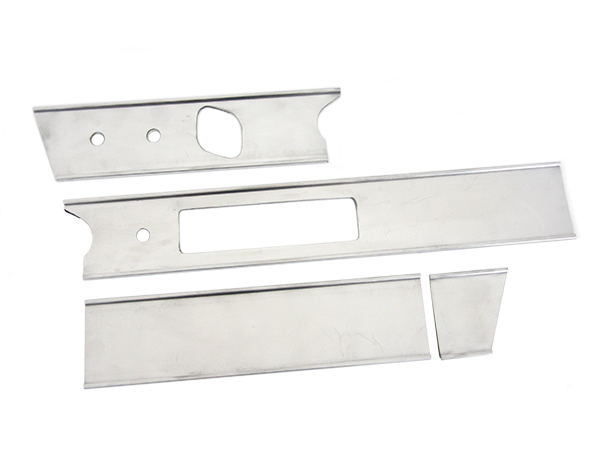
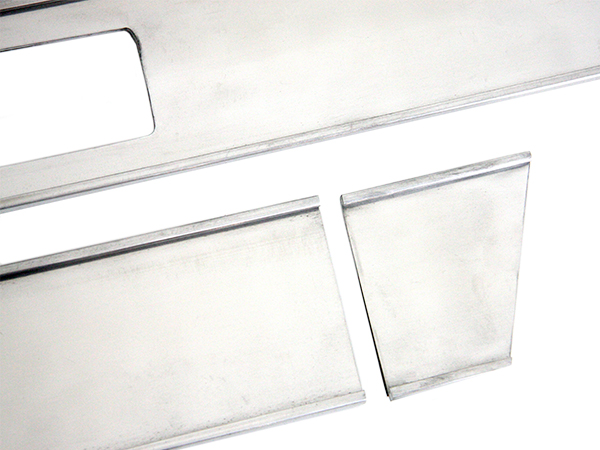
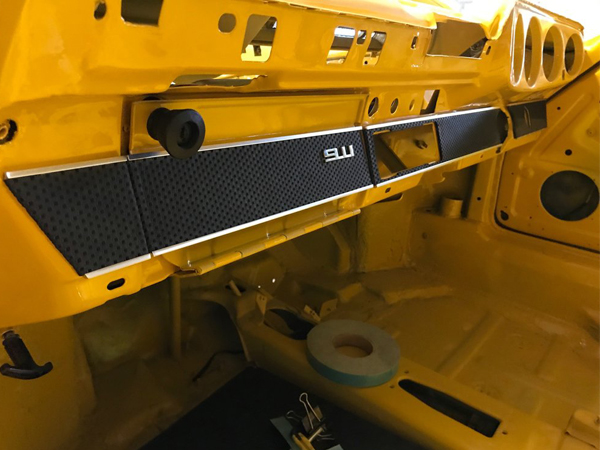
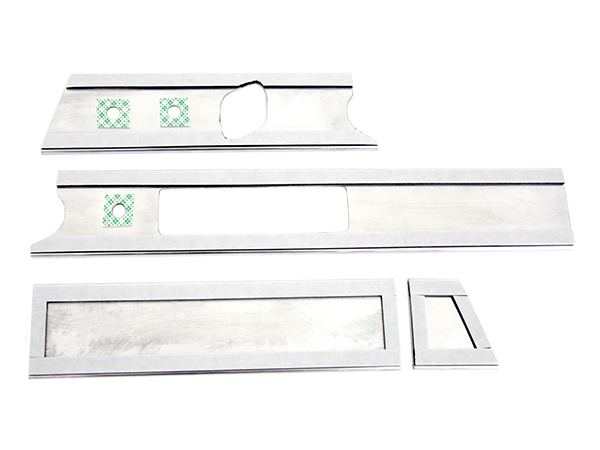
This OE Match aluminium dashboard trim frame set is configured for left-hand-drive Porsche 911 models, with a factory air-vent opening and radio-delete layout. It recreates the alloy dashboard appearance associated with early 1970s cars and can also be used for a backdate-style interior on the listed 1974–89 models.
Fits:
- Porsche 911 1974-1977 2.7L / 1976-77 3.0 Carrera
- Porsche 911 1978-1983 3.0L / SC
- Porsche 911 1984-1986 3.2L
- Porsche 911 1987-1989 3.2L G50
- Porsche 911 1975-1977 3.0L Turbo (930)
- Porsche 911 1978-1989 3.3L Turbo (930)
What This Product Does
The set provides aluminium framing for the dashboard fascia while retaining the factory air-vent aperture and omitting the radio opening. Its layout is intended for LHD interiors requiring a period-style radio-delete dashboard treatment.
Functions
- Frames the dashboard fascia with aluminium trim
- Accommodates the factory dashboard air vent
- Provides a radio-delete configuration
- Creates an early 1970s-inspired alloy trim appearance
- Supports backdate-style interior projects on listed G-model 911s
Technical Details
- Material: aluminium
- Manufacturing process: extruded and precision milled
- Driver position: left-hand drive (LHD)
- Configuration: factory air-vent cut-out with no radio opening
- Fitting does not call for specialist tooling
- Basketweave-pattern and plain vinyl dashboard facings are not supplied
Why Replacement Matters
This frame set can replace missing or damaged dashboard trim during an interior refurbishment, or provide the required layout for a period-inspired backdate project. Confirm the dashboard openings, driving position and radio-delete requirement before fitting.
FAQs
- Is this set for LHD or RHD cars?
This version is configured specifically for left-hand-drive interiors. - Does the frame include a radio opening?
No. It uses a radio-delete layout while retaining the factory air-vent cut-out. - Are the dashboard facing materials included?
No. Basketweave-pattern or plain vinyl facings must be obtained separately. - Are specialist tools required?
The product information states that fitting does not require specific specialist tools. - What is the frame made from?
The trim is manufactured from extruded, precision-milled aluminium.
Related reference numbers
Related, superseded, cross reference or alternative numbers for comparison.
91155201020
The product you are viewing cross references to these numbers
- Porsche 911 1974-1977 2.7L / 1976-77 3.0 Carrera
- Porsche 911 1978-1983 3.0L / SC
- Porsche 911 1984-1986 3.2L
- Porsche 911 1987-1989 3.2L G50
- Porsche 911 1975-1977 3.0L Turbo (930)
- Porsche 911 1978-1989 3.3L Turbo (930)
Shop Securely
12 Month Warranty
Worldwide Delivery

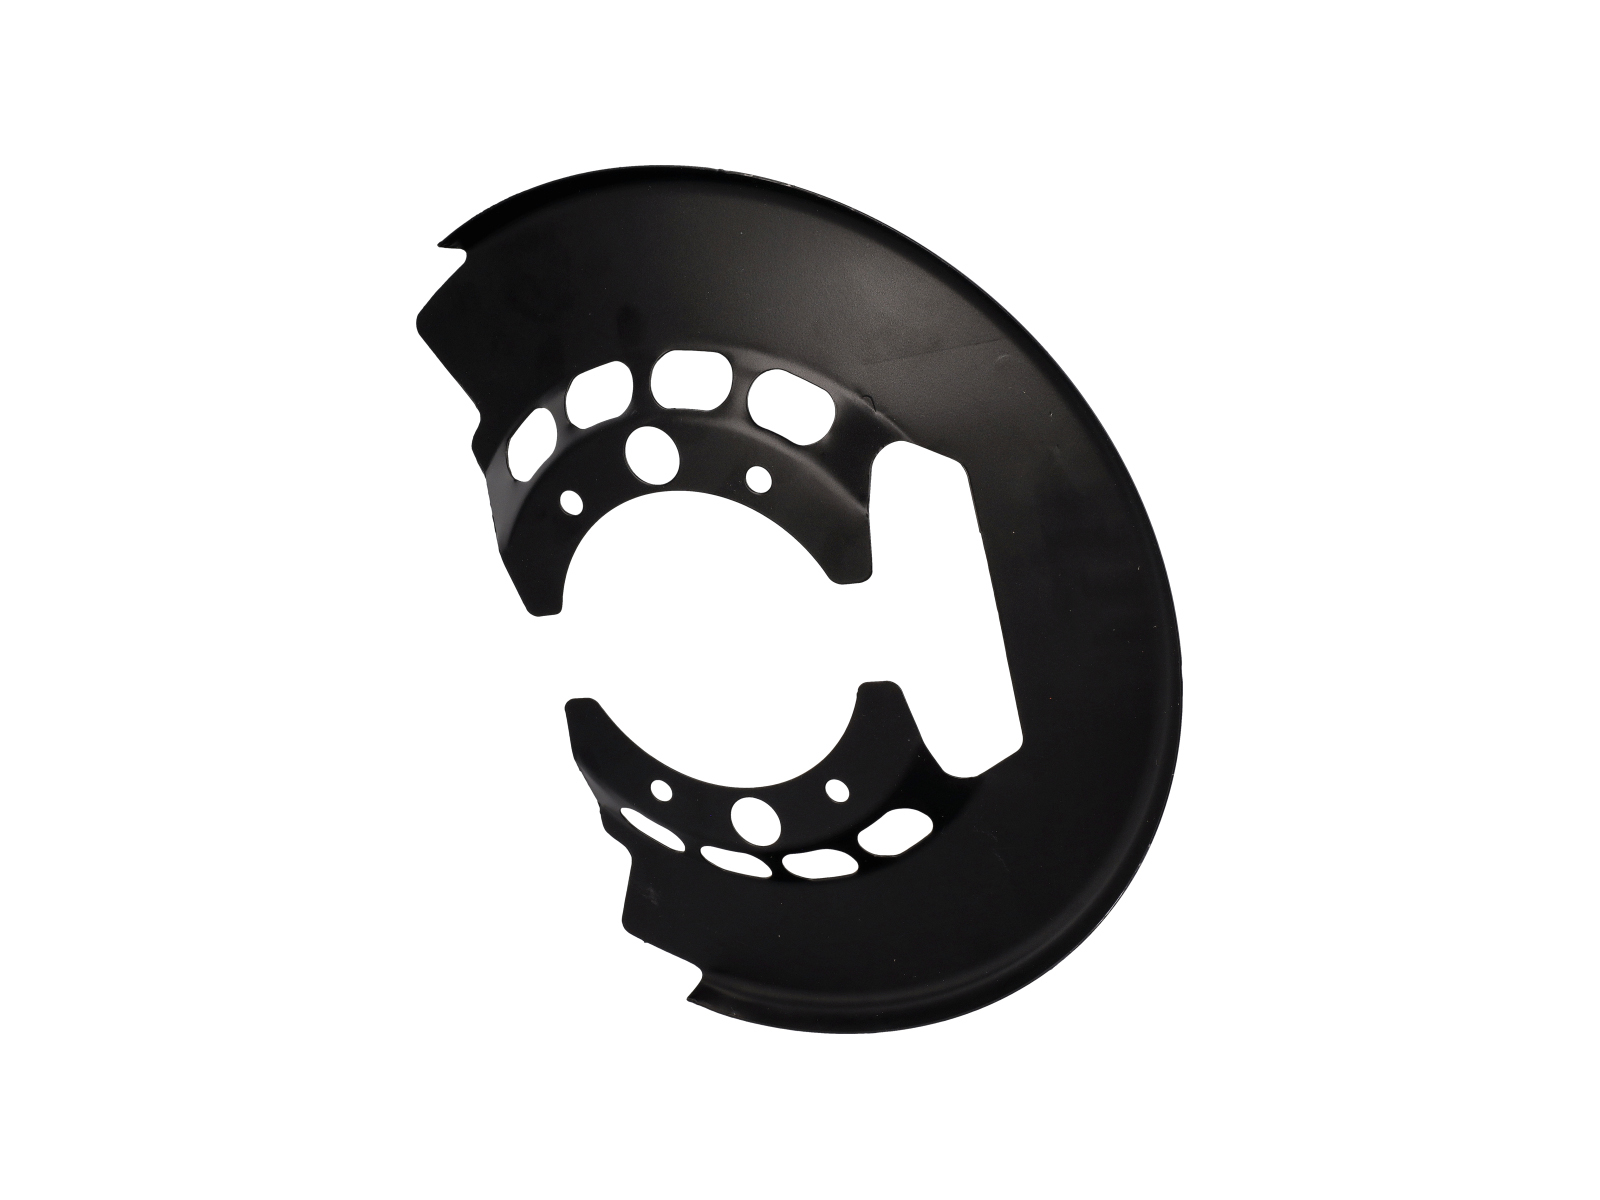
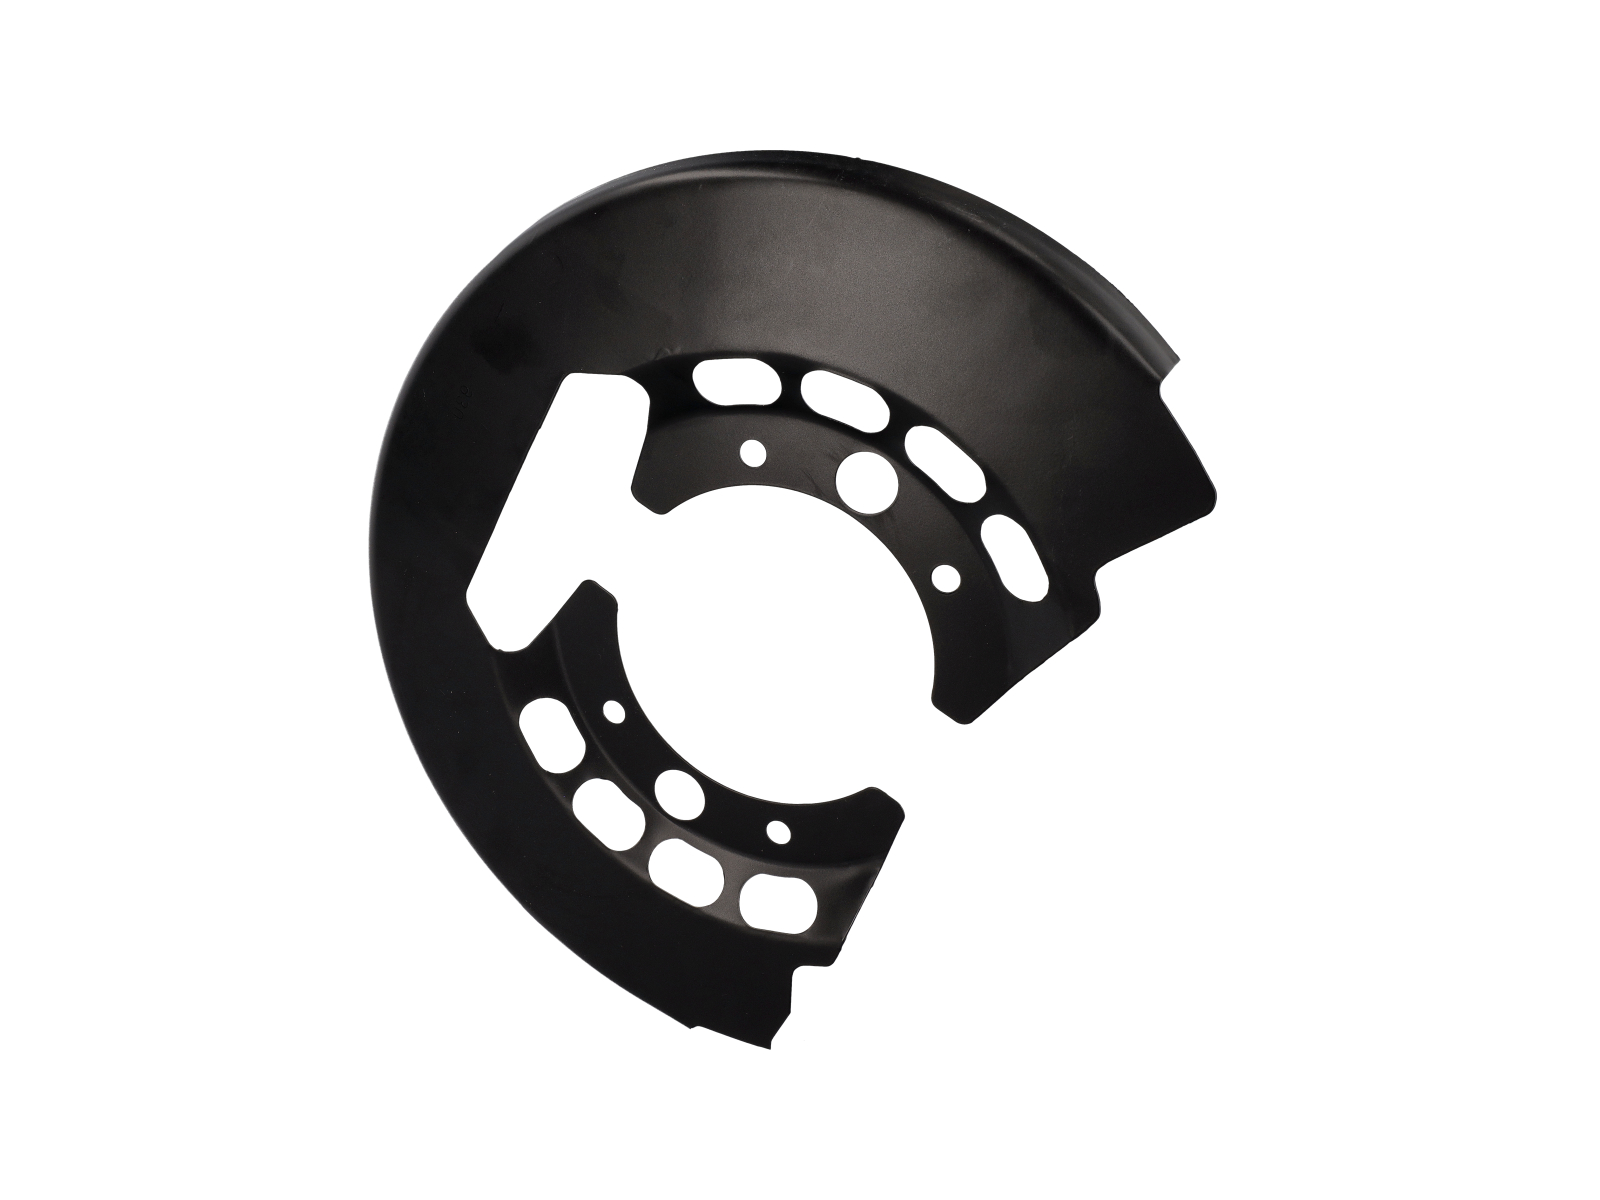
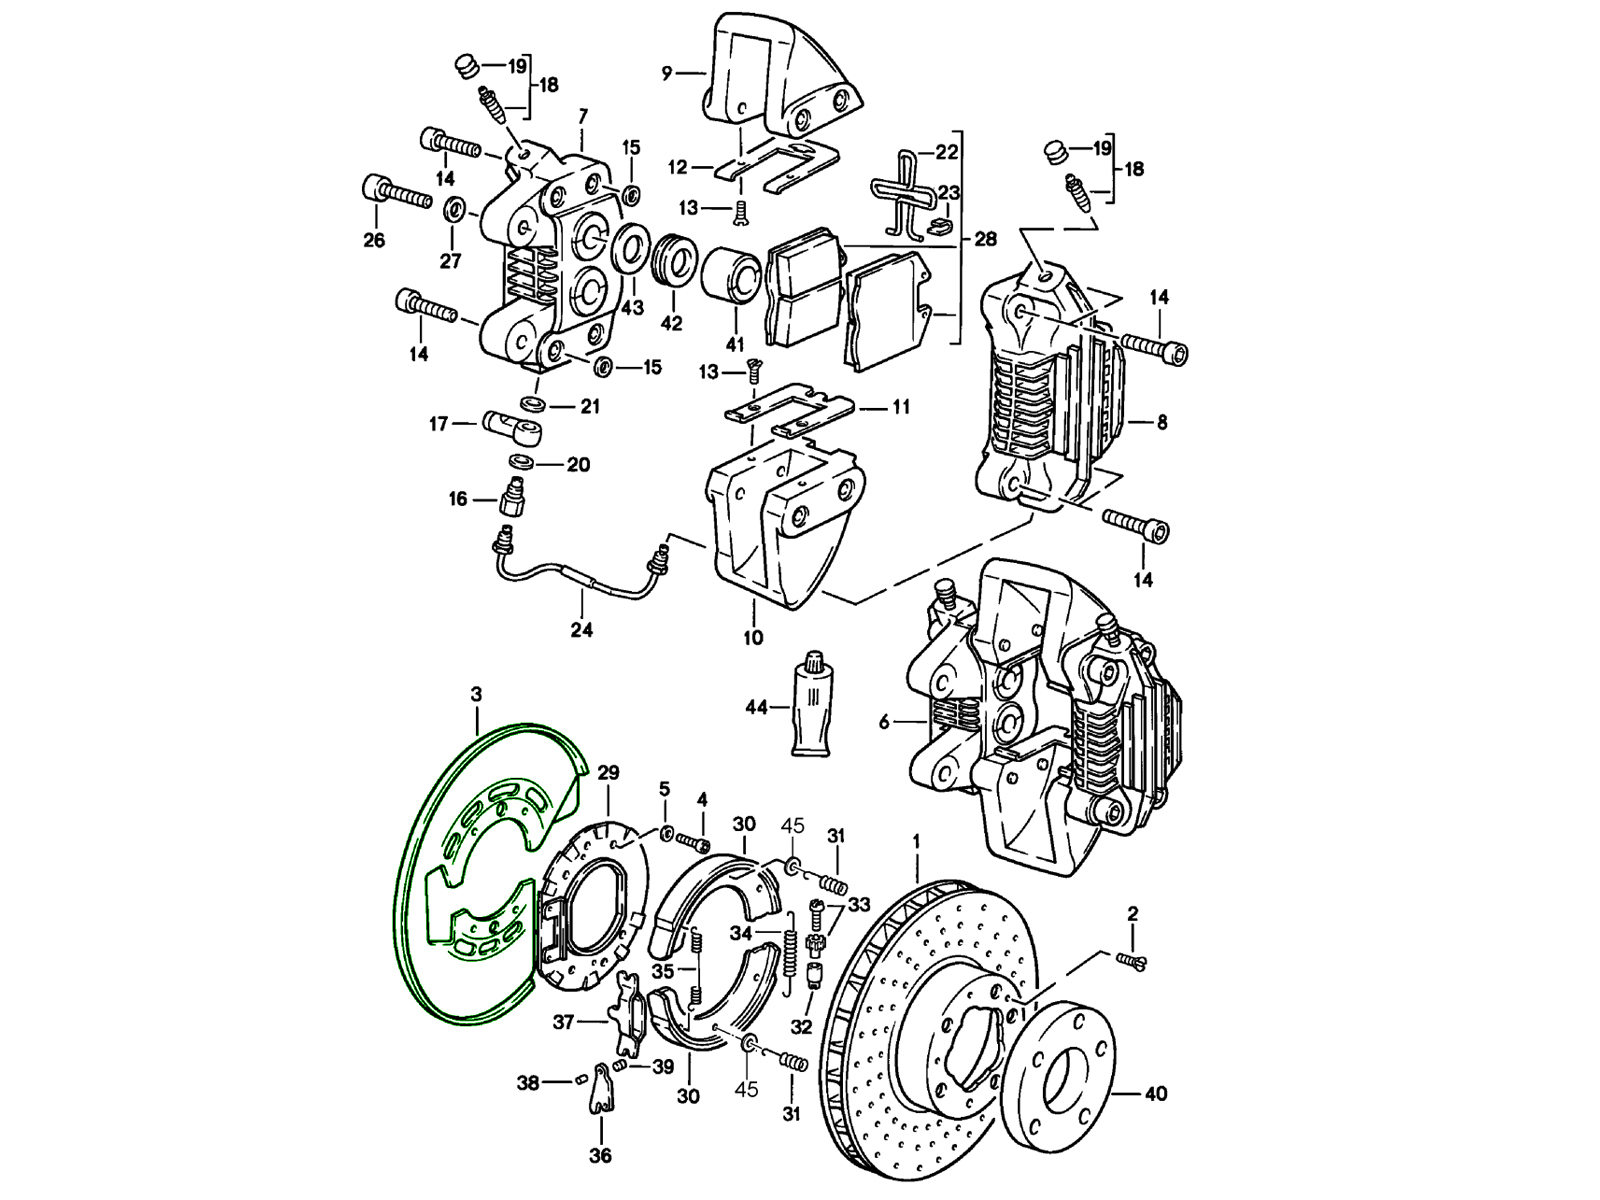
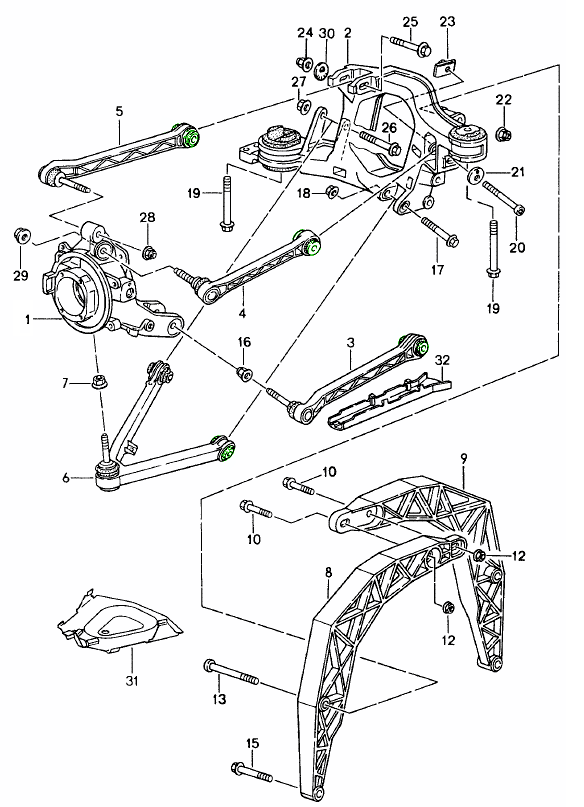
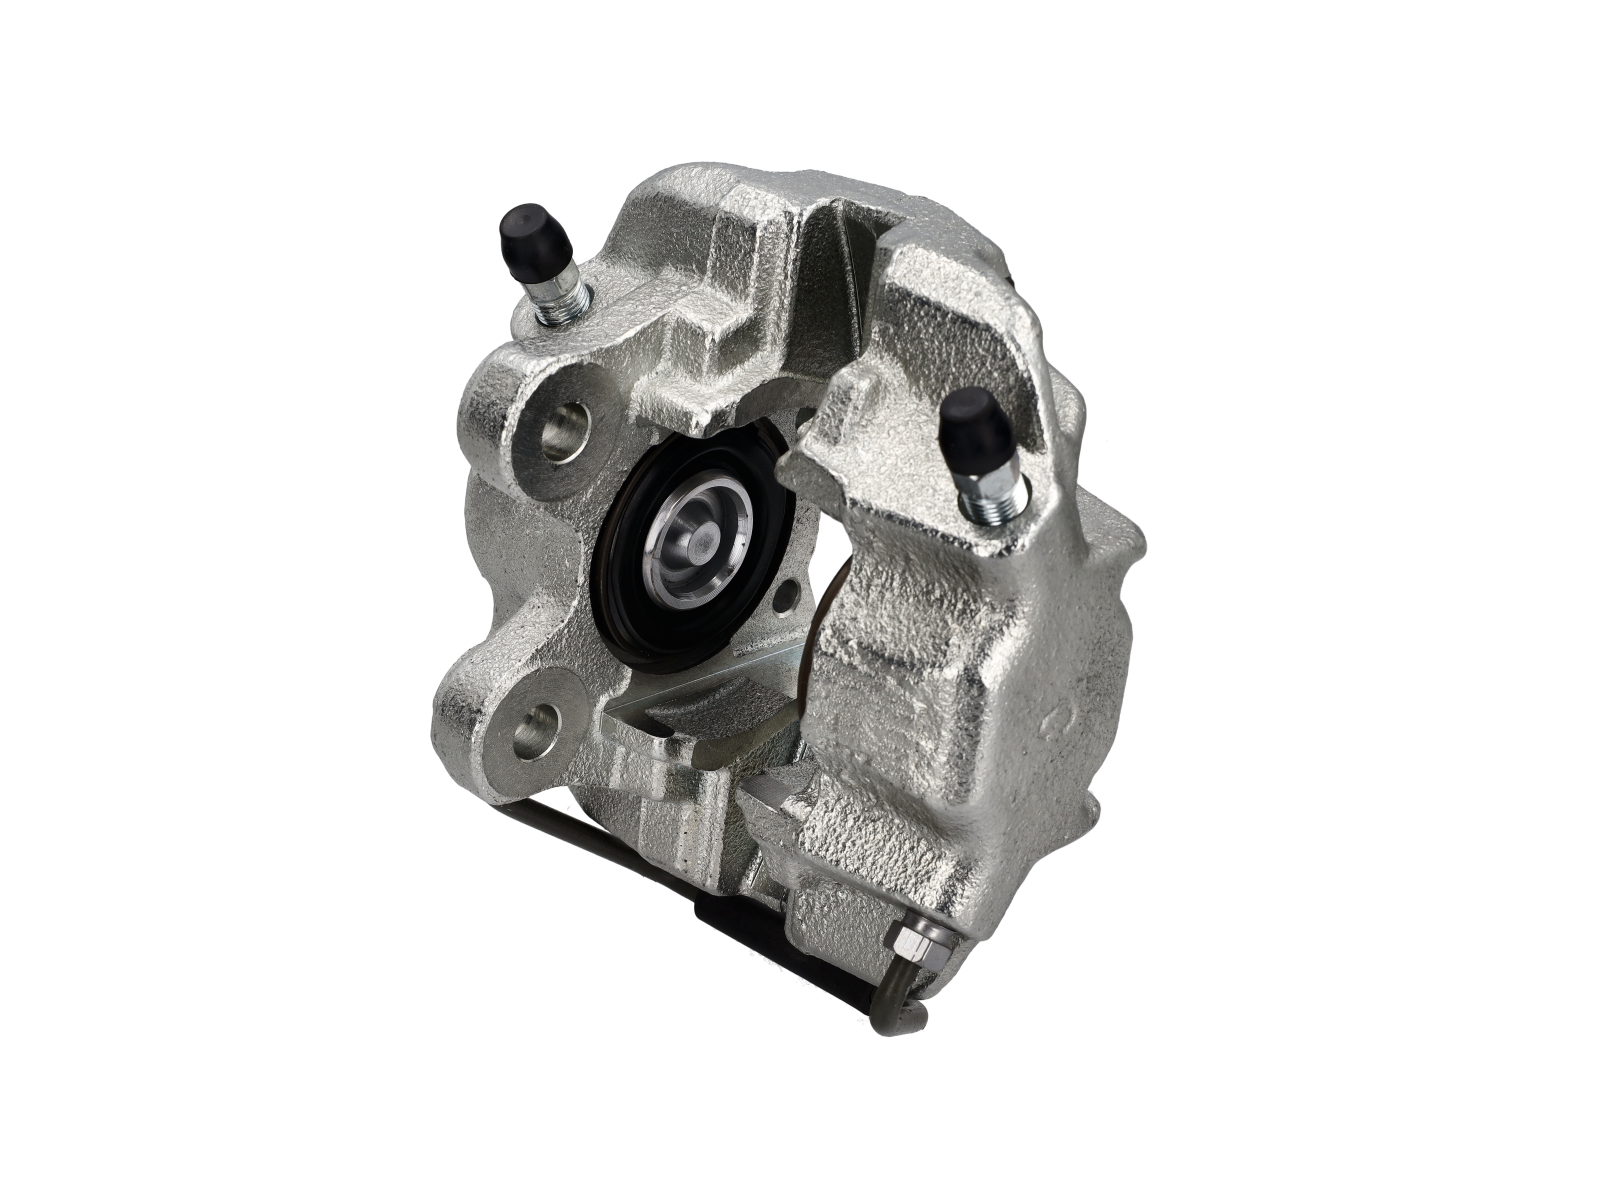
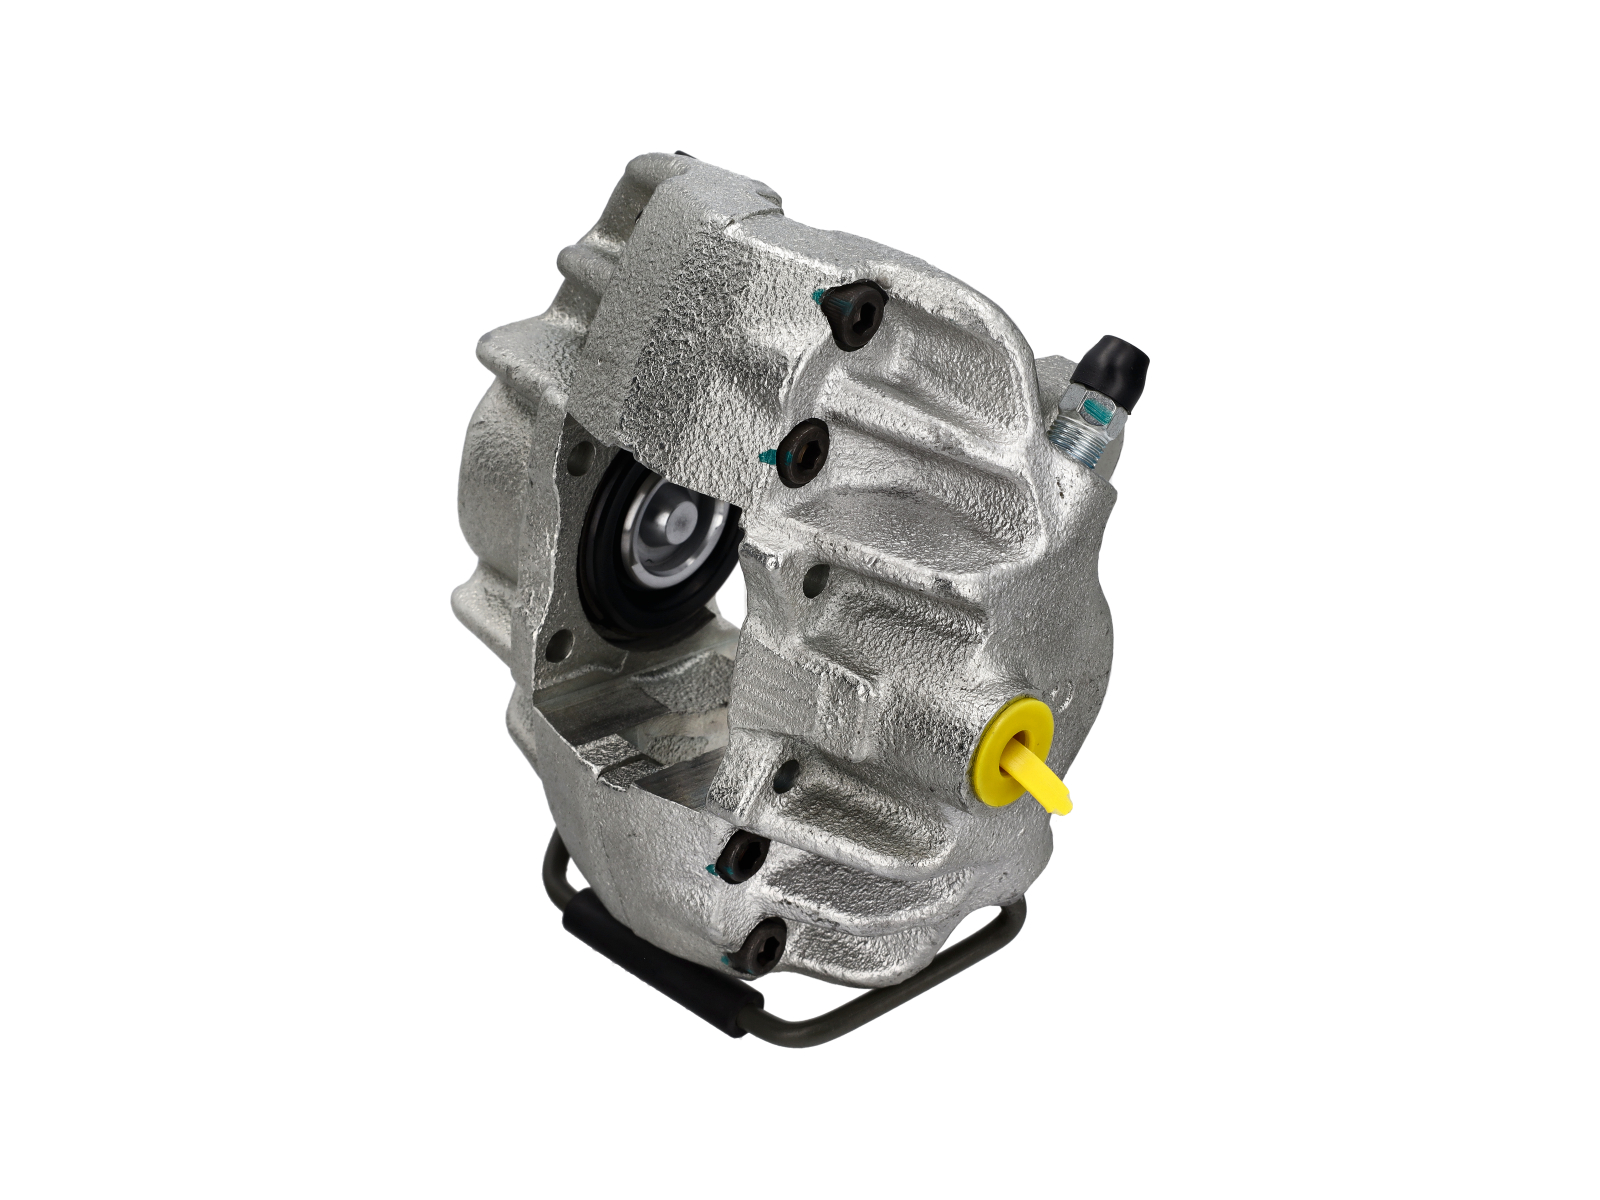
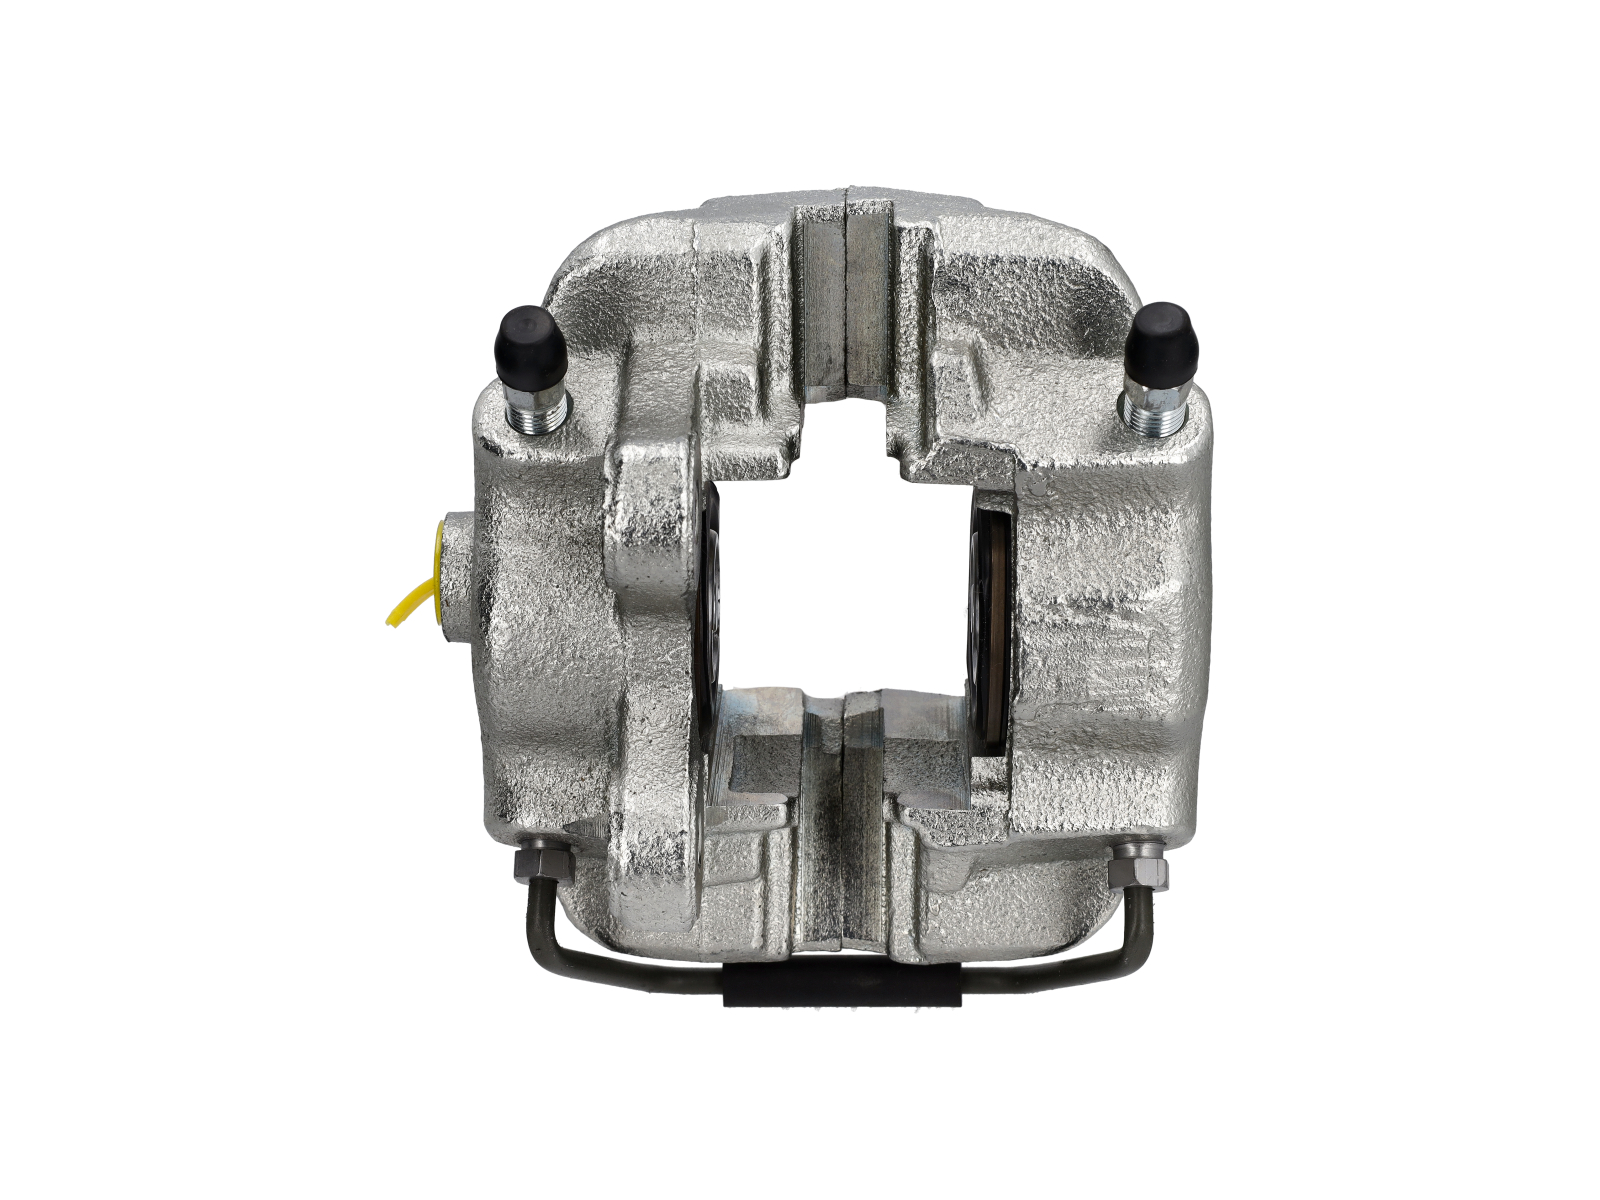
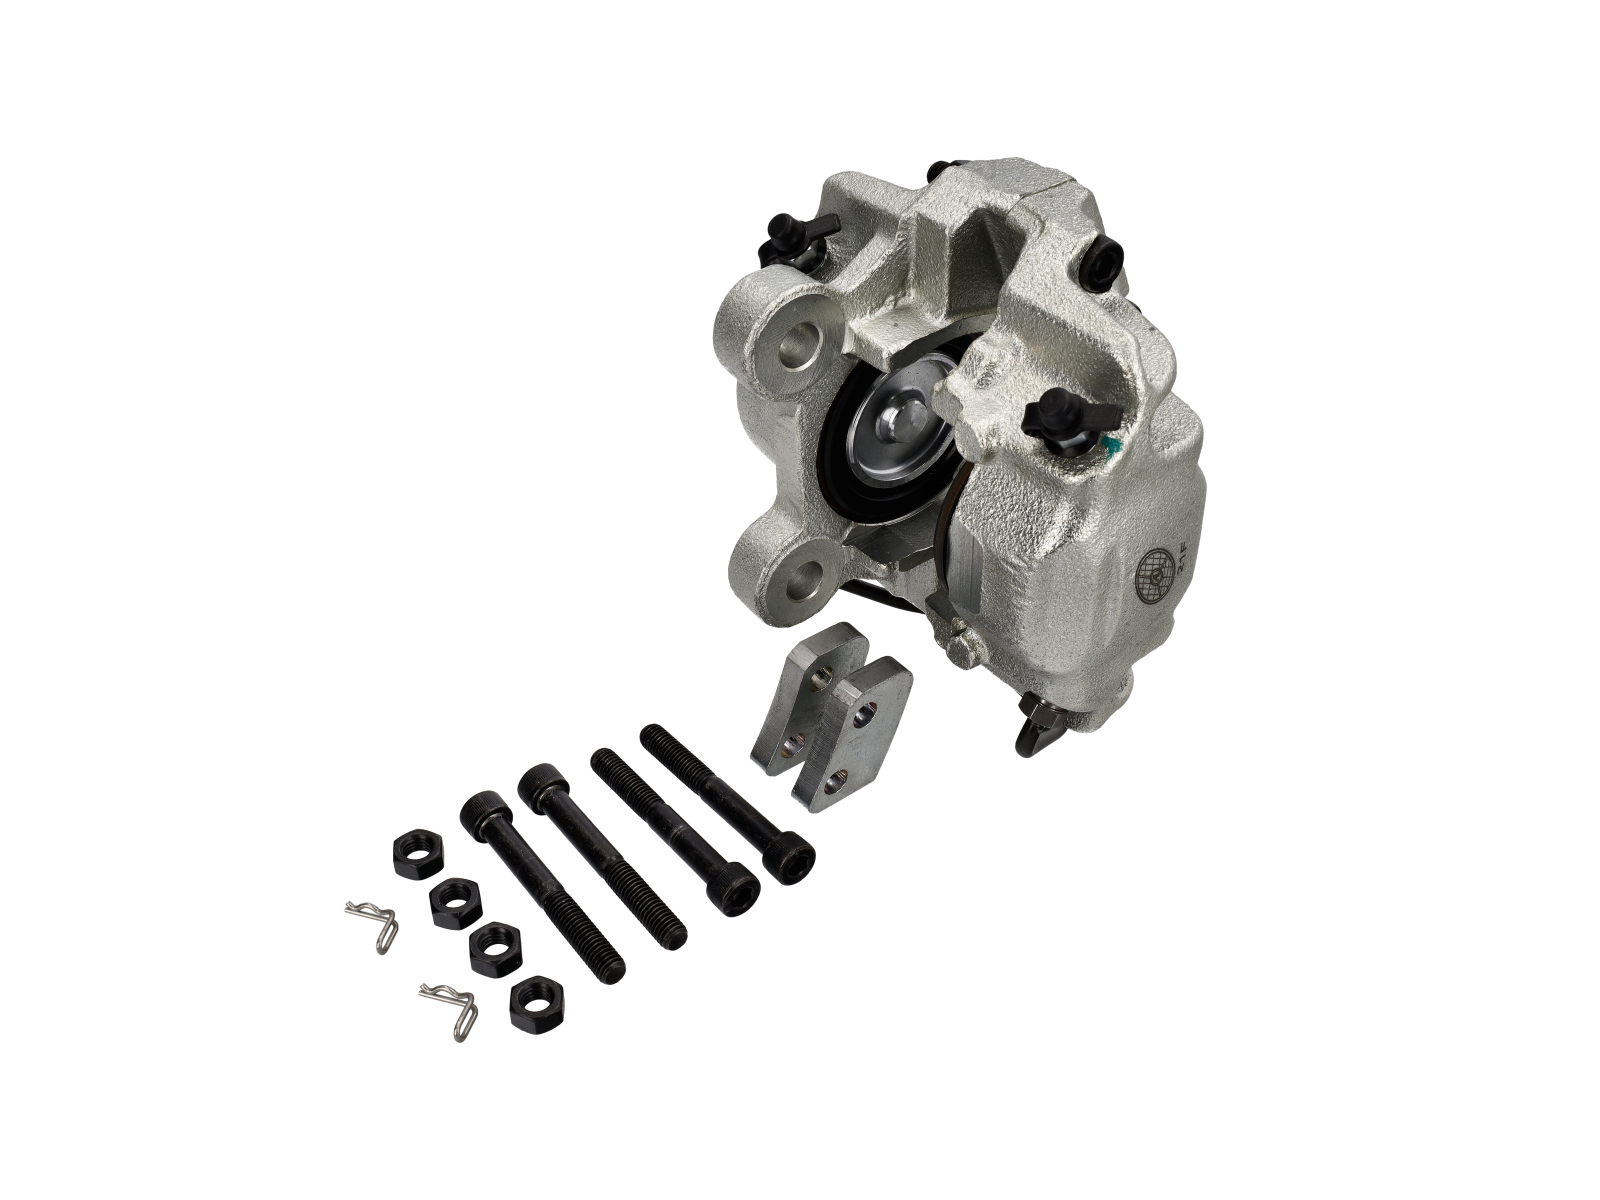
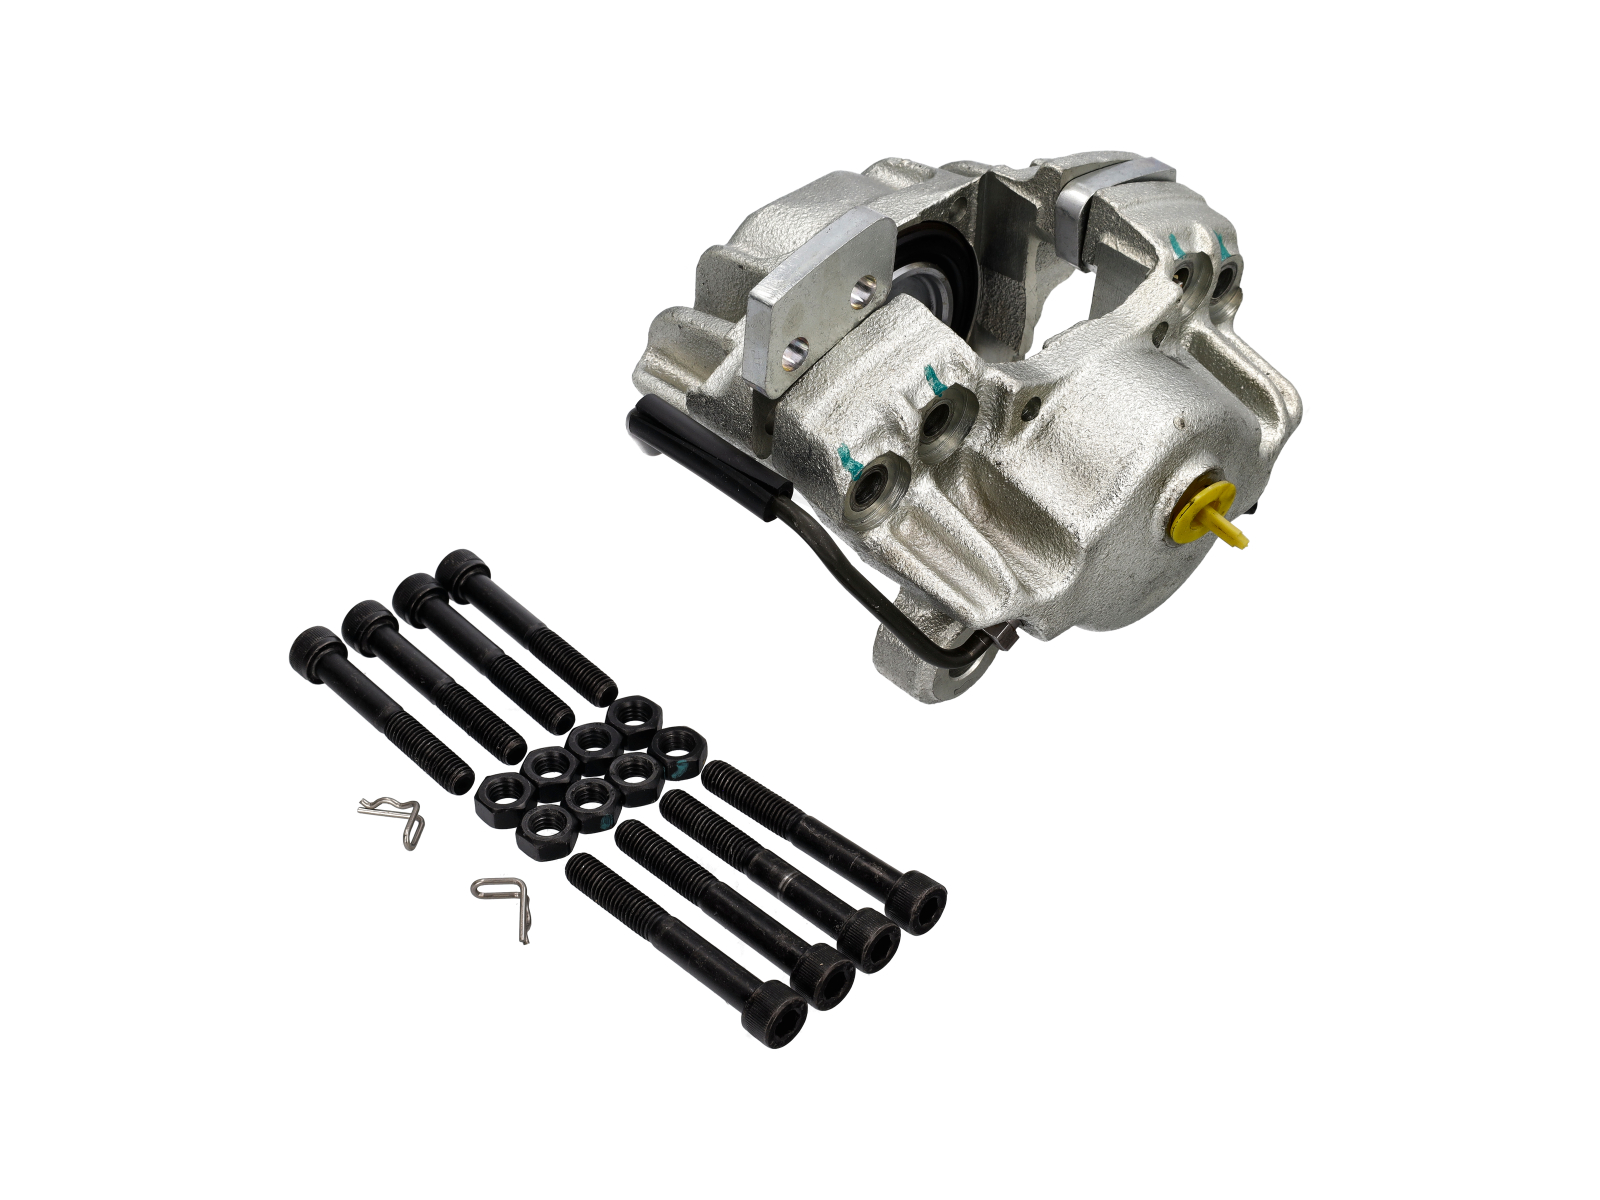
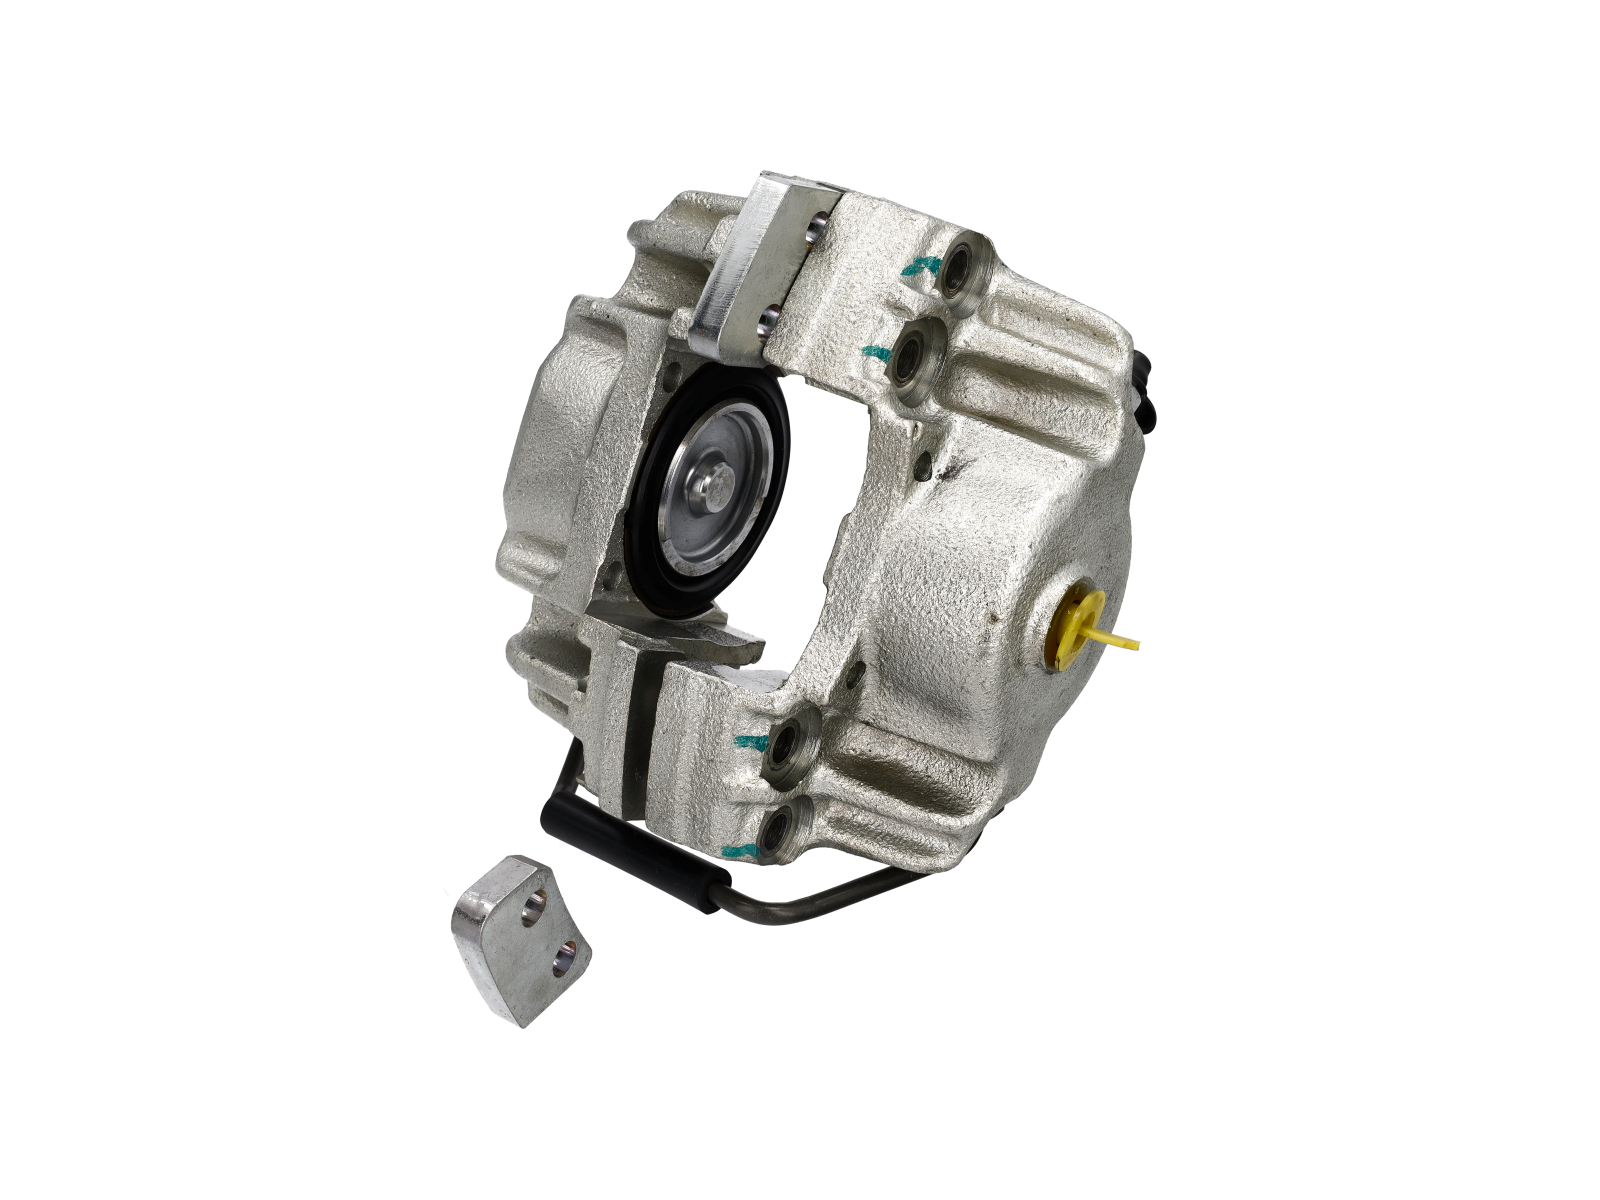
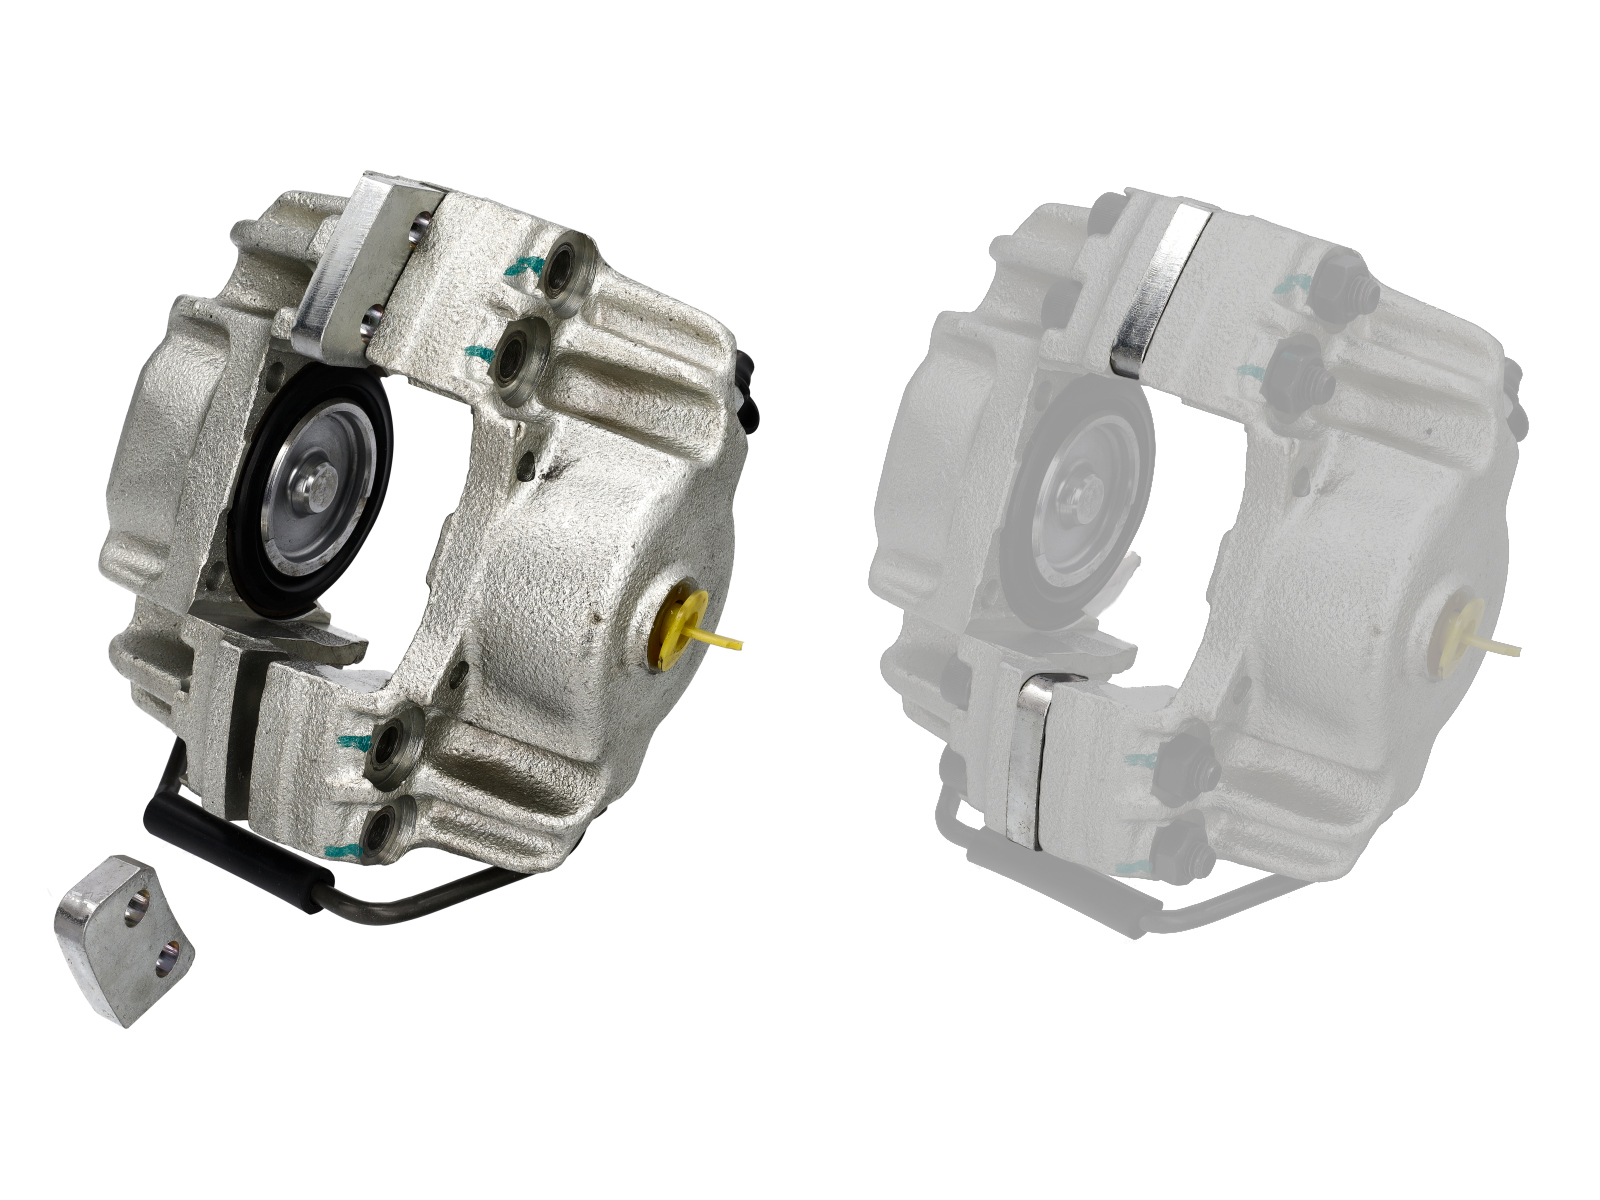
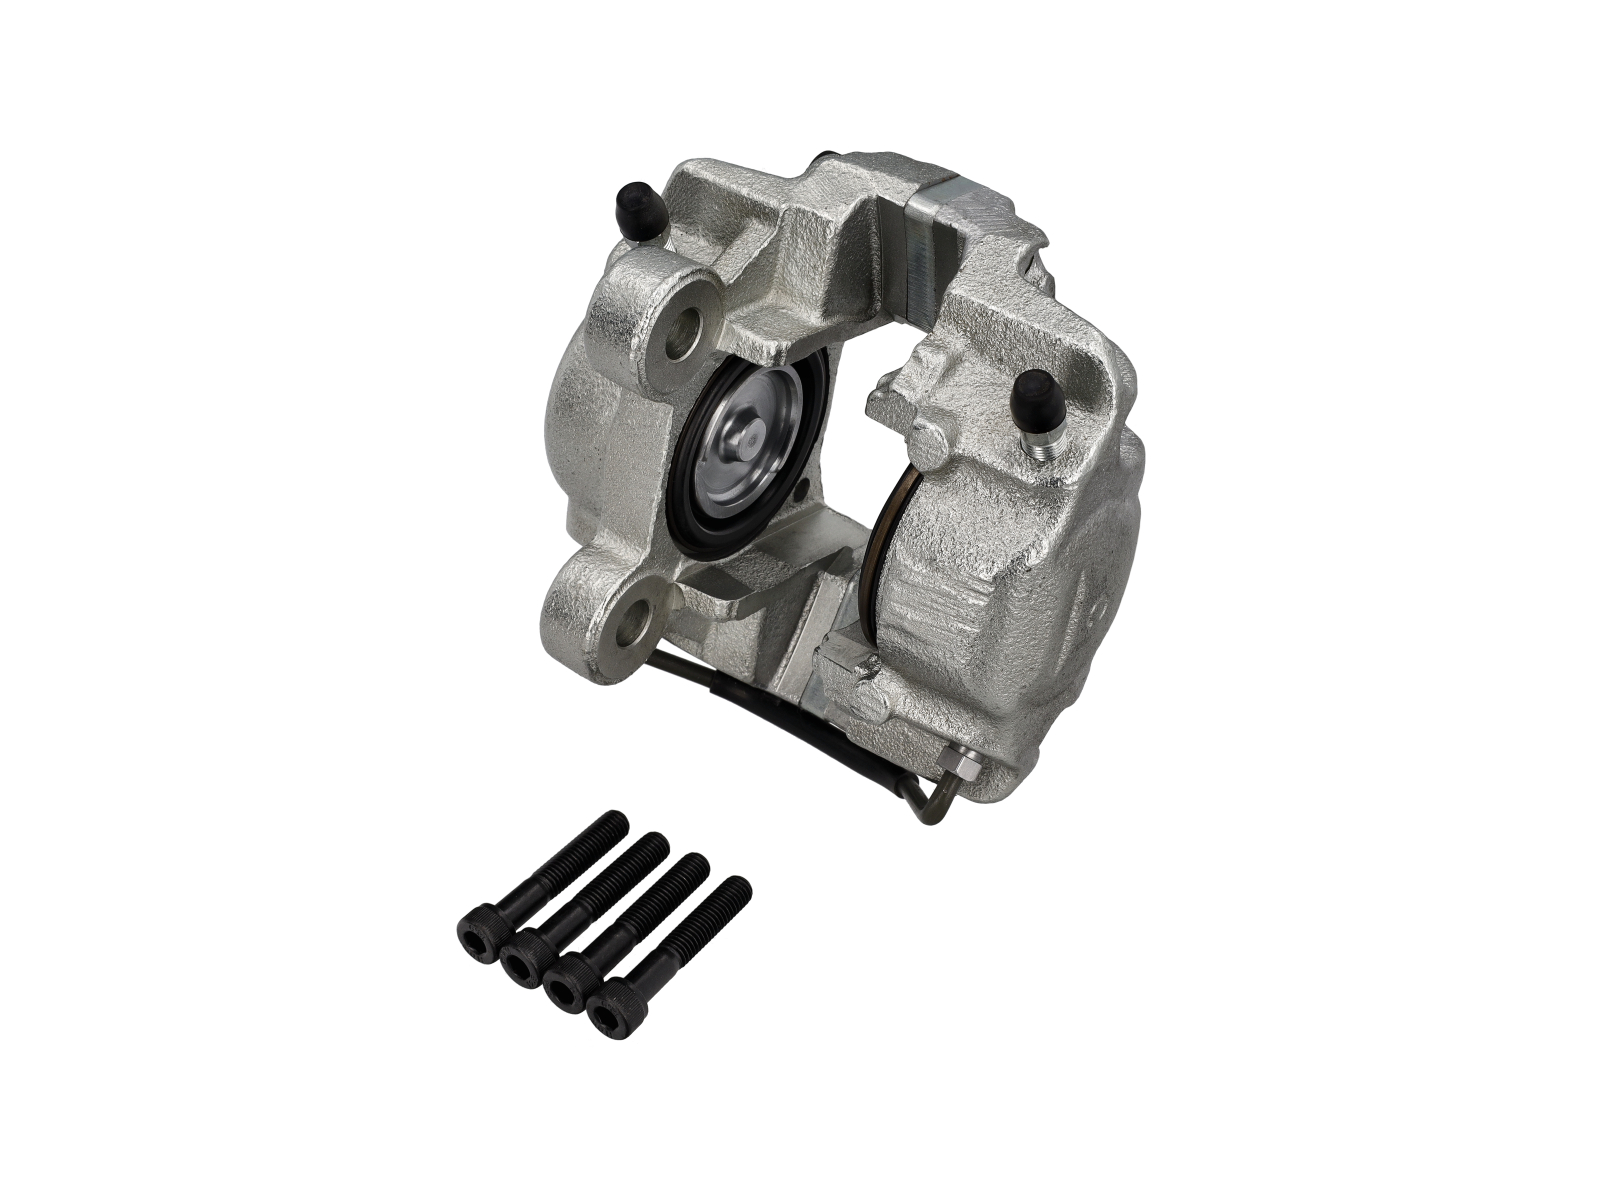
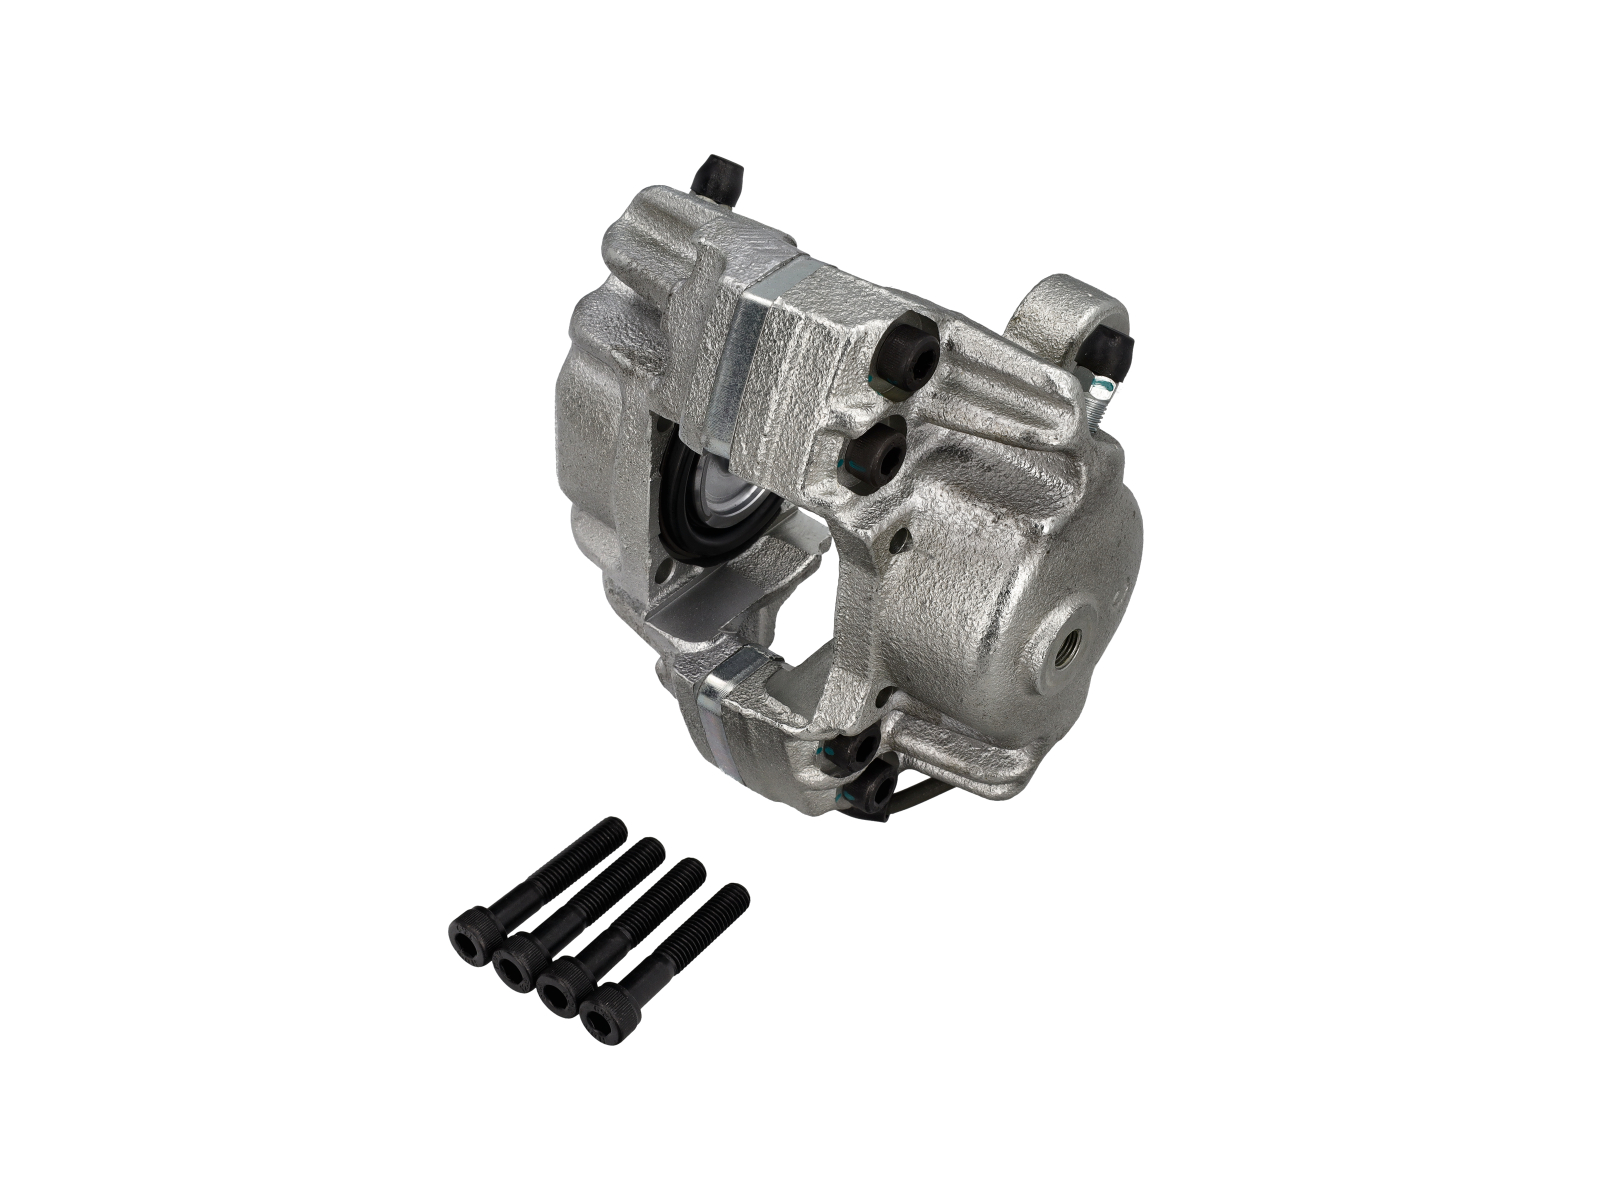
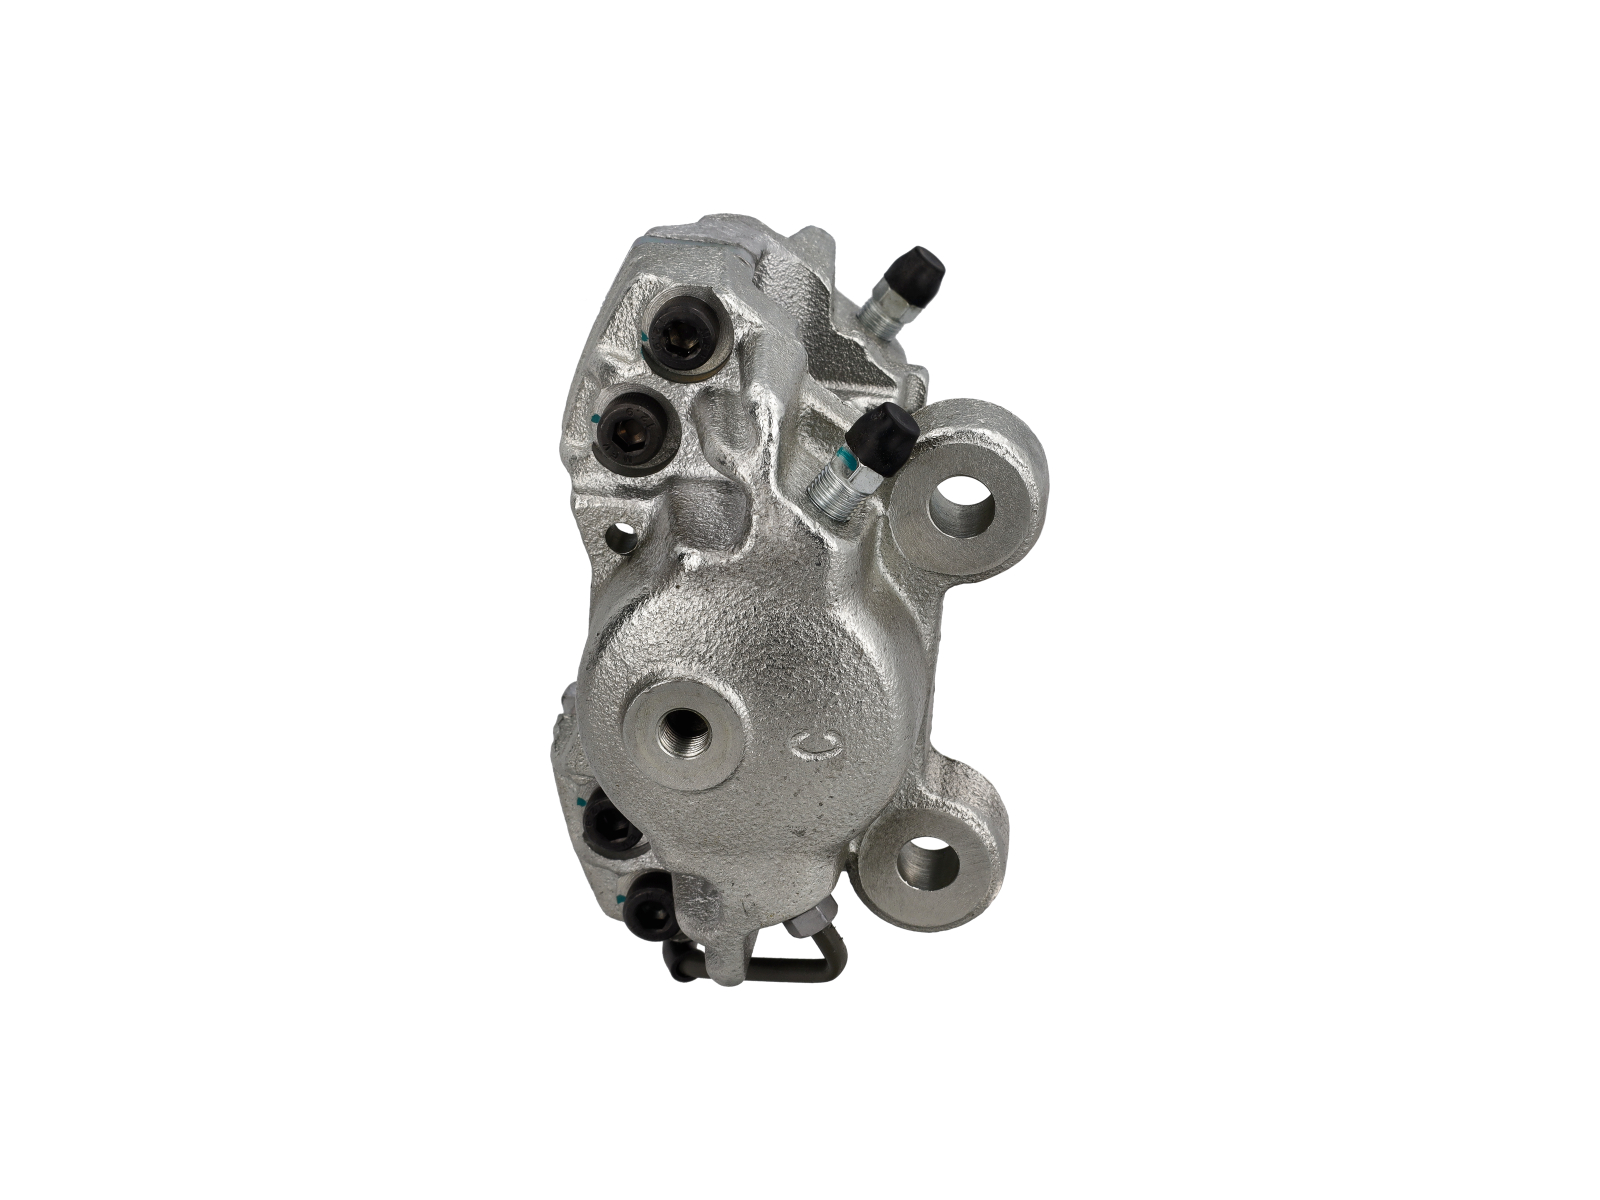
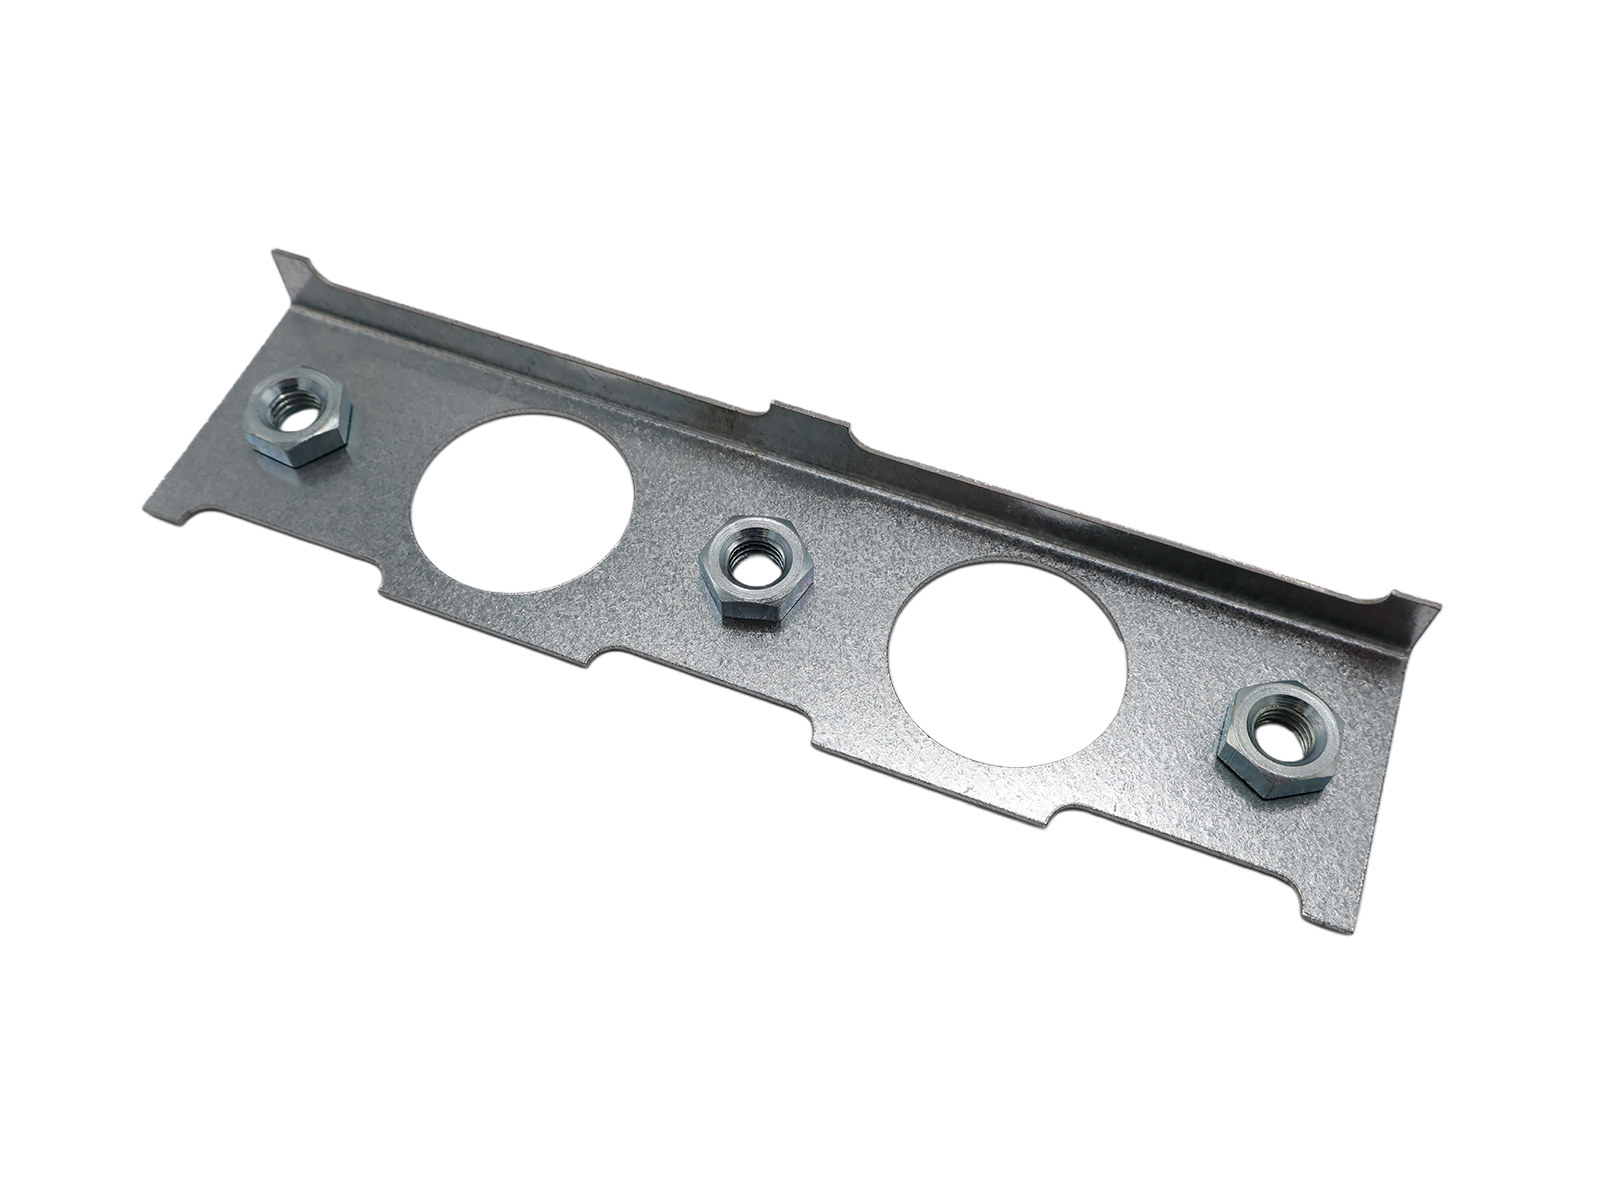
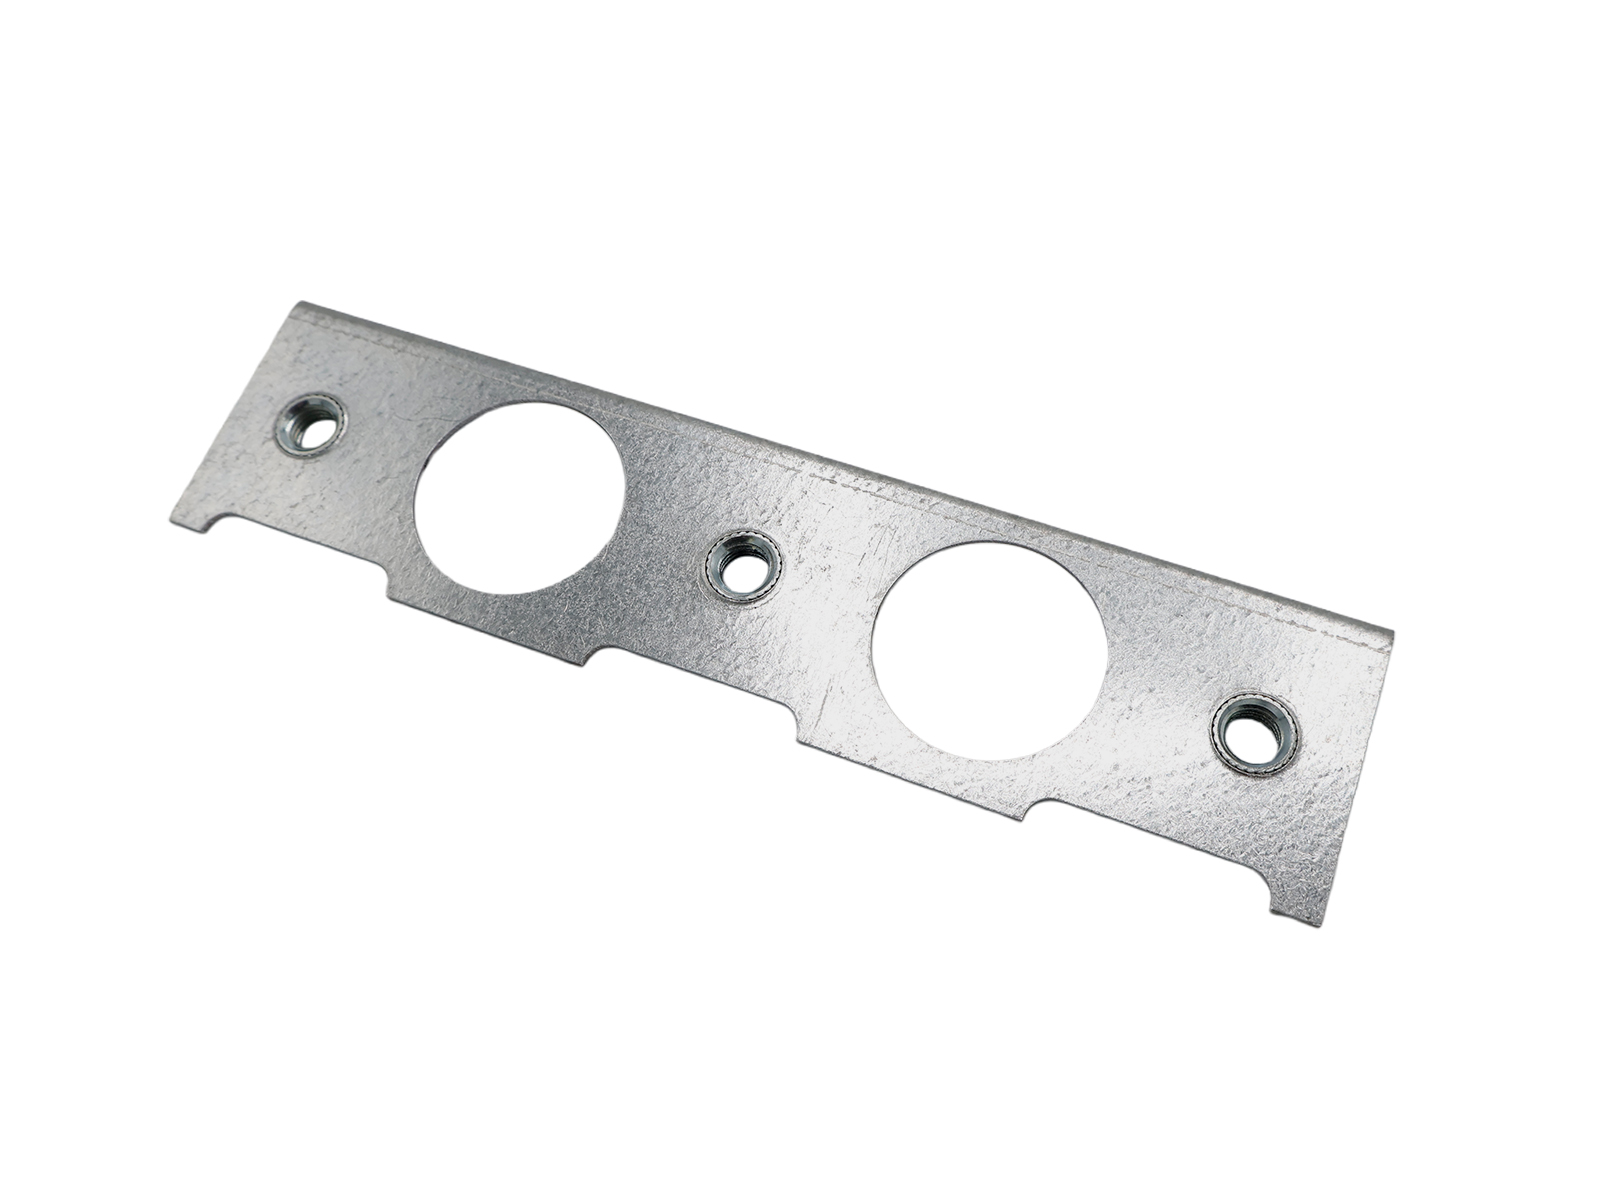
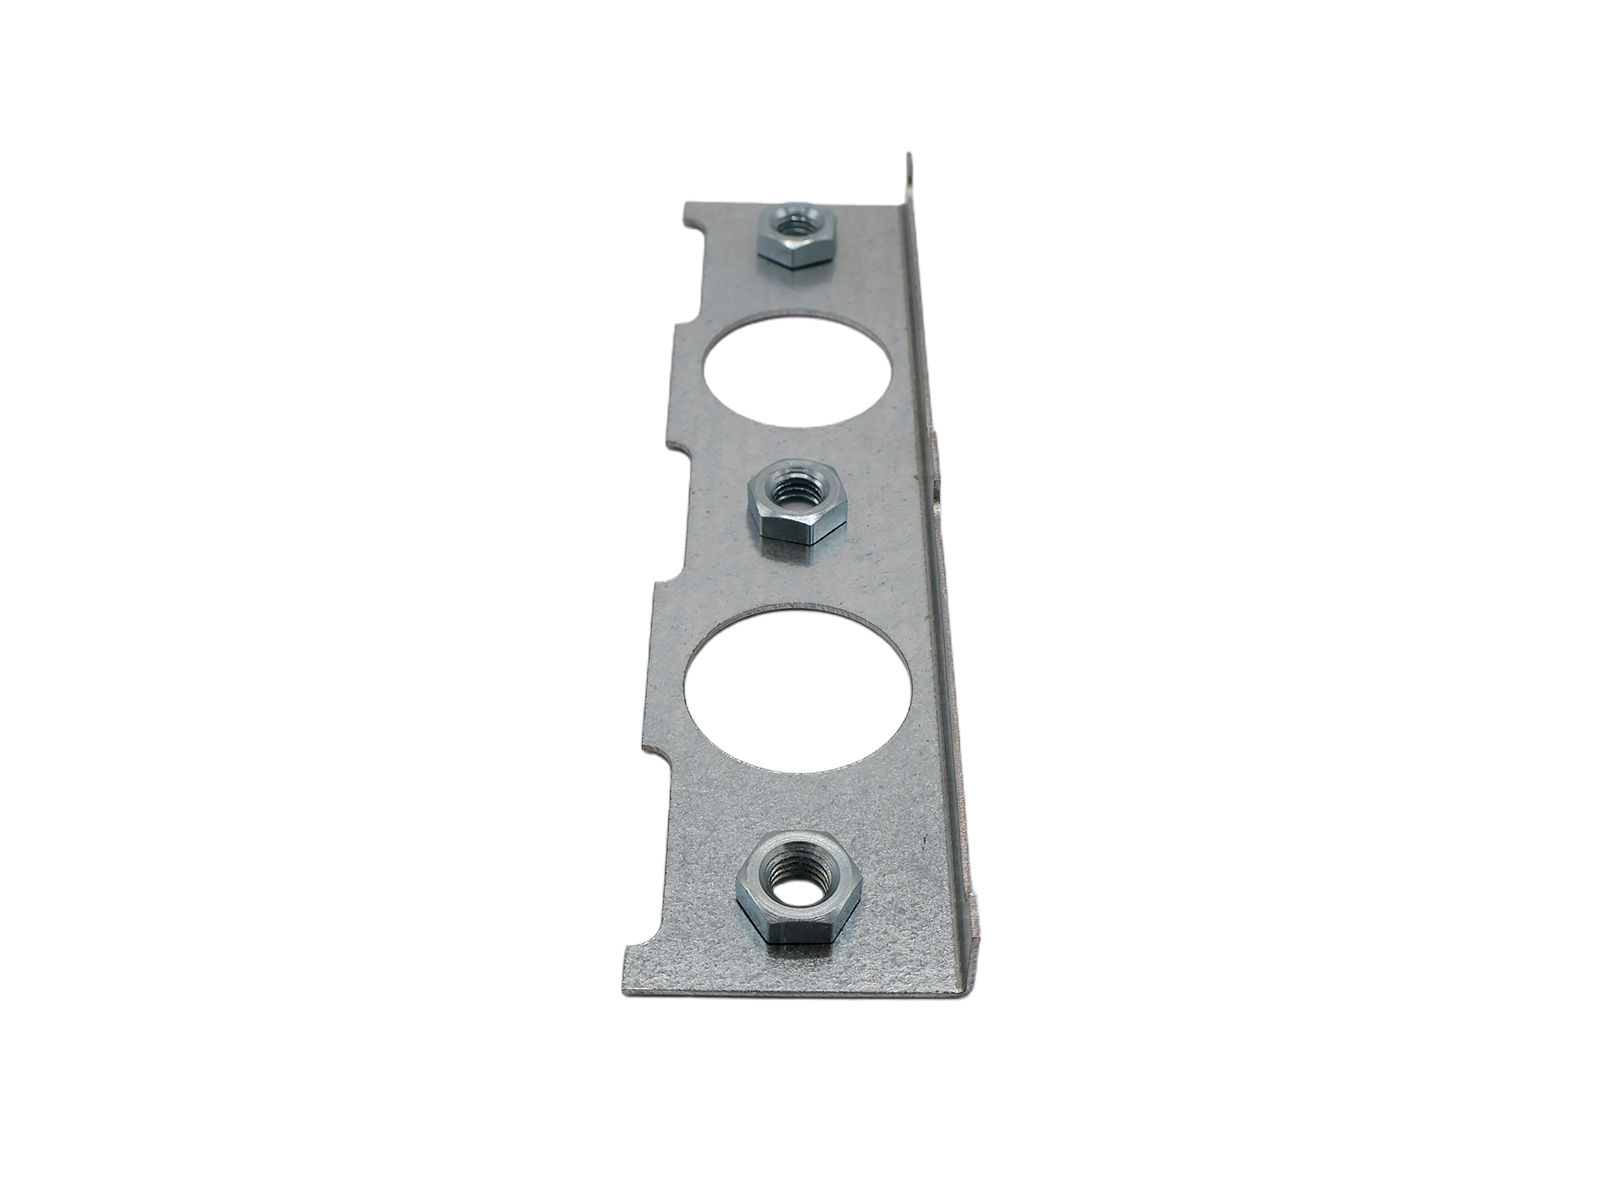
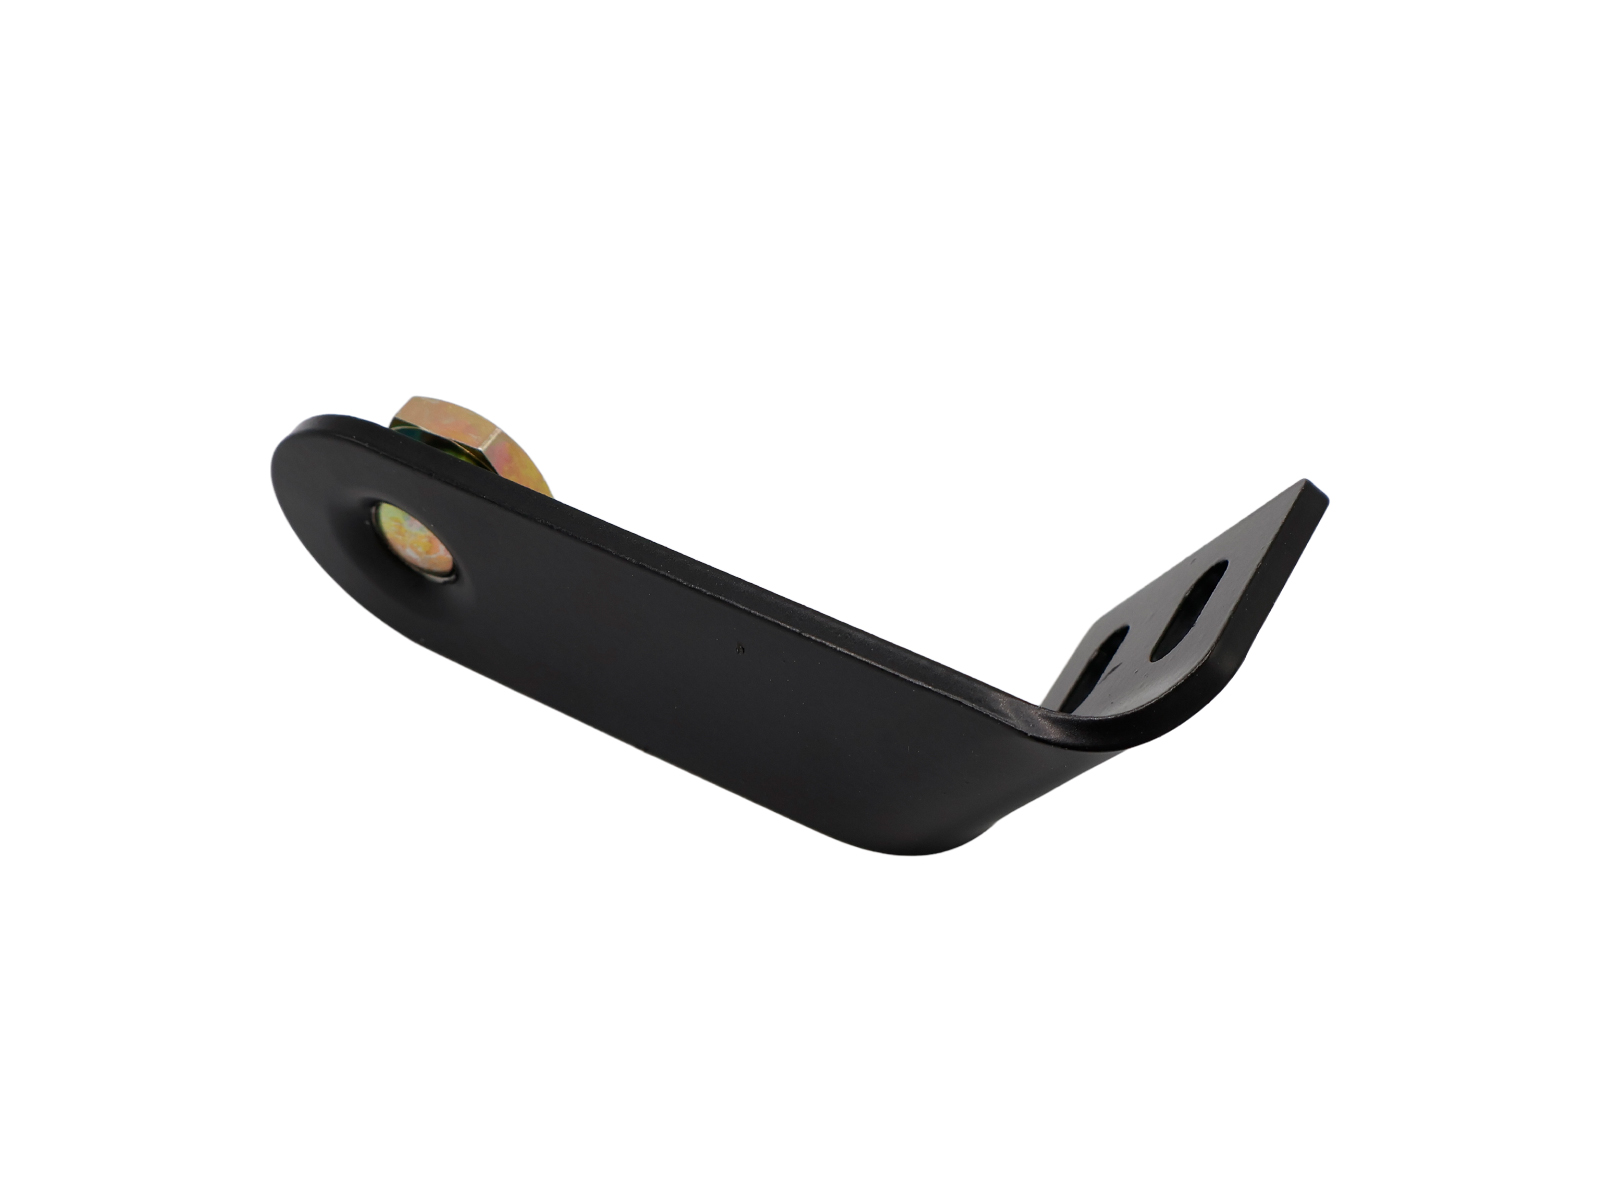
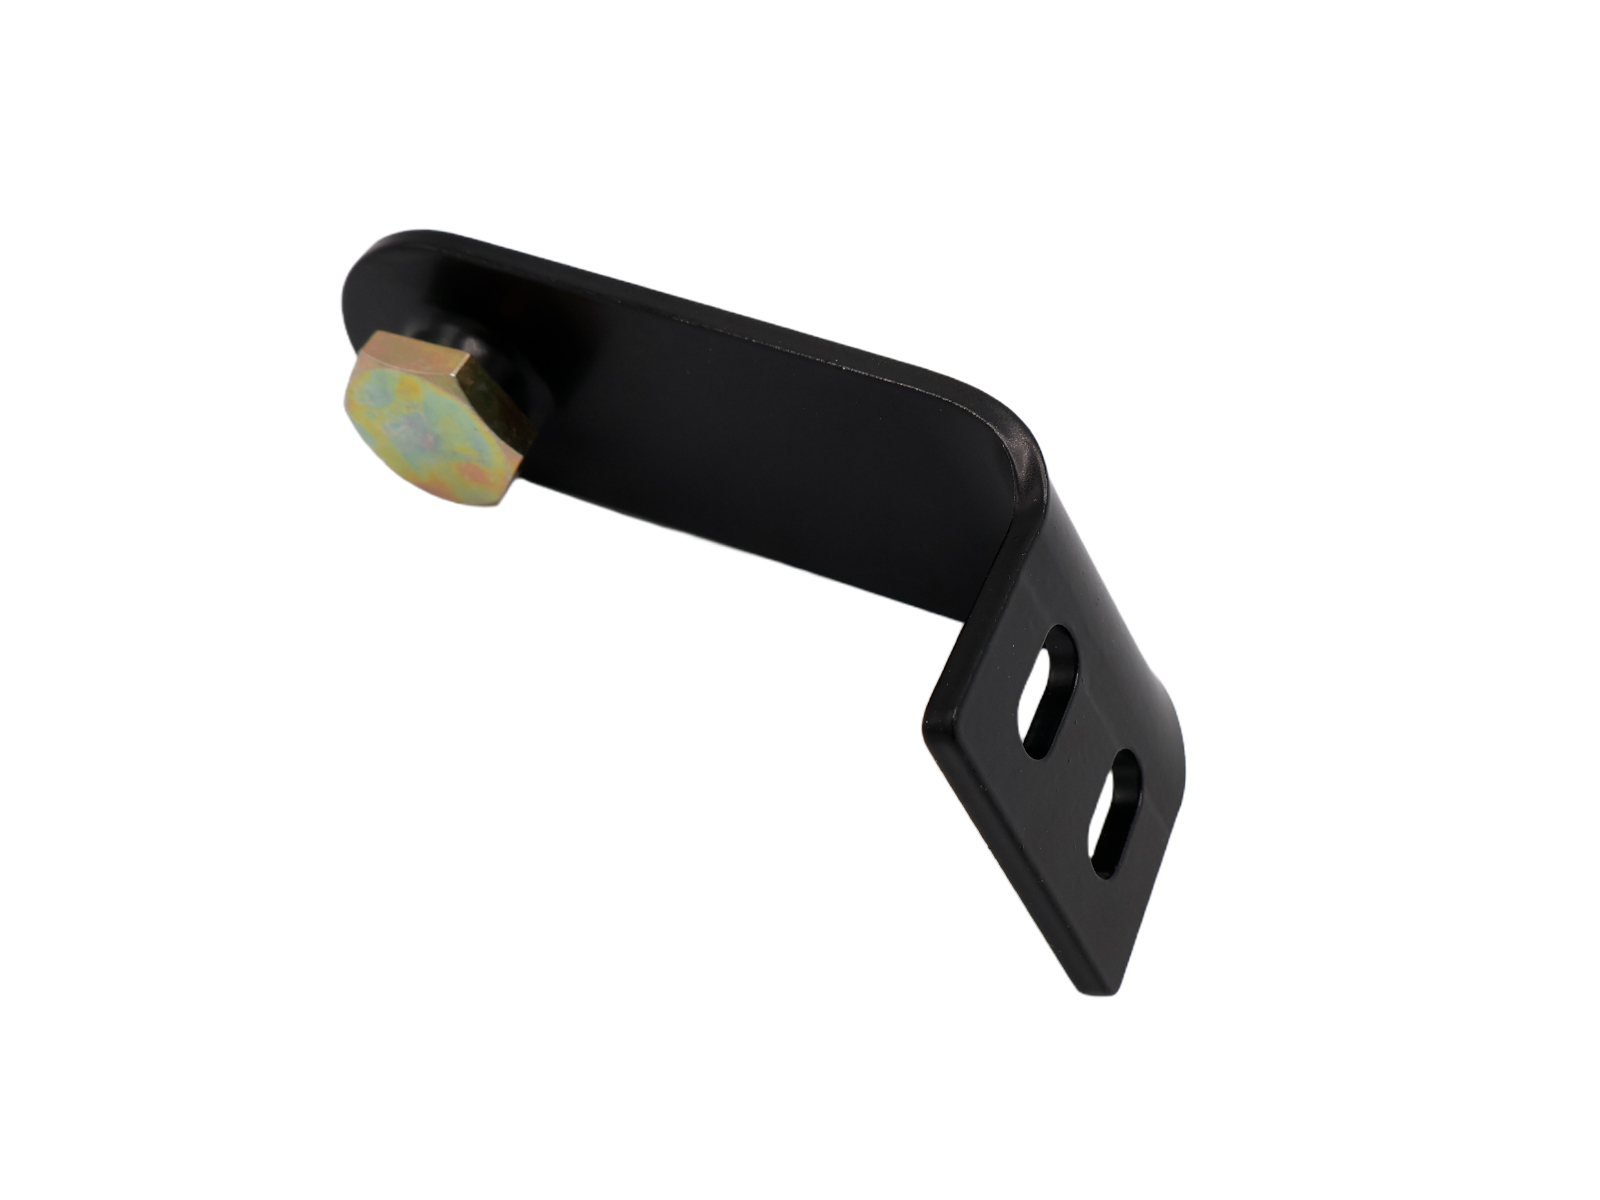
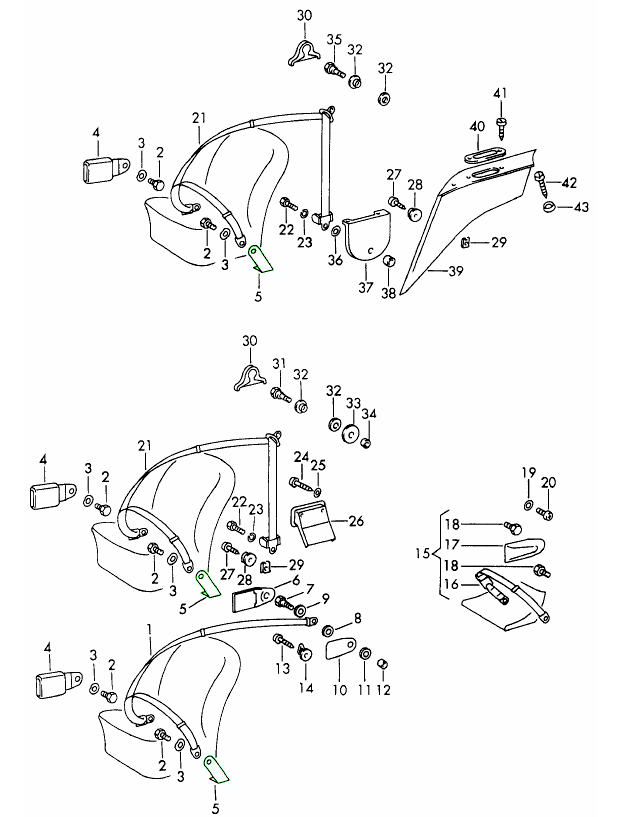
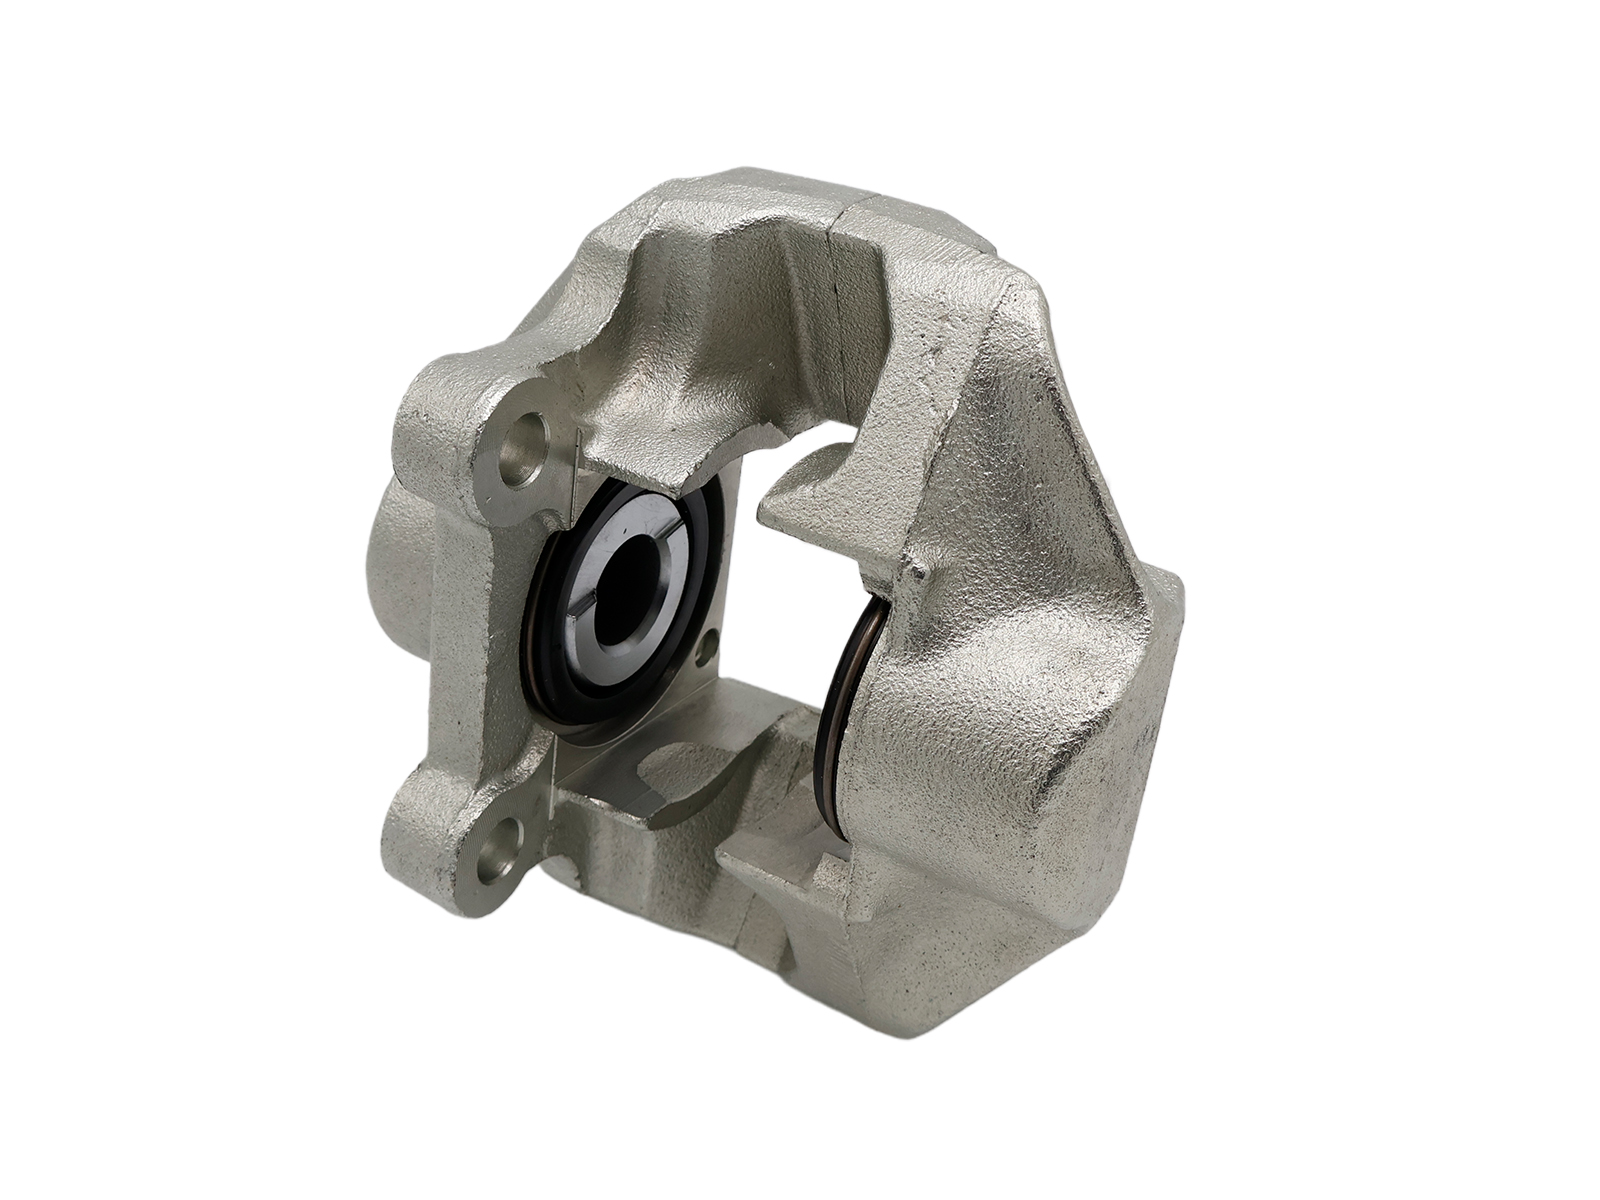
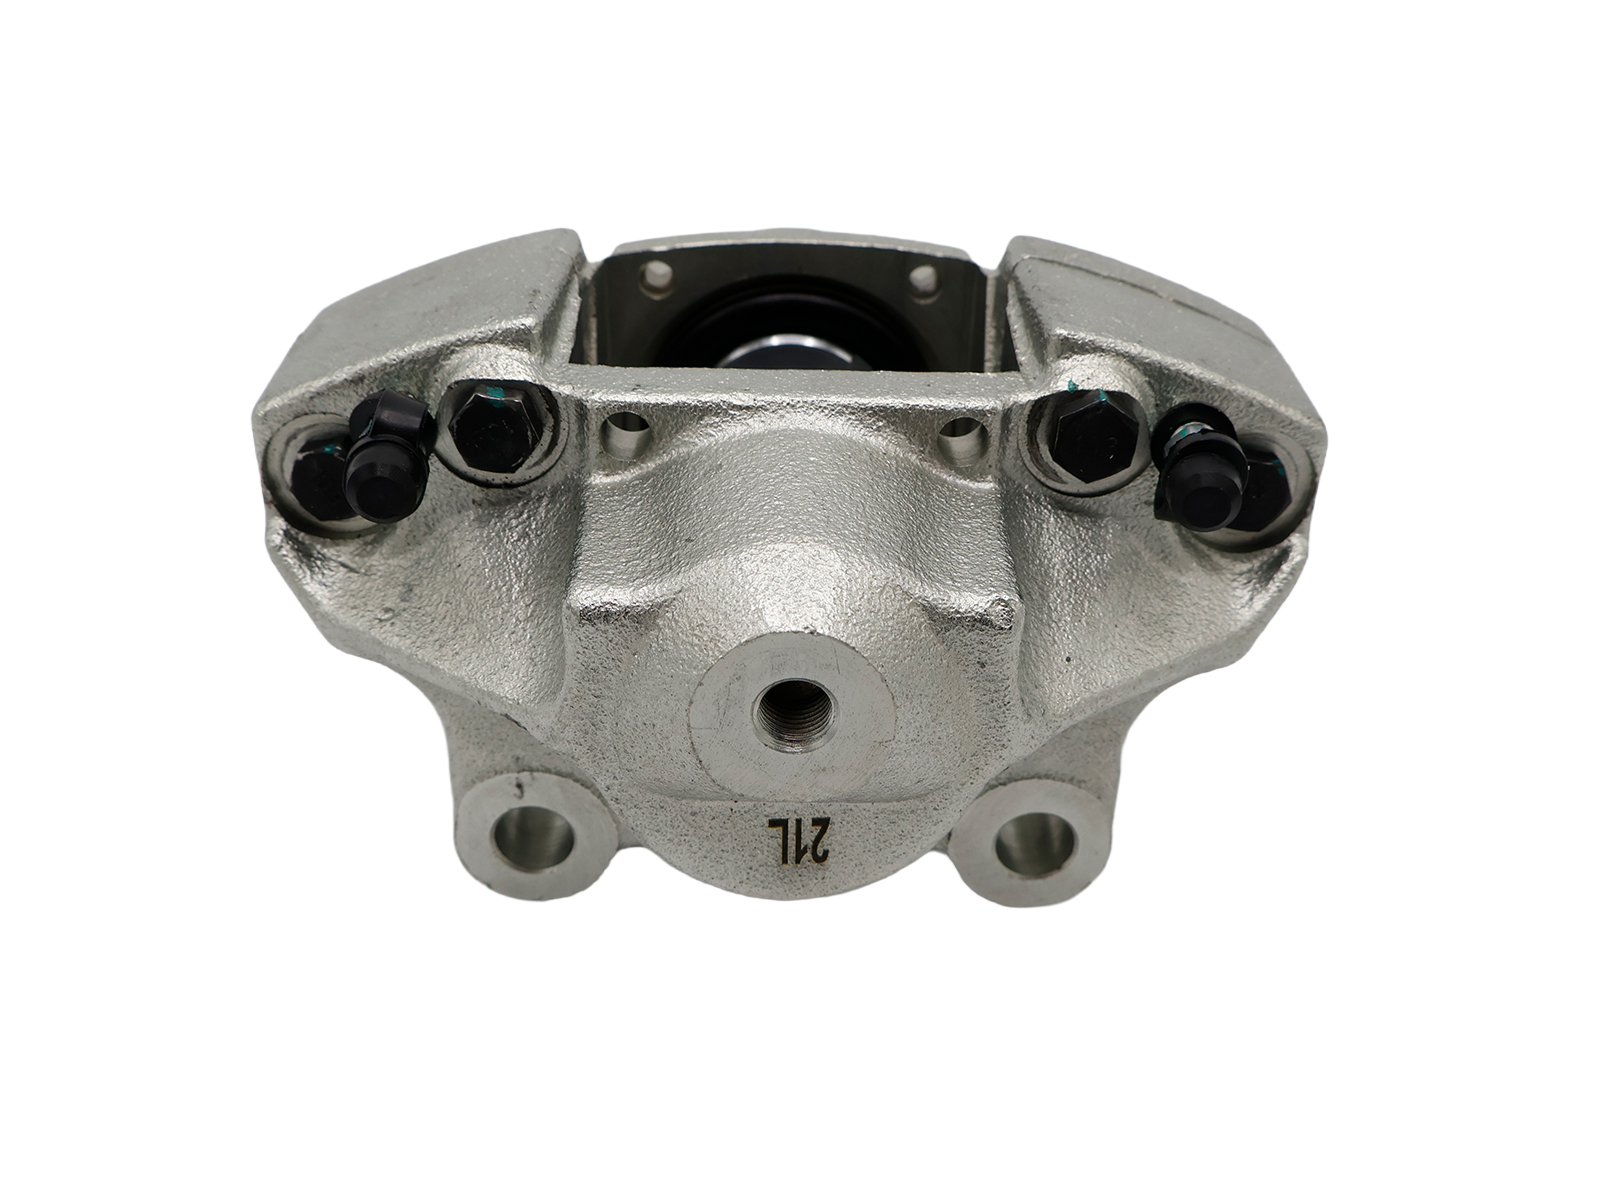
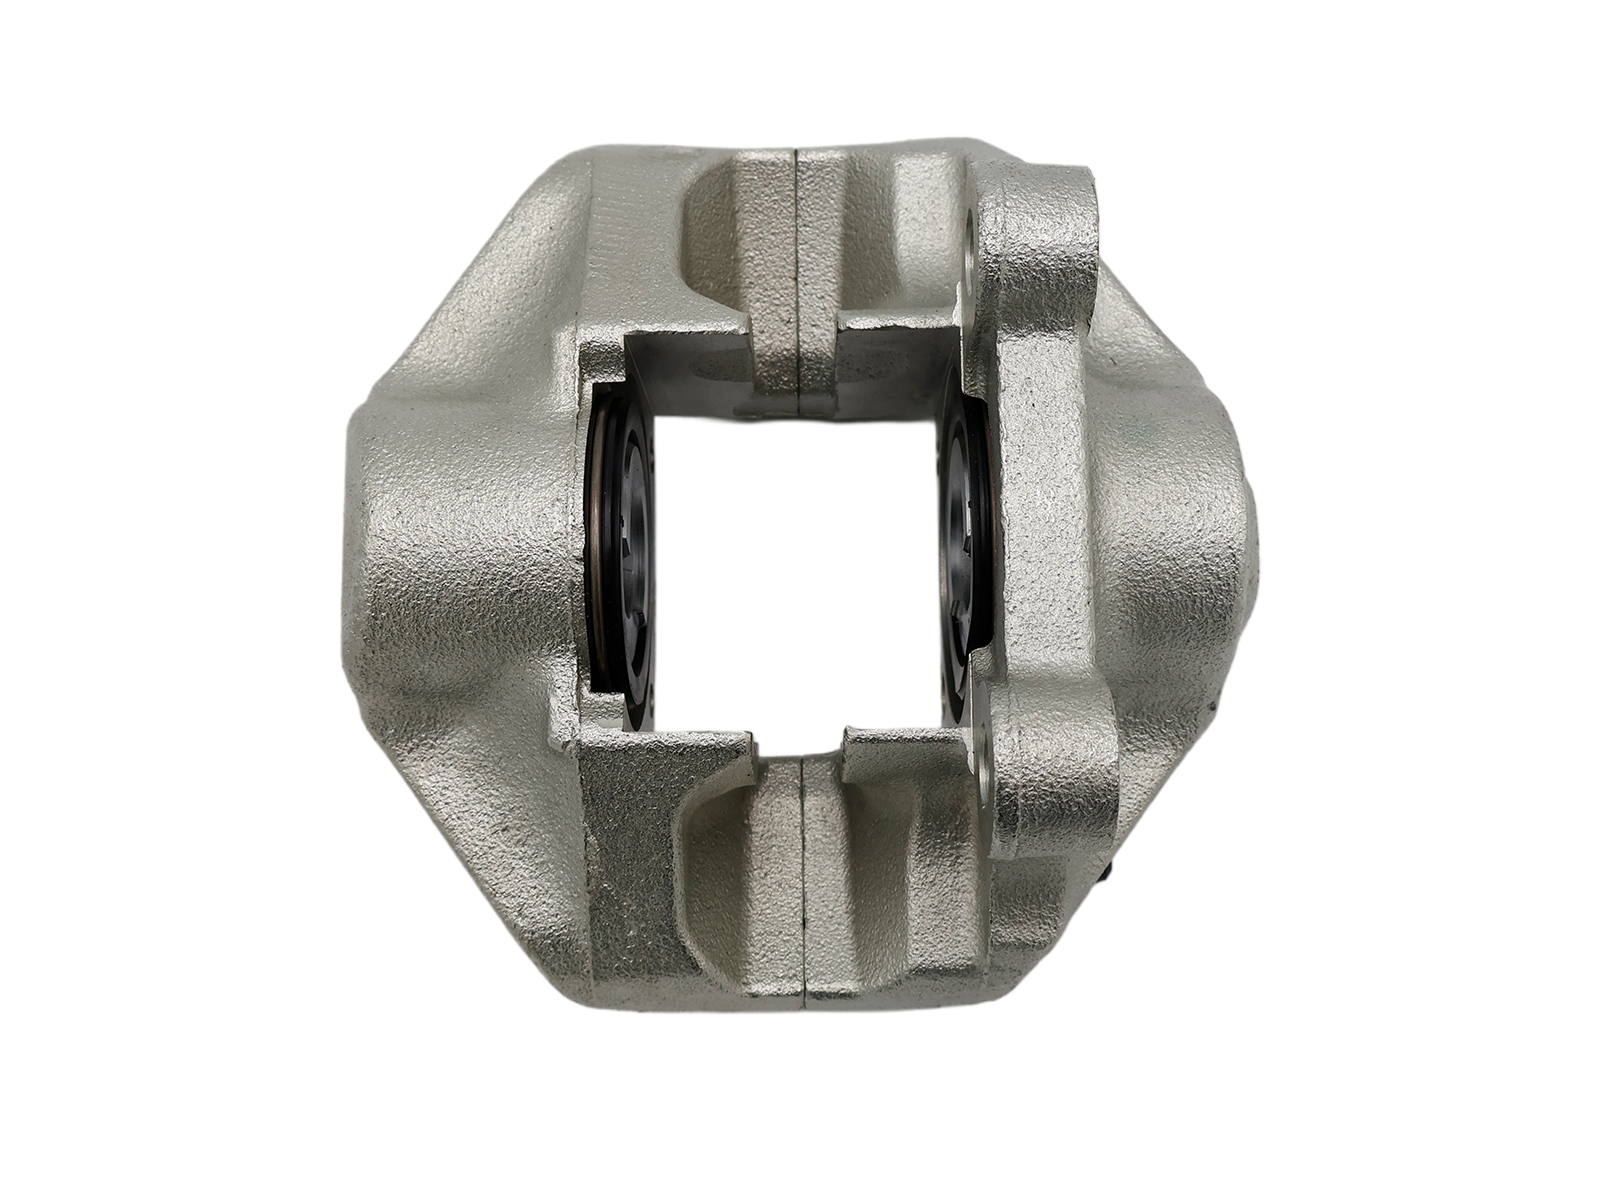
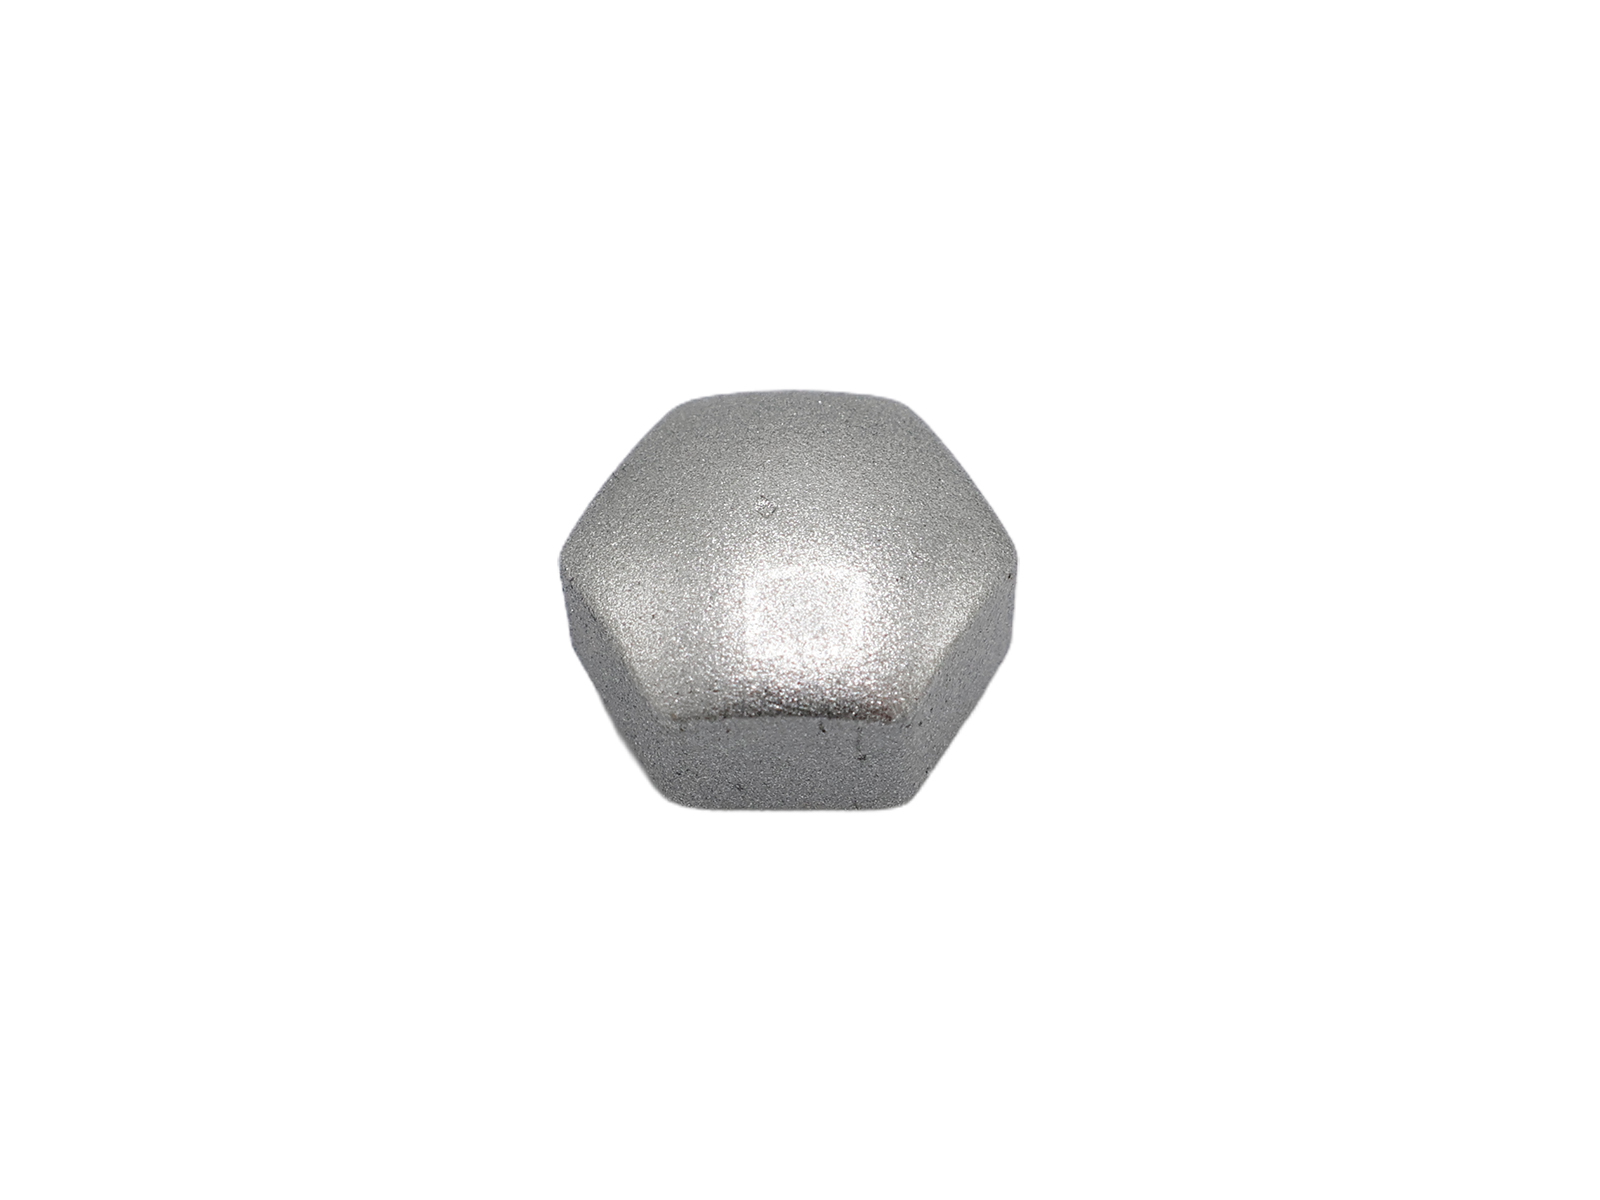
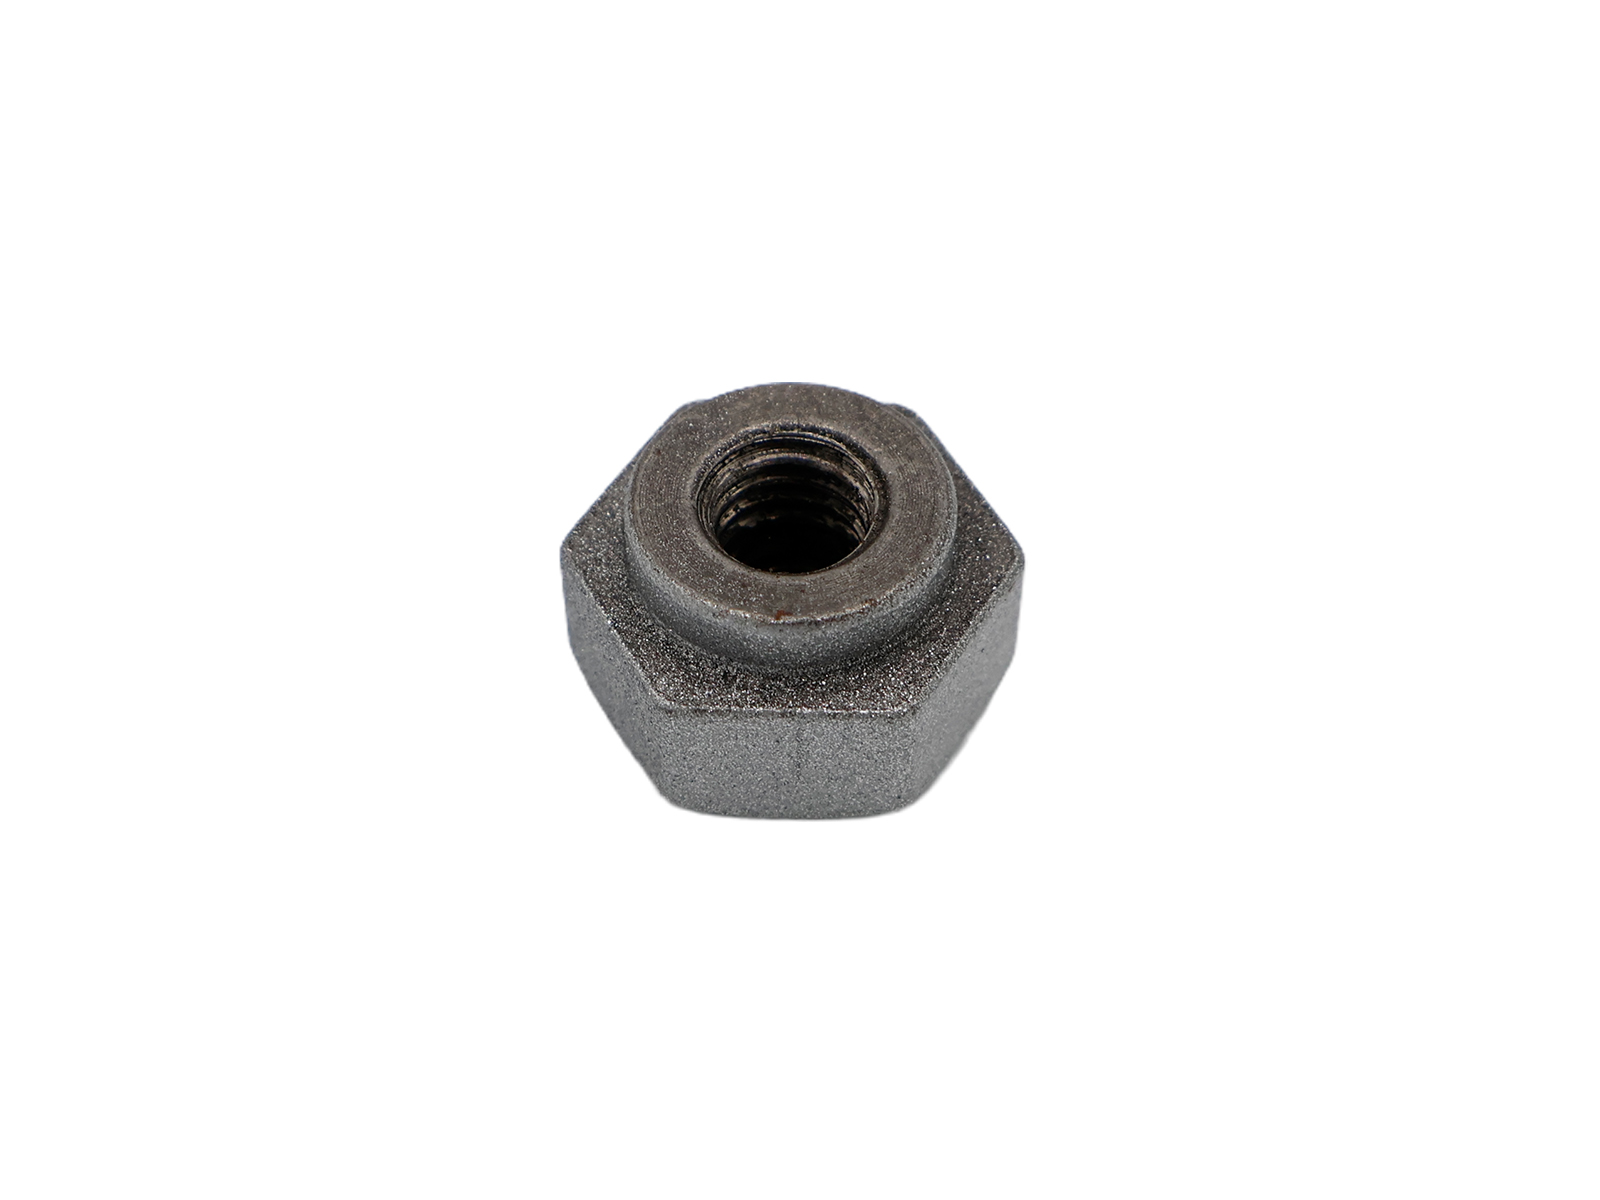
This OE Match windscreen wiper cap nut is a replacement fastening component for Porsche 356 wiper assemblies.
Fits
- Porsche 356 B-T6
- Porsche 356C
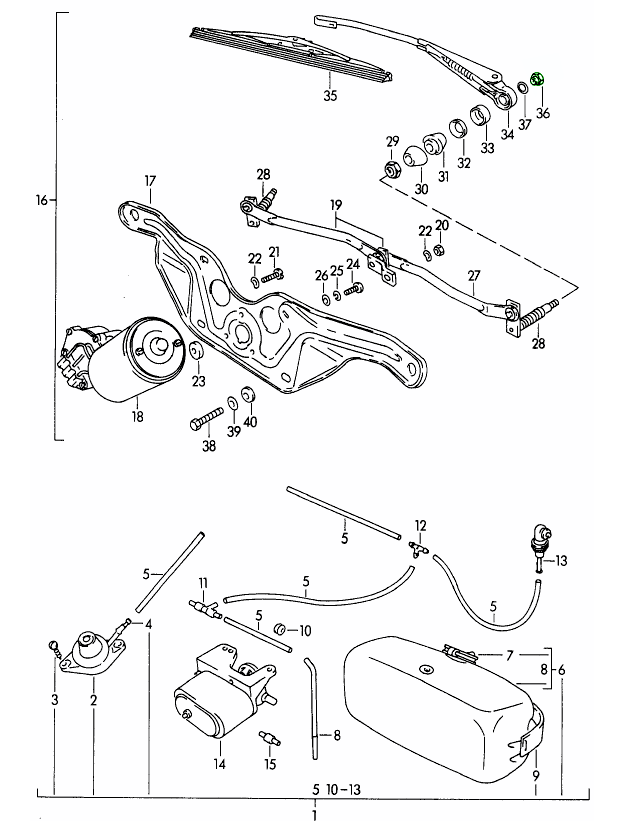
Diagram reference 36
What This Product Does
The cap nut forms part of the windscreen wiper assembly, fitting at the wiper shaft and arm connection. It replaces a missing, damaged or deteriorated fastener while maintaining the correct arrangement of the original-style wiper hardware.
Functions
- Fits the windscreen wiper shaft assembly
- Helps retain the wiper arm connection
- Covers the exposed threaded fastening point
- Supports a tidy, period-correct wiper installation
Technical Details
- Brand: OE Match
- Component: windscreen wiper cap nut
Symptoms of Fault
- Cap nut missing from the wiper shaft
- Visible corrosion or surface deterioration
- Damaged threads preventing correct fastening
- Loose or incomplete wiper arm hardware
Why Replacement Matters
Replacing a worn or absent cap nut restores the correct fastening arrangement at the wiper shaft. It is also suitable when renewing weathered wiper hardware during maintenance or restoration work.
FAQs
- Is this a complete wiper assembly?
No. This product is the individual windscreen wiper cap nut. - Which Porsche models does it fit?
It is listed for Porsche 356 B-T6 and 356C models. - Where is the part shown on the assembly diagram?
The cap nut is identified as diagram reference 36.
Check fitment for your specific vehicle model and year before ordering.
Related reference numbers
Related, superseded, cross reference or alternative numbers for comparison.
64462828412
The product you are viewing cross references to these numbers
- Porsche 356B 1959-63
- Porsche 356C 1963-65
Shop Securely
12 Month Warranty
Worldwide Delivery


Monday-Friday: 8.30am - 5.30pm (GMT)
Saturday: Closed
Sunday: Closed